
Charger V6-2.7L (2008)
REMOVAL
1. Raise and support vehicle. See: Wheels and Tires/Vehicle Lifting/Service and Repair
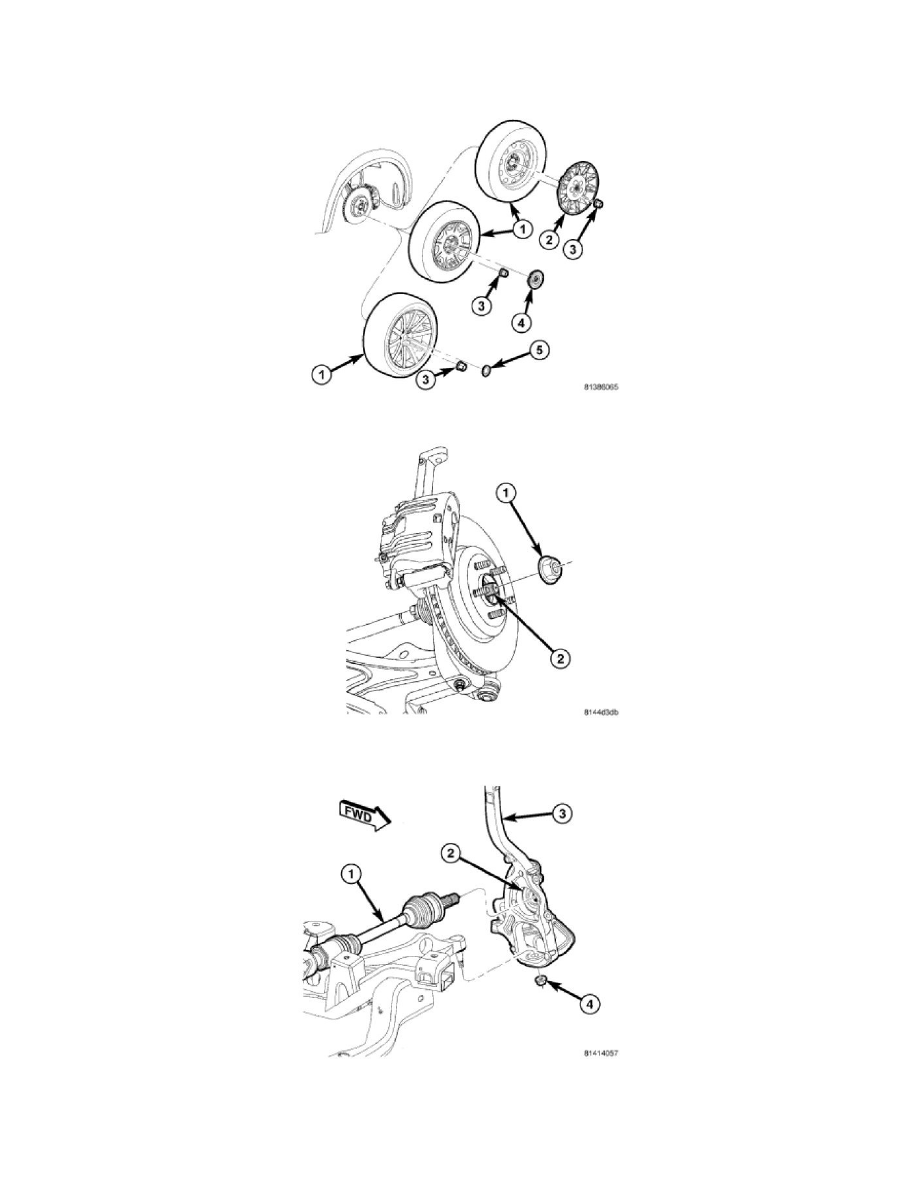
2. Remove wheel mounting nuts (3), then tire and wheel assembly (1).
3. While a helper applies brakes to keep hub from rotating, remove hub nut (1) from the axle half shaft (2).
4. Remove belly pan. See: Body and Frame/Exterior Moulding / Trim/Underbody Cover/Service and Repair/Belly Pan - Removal
5. Loosen nut (4) attaching lower control arm ball joint stud to knuckle (3). Back nut off until nut is even with end of stud. Keeping nut on at this
location will help keep end of stud from distorting while using Puller in next step.