
Charger V6-3.5L (2009)
Front Door Panel: Service and Repair
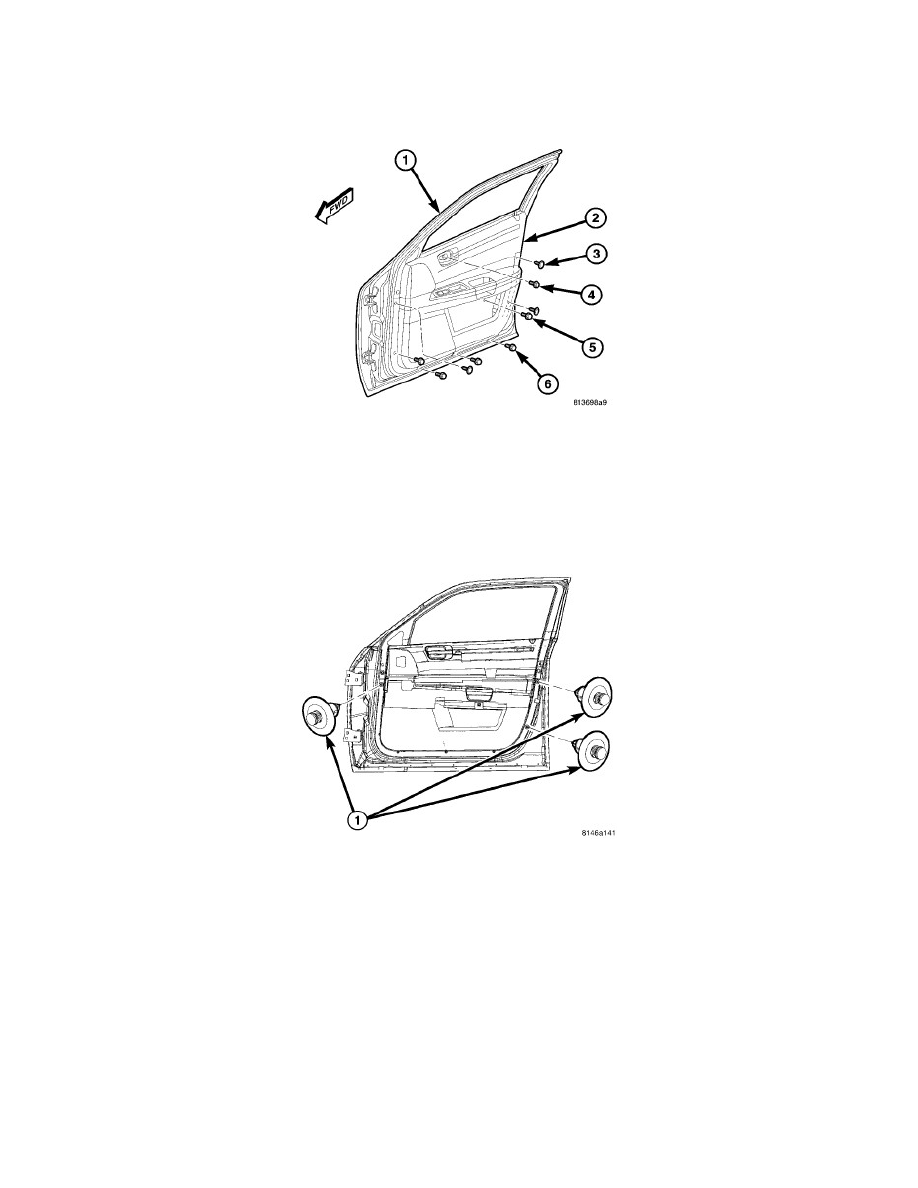
Front Door Trim Panel - Removal
REMOVAL
1. Disconnect and isolate the battery negative cable. See: Starting and Charging/Battery/Service and Repair/Procedures/Battery Reconnection.
2. Unsnap and fold back the screw cap below the trim panel pull handle to access and remove the screw (5) that secures the panel (2) to the pull
handle bracket.
3. Unsnap and fold back the screw cap within the interior remote handle recess of the trim panel to access and remove the screw (4) that secures the
panel to the inside of the door (1). The screw cap on the sedan opens from the top, and the wagon opens from the bottom.
4. Remove the four screws (6) that secure the bottom and front lower corner of the trim panel to the inside of the door.
5. Remove the two push pins (1) at the rear of the trim panel and one push pin (1) at the front edge of the trim panel. See: Description and Operation.