
Charger SRT-8 V8-6.1L VIN W (2006)
7.
Remove film covering the pressure sensitive adhesive from one side of the new hook and loop, p/n 05189934AA, and apply the hook & loop
fastener(s) directly to areas of the black foam as shown in (Fig. 1) and (Fig. 3) and apply 15 pounds of pressure for 5 seconds to ensure good
adhesion.
8.
If the vehicle is a 300 skip to step 14. If the vehicle is a Charger, inspect the magnet, a small round metal disc in the middle of the white foam, on
the headliner. If the magnet is missing from white foam, it should still be attached to roof steel.
9.
Leave the magnet/base assembly in place if it is still firmly attached to the headliner and skip to step 14. If the magnet has separated from its base,
remove and discard it.
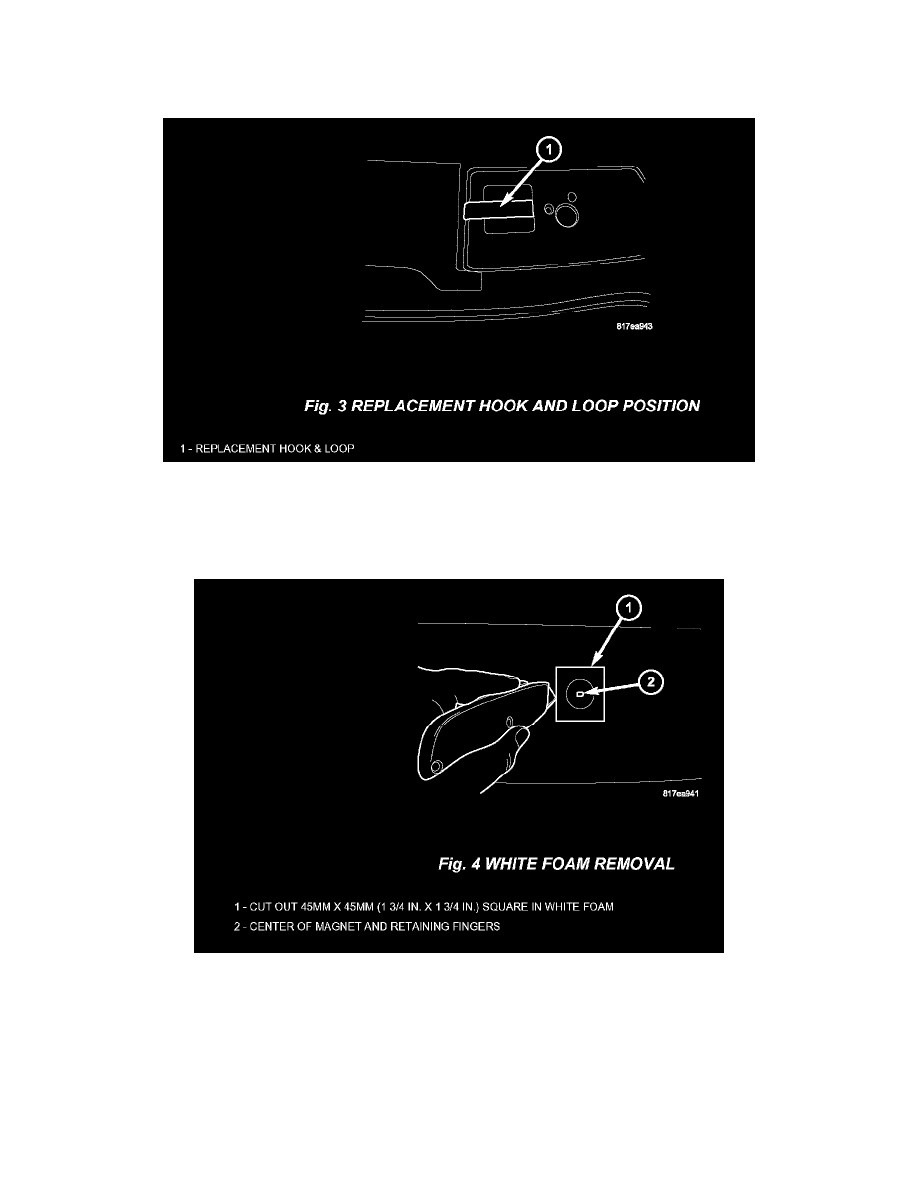
10.
If the magnet/base assembly was broken, remove all plastic that remains in the hole of the white foam by cutting a 45 mm x 45 mm (1-3/4 in. x
1-3/4 in.) square (centered about the magnet) through the full thickness of the foam as shown in (Fig. 4). Removing the foam square may require
breaking a glue bond between it and headliner. Save the foam square for installation later.