
Charger SRT-8 V8-6.1L VIN W (2006)
Valve Body: Service and Repair
Assembly
ASSEMBLY
NOTE: Pay great attention to cleanliness for all work on the shift plate. Fluffy cloths must not be used. Leather cloths are particularly good. After
dismantling, all parts must be washed and blown out with compressed-air, noting that parts may be blown away.
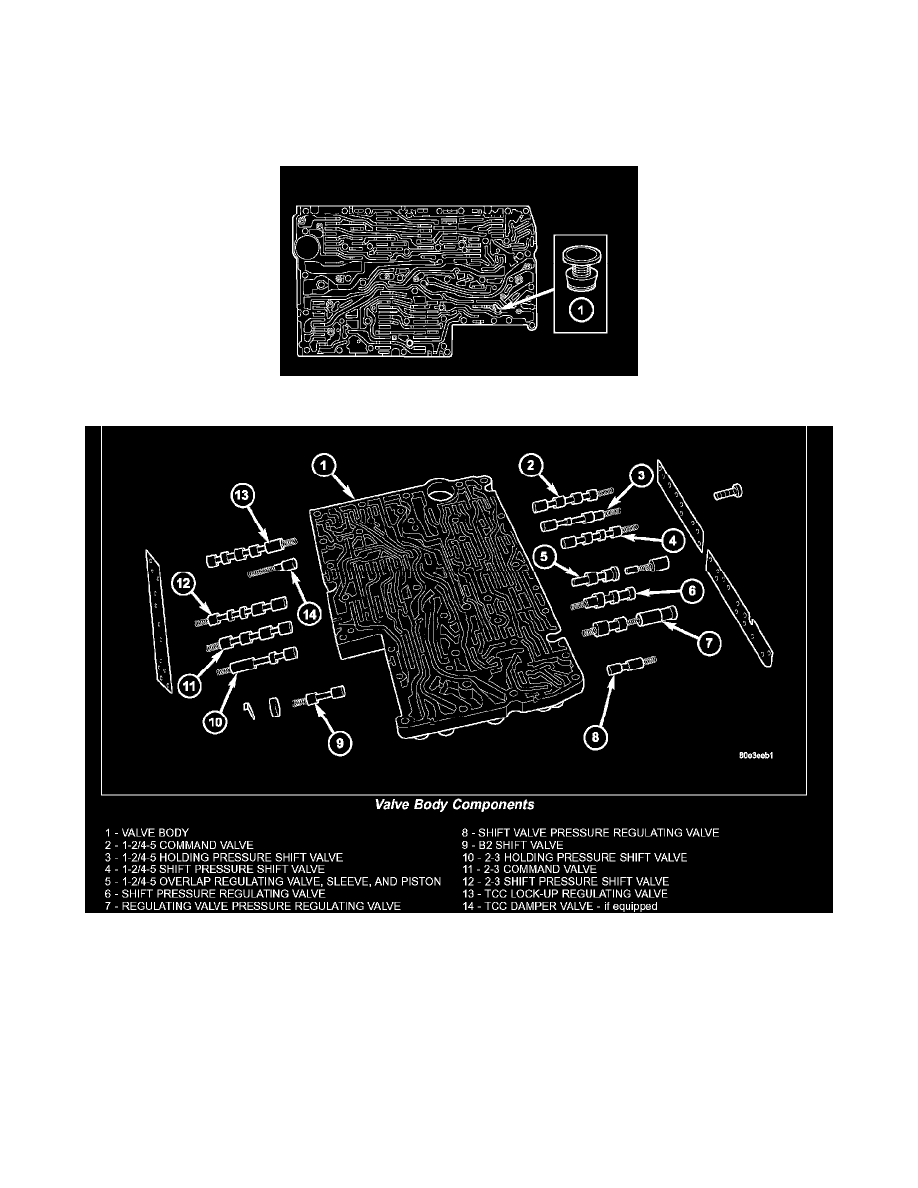
1. Install the pressure supply valve (1) into the valve body
Valve Body Components
NOTE: The sleeves and pistons of the overlap regulating valves must not be mixed up.
2. Install all valves and springs from the valve body (1). Check all valves for ease of movement and shavings.
3. Install the screws to hold the side covers to the valve body. Tighten the screws to 4 Nm (35 inch lbs.).
4. Install all valves and springs into the valve housing (2). Check all valves for ease of movement and shavings.
5. Install the screws to hold the side covers to the valve housing. Tighten the screws to 4 Nm (35 inch lbs.).
NOTE: A total of 12 valve balls are located in the valve body, four made from plastic (4) and eight from steel (1, 3).
6. Install all check balls (1, 3, 4) and the central strainer (2).