
D150 1/2 Ton Pickup 2WD V6-239 3.9L VIN X FI (1988)
bolts and remeasure clutch housing pilot bore runout.
Figure 6
Clutch Housing Face Squareness Adjustment
1.
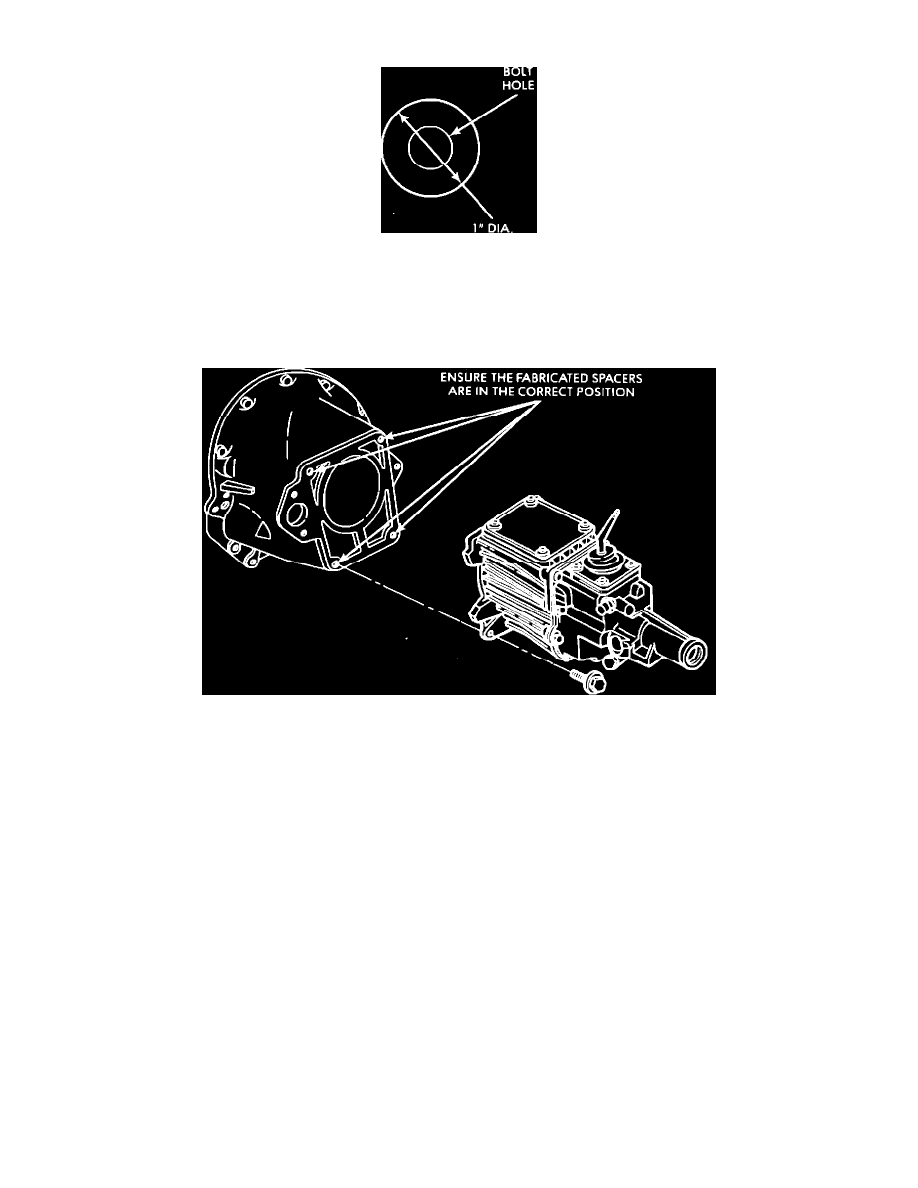
Based on the face squareness TIR value fabricate spacers out of appropriate thickness shim stock as shown in Figure 6. Mark each spacer location
so that the spacer can be correctly positioned between the transmission and clutch housing during final assembly.
Figure 7
2.
Remove dial indicator, clutch housing and threaded rod. Install and tighten the flywheel bolt to one of the following torques.
2.2L/2.5L Engine
70 ft.lbs. (95 N-m)
3.9L/5.2L/5.9L Engine
55 ft.lbs. (75 N-m)
3.
Thoroughly clean the input shaft clutch splines and clutch disc splines. They must be free of any dirt or rust. Apply a light coat of wheel bearing
grease P/N 4318064 evenly to the entire length of the input shaft splines. Be sure all excessive grease is removed.
4.
Thoroughly clean the pilot bearing journal at the end of the input shaft and the inside of the pilot bushing. Apply a light coat of multi-purpose
grease P/N 4318063 to the inside of the pilot bushing.
5.
Install clutch disc and cover, release fork and release bearing.
6.
Install clutch housing. Starting at the bolts closest to the dowels tighten the bolts to the following torques.
3/8"
diameter bolt
30 ft.lbs
(41 N-m)
7/16"
diameter bolt
50 ft.lbs
(68 N-m)
12 mm
diameter bolt
70 ft.lbs
(95 N-m)
Install the clutch housing to engine struts (if any). Tighten the strut to clutch housing bolts first and then the strut to engine bolts to the above
torque values.
7.
Install the transmission. Be sure to locate the fabricated spacers in the correct positions (Figure 7).