
D50/Power Ram 50 V6-181 3.0L SOHC (1991)
Torsion Bar: Service and Repair
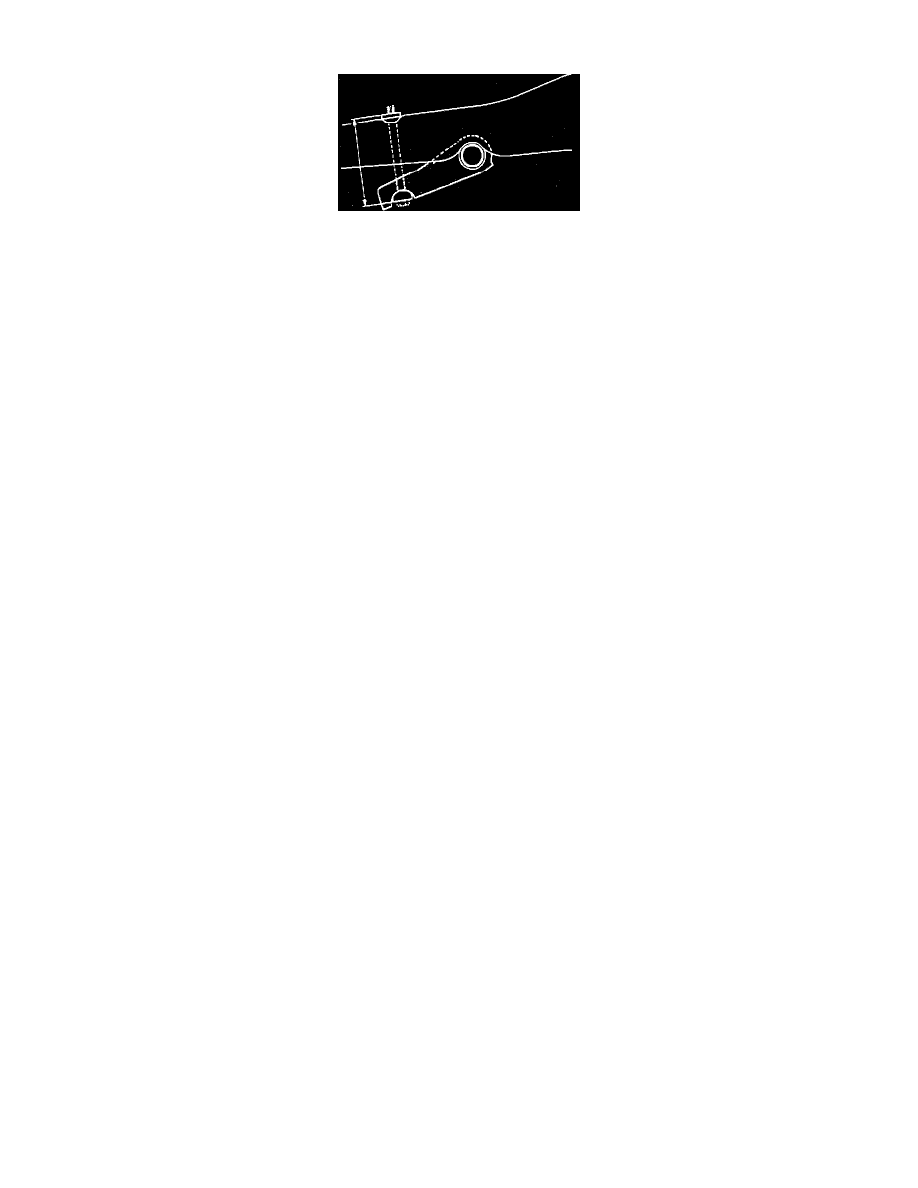
Fig. 2 Adjusting Anchor Arm
4WD MODELS
1. Raise and support vehicle.
2. Remove engine splash shield.
3. Support lower control arm assembly.
4. Remove torsion bar dust cover.
5. Loosen then remove anchor arm assembly mounting nut.
6. Remove anchor arm assembly.
7. Remove torsion bar.
8. Reverse procedure to install, noting the following:
a.
Identify right and left torsion bars by referring to identification mark on bars.
b.
Face end having identification mark forward, and align mark on anchor arm with mark on torsion bar. When installing new torsion bars,
align serration painted with white paint with mark on anchor arm.
c.
Select relative position of torsion bar serrations and anchor arm serrations so that the length shown is 5.866 for the lefthand side and 5.846
for the righthand side.
d.
Tighten anchor arm assembly mounting nut until anchor bolt projection above frame crossmember is 3.94 inches or less for the lefthand side
or 3.39 inches or less for the righthand side.
e.
With vehicle unloaded, measure dimension from bump stopper to bump stopper bracket. Dimension should be 3.07 inches.
f.
If dimension is not as specified, adjust adjusting bolt on anchor arm.