
Dakota 2WD L4-2.5L VIN P (2001)
Valve Cover: Service and Repair
Removal and Installation
REMOVAL
A cured gasket is part of the engine cylinder head cover.
1. Disconnect negative cable from battery.
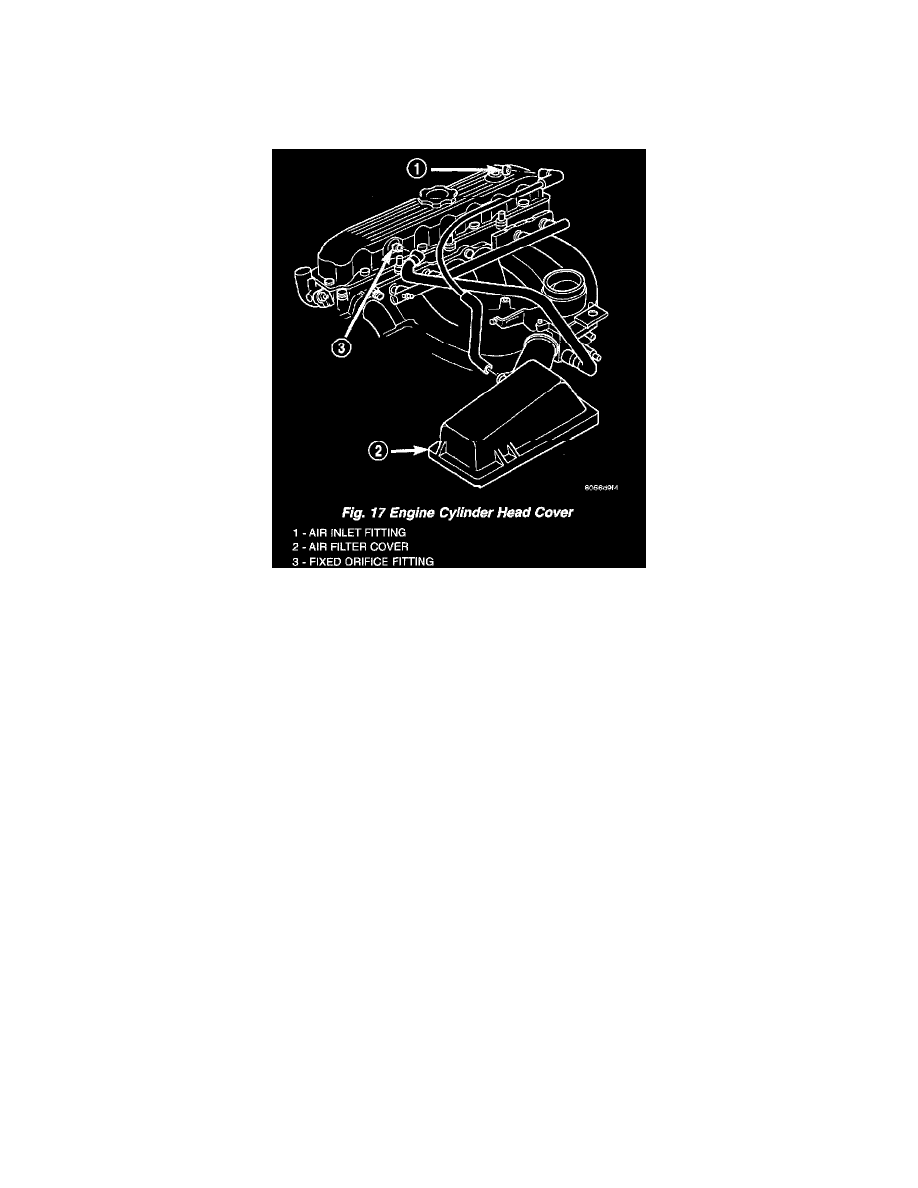
2. Disconnect the Crankcase Ventilation (CCV) vacuum hose from engine cylinder head cover (Fig. 17).
3. Remove the air inlet hose and resonator from the air cleaner and throttle body.
4. Remove the engine cylinder head cover mounting bolts.
5. Remove the engine cylinder head cover (Fig. 17).
6. Remove any original sealer from the cover sealing surface of the engine cylinder head and clean the surface using a fabric cleaner.
7. Remove all residue from the sealing surface using a clean, dry cloth.
INSTALLATION
A cured gasket is part of the engine cylinder head cover.
1. Inspect the engine cylinder head cover for cracks. Replace the cover, if cracked.
NOTE: The original dark grey gasket material should NOT be removed. If sections of the gasket material are missing or are compressed, replace
the engine cylinder head cover. However, sections with minor damage such as small cracks, cuts or chips may be repaired with a hand held
applicator. The new material must be smoothed over to maintain gasket height. Allow the gasket material to cure prior to engine cylinder head
cover installation.
2. If a replacement cover is installed, transfer the CCV valve grommet the oil filler cap from the original cover to the replacement cover.
3. Install engine cylinder head cover. Tighten the mounting bolts to 13 Nm (115 in. lbs.) torque.
4. Connect the CCV hoses (Fig. 17).
5. Connect negative cable to battery.
6. Install the air inlet hose and resonator.