
Dakota 2WD V6-3.9L VIN X (1997)
Air Door Cable: Adjustments
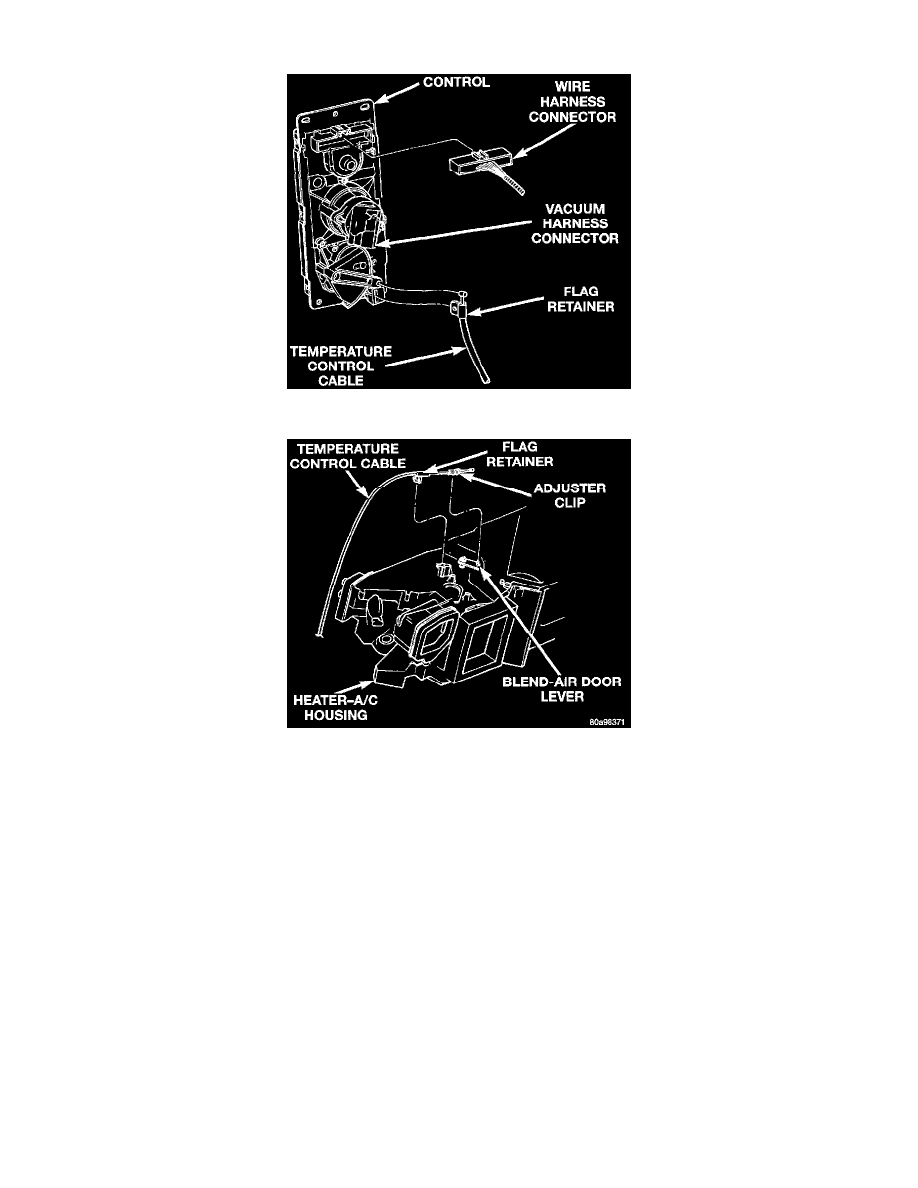
Fig 39 Heater & A/C Control Connectors
Fig 45 Temperature Control Cable Removal/Installation
Any time the heater-A/C control or the temperature control cable are removed and/or replaced, the following procedure must be performed.
1. The temperature control cable housing and core must be installed at both the heater-A/C control and the heater-A/C housing ends, and the
heater-A/C control must be installed in the instrument panel.
2. Rotate the temperature control knob on the heater-A/C control so that the knob pointer is in the 12 o'clock position.
3. Pull the temperature control knob straight out from the heater-A/C control base until the perimeter of the knob (not the knob pointer) protrudes
about 6 mm (0.25 inch) from the face of the control base.
4. Rotate the temperature control knob to the 1 o'clock position. Push in on the knob slightly and continue rotating the knob to its full clockwise stop.
The knob pointer should be aimed at a position about 3 mm (0.125 inch) beyond the end of the graduated red strobe temperature control graphic
on the face of the heater-A/C control base. If the knob is not pointed to the correct position, go back to Step 2 and repeat the adjustment procedure.
5. Rotate the temperature control knob counterclockwise until the knob pointer is in the 12 o'clock position again.
6. Push the temperature control knob straight in towards the heater-A/C control base until the perimeter of the knob (not the knob pointer) is flush
with the face of the heater-A/C control base.
7. Rotate the knob to its full clockwise stop again. The knob pointer should be aimed at the end of the graduated red strobe temperature control
graphic on the face of the heater-A/C control base. If OK, the temperature control cable adjustment is complete. If not OK, go back to Step 2 and
repeat the adjustment procedure.