
Dakota 2WD V6-3.9L VIN X (1997)
Hose/Line HVAC: Service and Repair
A/C Liquid Hose/Line Replacement
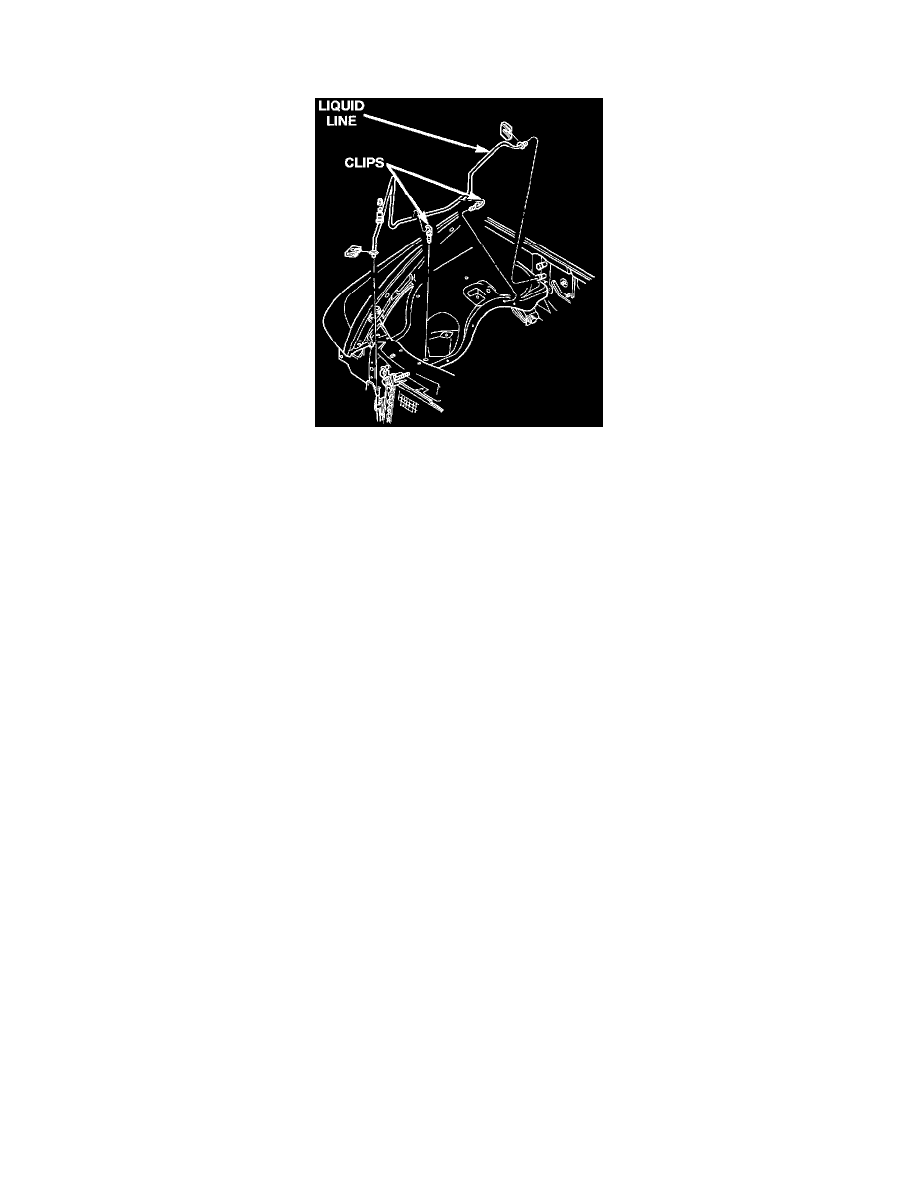
Fig 28 Liquid Line Removal/Installation
WARNING: Review the Service Precautions before performing the following operation.
REMOVAL
1. Disconnect and isolate the battery negative cable.
2. Recover the refrigerant from the refrigerant system.
3. Remove the engine air filter housing.
4. If the vehicle is so equipped, remove the nuts that secure the vehicle speed control servo mounting bracket to the studs on the cowl plenum panel
and move the servo far enough to access the liquid line to evaporator coupler.
5. Disconnect the refrigerant line couplers at the condenser and the evaporator. See Refrigerant A/C Coupler for the procedures. Install plugs in, or
tape over all of the open refrigerant fittings.
6. Disengage the two clips that secure the liquid line to the inner fender shield.
7. Remove the liquid line from the vehicle.
INSTALLATION
1. Install the liquid line in the two clips on the inner fender shield.
2. Remove the tape or plugs from all of the refrigerant fittings, and install the refrigerant lines to the condenser and the evaporator. See Refrigerant
A/C Coupler for the procedures.
3. If the vehicle is so equipped, reinstall the vehicle speed control servo mounting bracket to the studs on the cowl plenum panel.
4. Reinstall the engine air filter housing.
5. Connect the battery negative cable.
6. Evacuate and charge the refrigerant system.