
Dakota 2WD V8-4.7L VIN J (2005)
8.
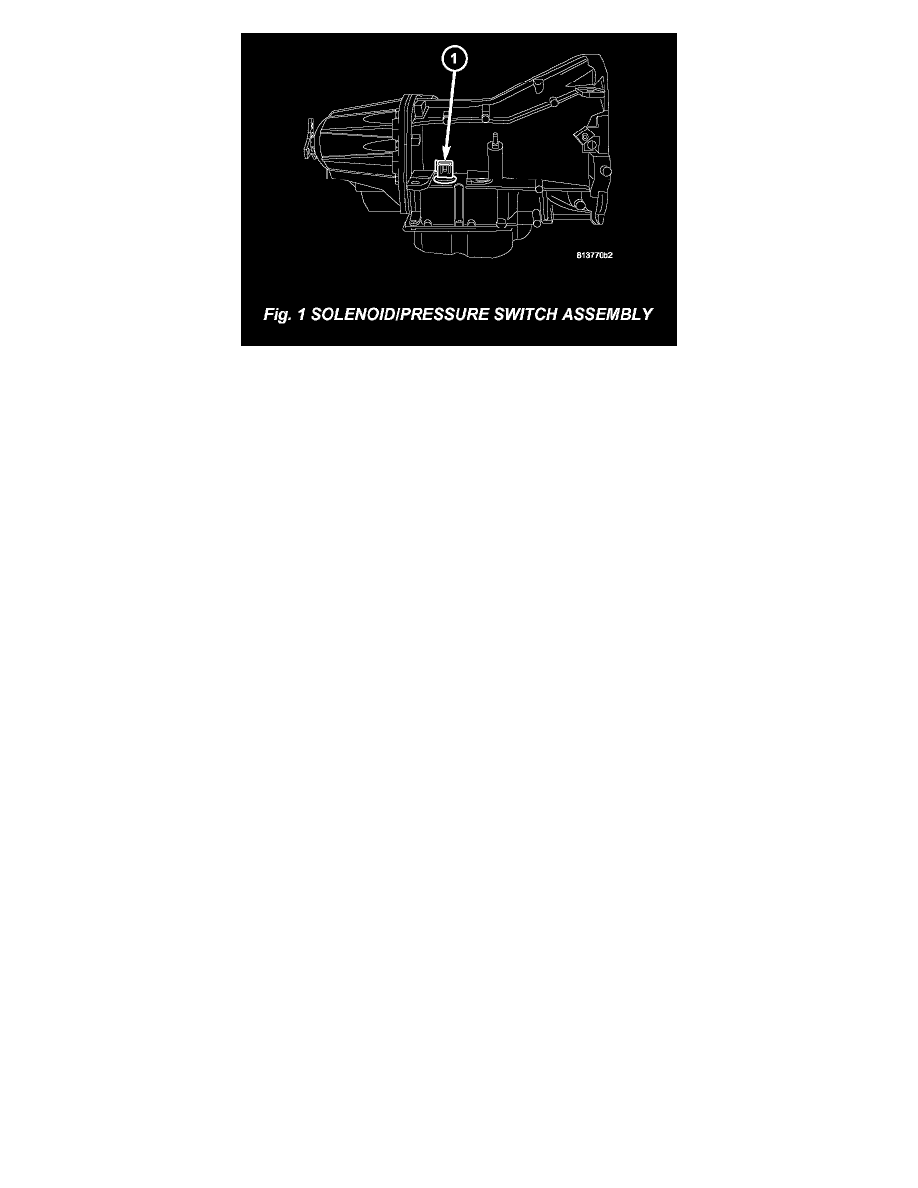
Disconnect the transmission solenoid/pressure switch connector (Fig. 1).
9.
Disconnect the wiring harness routing clip(s) at the top of the transmission. Pull the wiring harness down on the right side of the transmission.
10.
Proceed to the WIRING HARNESS REPAIR PROCEDURE: Step # 1
11.
Reconnect the transmission solenoid/pressure switch assembly connector.
12.
Connect the rear oxygen sensor connector.
13.
Secure the wiring harness routing clip(s) at the top of the transmission.
14.
Install the four bolts securing the transmission crossmember to the vehicle. Tighten the crossmember to frame bolts to 68 N.m (50 ft.lbs.).
15.
Install the transfer case skid plate, if equipped. Refer to the detailed installation procedures available in TechCONNECT, under: Service Info, 13 -
Frames & Bumpers/Frame/Transfer Case Skid Plate - Installation.
16.
Lower the vehicle.
17.
Connect the negative battery cable and reset the clock.
18.
Close the hood.
19.
Using the DRB III(R) or StarSCAN(R) perform the Quick Learn Procedure and verify the solenoid is operating properly.
KJ Repair Procedure
1.
Open the hood.
2.
Disconnect and isolate the negative battery cable.
3.
Raise the vehicle on a suitable hoist.
4.
Place a suitable service jack under the transmission crossmember.
5.
Remove the bolts securing the transmission crossmember to the frame and lower transmission assembly approximately 51 - 102 mm (2 - 4 in.)
6.
Disconnect the transmission solenoid/pressure switch connector (Fig. 1).
7.
Disconnect the wiring harness routing clip at the top of the transmission.
8.
Disconnect the right rear oxygen sensor and cut the tie strap from the wiring harness conduit leading to the transmission solenoid/pressure switch
connector.
9.
Route the wiring harness in front of the transmission dipstick tube and pull the wiring harness down as far as possible on the right side of the
transmission.
10.
Proceed to the WIRING HARNESS REPAIR PROCEDURE: Step # 1