
Dakota Quad Cab 2WD V8-4.7L VIN N (2001)
Catalytic Converter: Service and Repair
Removal and Installation
REMOVAL
The mini catalytic converters used on the 4.7L engine is an integral part of the exhaust pipe. To replace the mini catalytic converters, the entire
exhaust pipe assembly must be replaced.
CAUTION: When servicing or replacing exhaust system components, disconnect the oxygen sensor connector(s). Allowing the exhaust to hang by
the oxygen sensor wires will damage the harness and/or sensor.
1. Raise and support the vehicle.
2. Saturate the bolts and nuts with Mopar Rust Penetrant. Allow 5 minutes for penetration.
3. Remove the clamp holding the catalytic converter flange to the exhaust pipe(s).
4. Remove the clamp holding the catalytic converter flange to the muffler or extension pipe.
5. Remove the engine rear mount.
6. Remove the crossmember.
7. Remove the catalytic converter. You may have to loosen up other sections of the exhaust system.
INSTALLATION
CAUTION: When servicing or replacing exhaust system components, disconnect the oxygen sensor connector(s). Allowing the exhaust to hang by
the oxygen sensor wires will damage the harness and/or sensor.
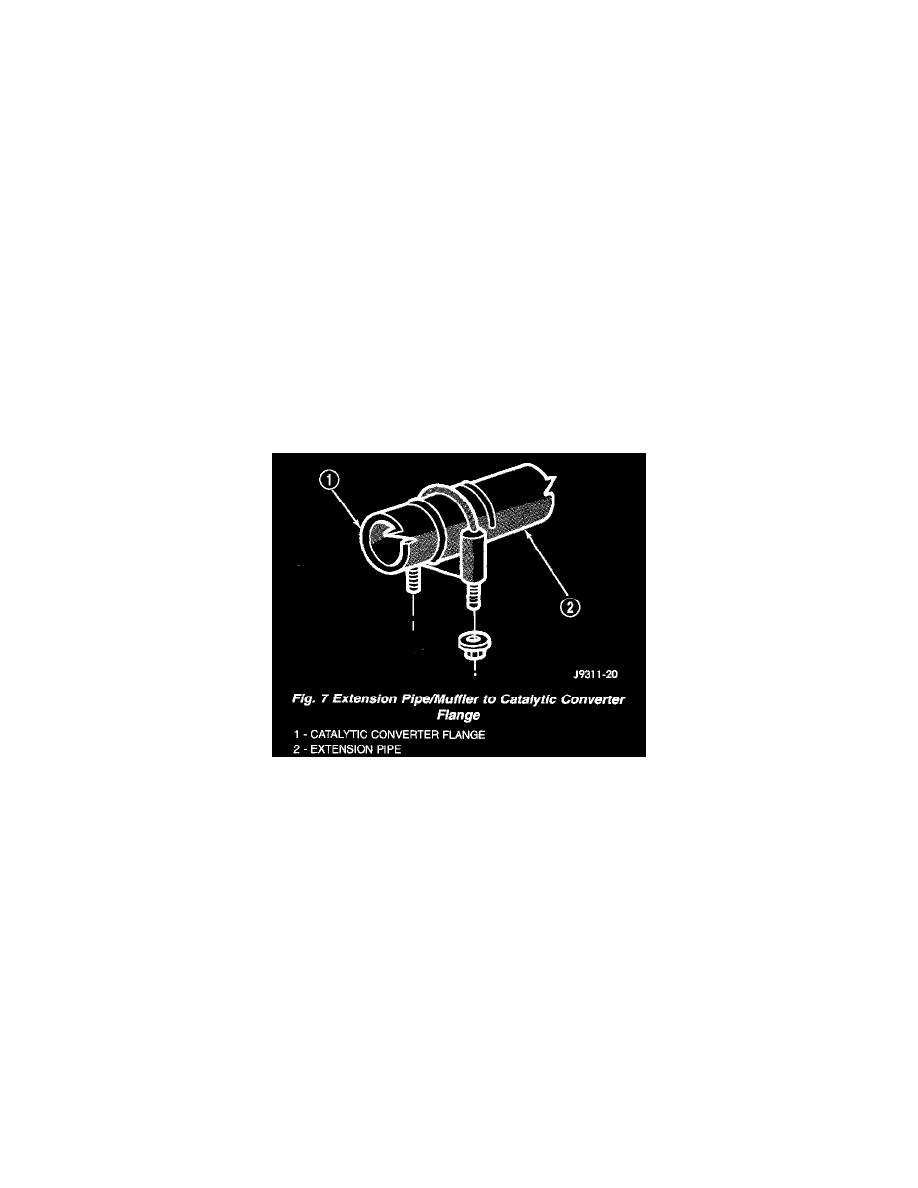
1. Align and connect the catalytic converter Range to the exhaust pipe.
2. Install the catalytic converter flange into the muffler or extension pipe.
3. If other sections of the exhaust system where loosened in removal, refer to tightening procedures.
4. At the catalytic converter flange connections, install the clamp and nuts. Tighten the clamp nuts to 41 Nm (30 ft. lbs.) torque.
5. Install the crossmember.
6. Install the rear engine mount.
7. Lower the vehicle.
8. Start the engine and inspect for exhaust leaks and exhaust system contact with the body panels. Adjust the alignment, if needed.