
Dakota Quad Cab 2WD V8-5.9L VIN Z LDC (2002)
12.
Insert the bolts supplied with the ball joint package from the bottom side of the control arm (Fig. 4).
13.
Place the new ball joint onto the control arm and install retaining nuts (Fig. 4). Tighten the nuts to 50 ft. lbs. (68 N.m).
14.
Position the steering knuckle onto the upper ball joint stud.
15.
Install the castle nut onto the ball joint stud. Tighten the upper ball joint castle nut to 60 ft. lbs. (81 N.m).
NOTE:
If the castle nut slots do not line up with the cotter pin hole in the ball joint stud, continue tightening the nut until the next set of castle nut slots line
up with the cotter pin hole. Do not loosen the nut.
16.
Install a new cotter pin through the castle nut and secure it by bending the arms of the pin.
17.
Install the wheel and tire assembly. Tighten the lug nuts to 100 ft. lbs (135 N.m).
18.
Repeat Step # 3 through Step # 17 on the right side of the vehicle.
19.
Lower the vehicle.
20.
Place the vehicle on an alignment rack and set toe to +0.10 degrees (+/- 0.06 degrees).
POLICY:
Reimbursable within the provisions of the extended warranty period of 10 years or 100,000 miles. Refer to Warranty Bulletin D-04-34 for complete
details.
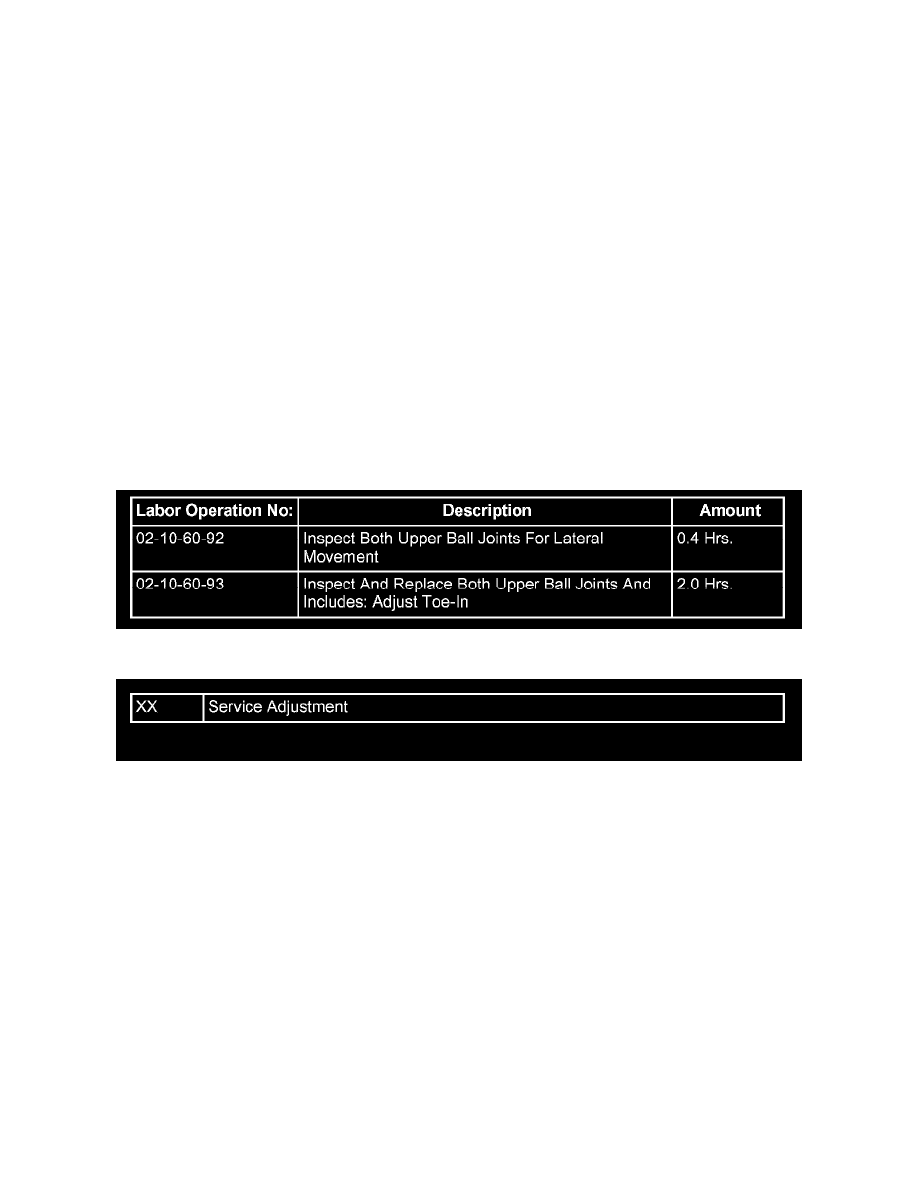
TIME ALLOWANCE:
FAILURE CODE:
Disclaimer:
This bulletin is supplied as technical information only and is not an authorization for repair.