
Dakota R/T 2WD V8-5.9L VIN Z LDC (1999)
Housing Assembly HVAC: Service and Repair
Heater-A/C Housing Cover Removal and Installation
WARNING: On vehicles equipped with Air-Bags, failure to take the proper precautions could result in accidental airbag deployment and
possible personal injury.
REMOVAL
1. Disconnect and isolate the battery negative cable.
2. Remove the instrument panel assembly. Refer to: "Instrument Panel, Gauges and Wiring Indicators : Instrument Panel : Service and
Repair" See: Instrument Panel, Gauges and Warning Indicators/Instrument Cluster / Carrier/Service and Repair
3. Remove the heater-A/C housing.
4. Place the heater-A/C housing on a bench, with the heater-A/C housing cover face down. Then proceed as follows:
a. Remove the two screws that secure the heater-A/C housing cover to the top of the blower motor housing cover.
b. If the vehicle is so equipped, unplug the two vacuum harness connectors from the recirculation air door actuator.
c. Unplug the vacuum harness connector from the panel-defrost door actuator.
d. Remove the floor duct as described in this group.
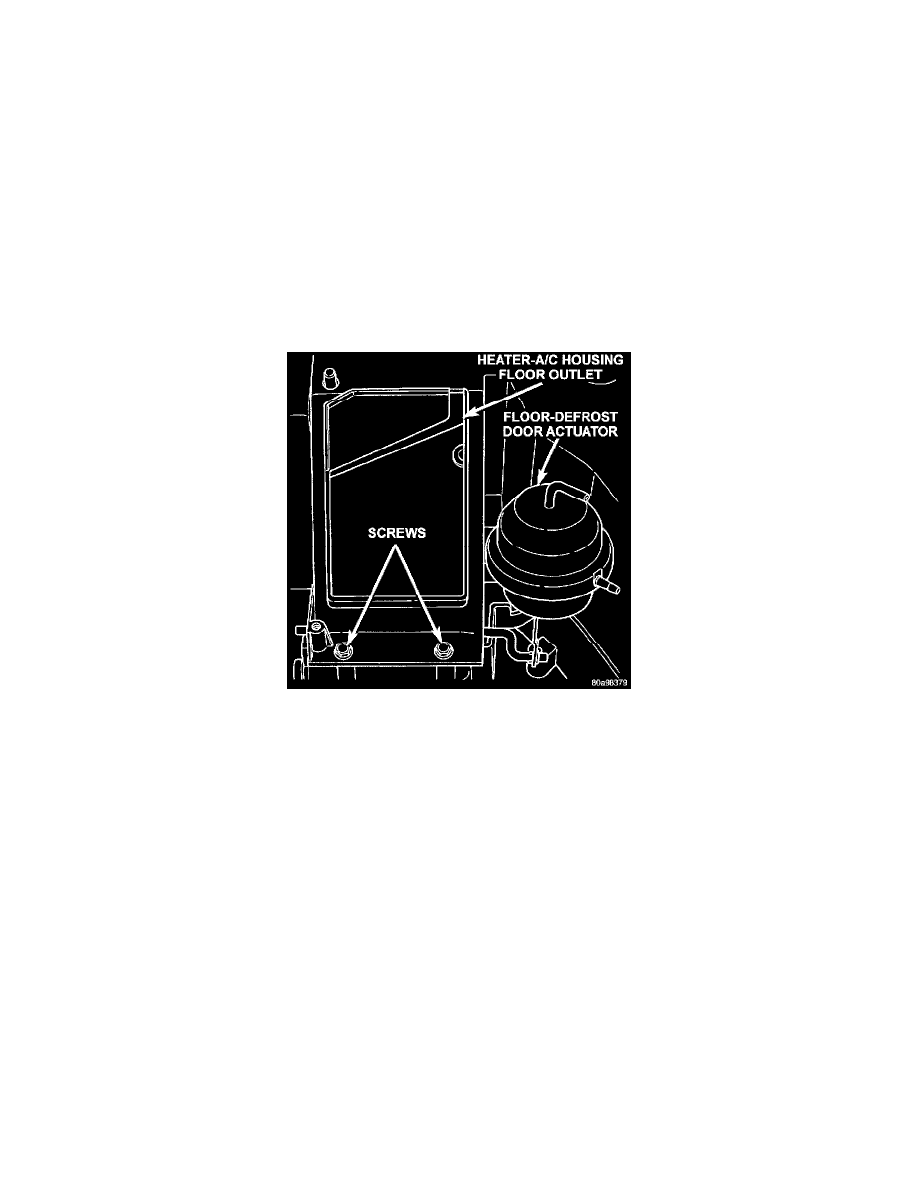
Fig 52 Heater-A/C Housing Floor Outlet Screws
e. Remove the two screws that secure the heater-A/C housing cover to the lower housing near the floor outlet.
5. Turn the heater-A/C housing over on the bench, with the heater-A/C housing cover face up. Then proceed as follows:
a. Disengage the vacuum harness retainer from the hole near the left end of the heater-A/C housing cover.