
Daytona Pacifica L4-135 2.2L SOHC Turbo VIN E FI (1988)
Window Regulator: Service and Repair
REMOVAL
1. Move glass to down position and disconnect battery.
2. Remove trim panel.
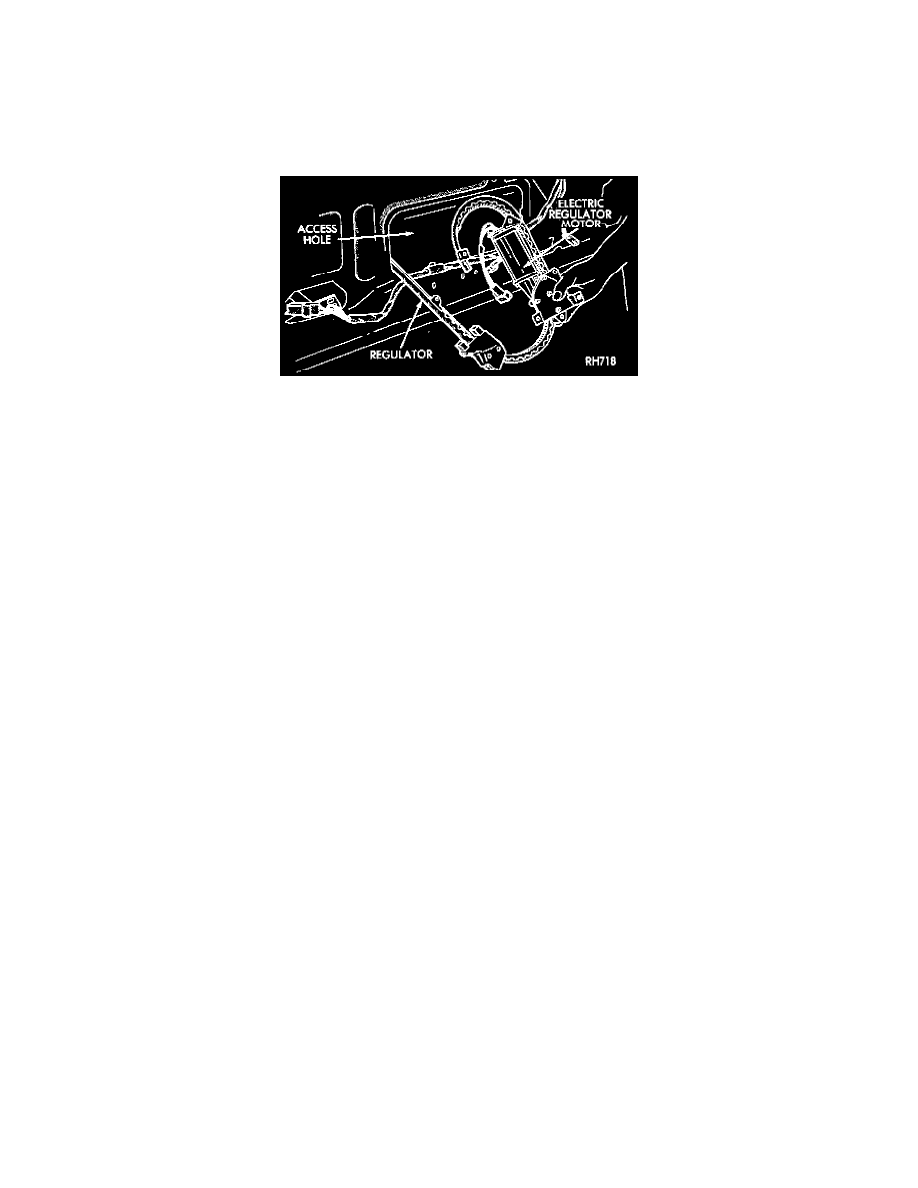
3. Partially remove air and water shields to expose regulator access hole, and regulator fasteners.
4. Support glass by hand and remove lift plate to regulator screw. Allow glass and lift plate to slide to bottom of glass track.
5. Drive out the center pin in each of the 7 rivets used to fasten the regulator to the door. (8 rivets for manual regulator)
Removal Of Regulator
6. Drill out the rivets and remove regulator through access hole in door.
7. Remove flex drive and install in new regulator making sure flex drive is clean and well lubricated.
INSTALLATION
1. Install regulator through access hole in door.
2. Properly position regulator and fasten to door with short 1/4-20 bolts and nuts.
3. Torque nut/bolt assemblies to 10 Nm (90 in. lb.).
4. Attach regulator to lift plate with the proper bolt (M6 x 25).
5. Loosen three glass to lift plate nuts, two glass stabilizers, and three glass track mounting screws.
6. Connect battery for electric regulators and install regulator handle for manual systems.
7. Move window to up position, guiding glass as necessary to prevent binding.
8. Starting with the center nut, tighten the three lift plate to glass attachment nuts to 10 Nm (85 in. lb.).
9. Tighten the three glass track mounting screws to 13 Nm (115 in. lb.).
10. Adjust inner glass stabilizers to lightly touch glass and tighten to 13 Nm (115 in. lb.).
11. Move glass to down position and disconnect battery or remove regulator handle.
12. Install trim panel and all related items.