
Diplomat V8-318 5.2L VIN K 2-bbl (1982)
Evaporator Core: Service and Repair
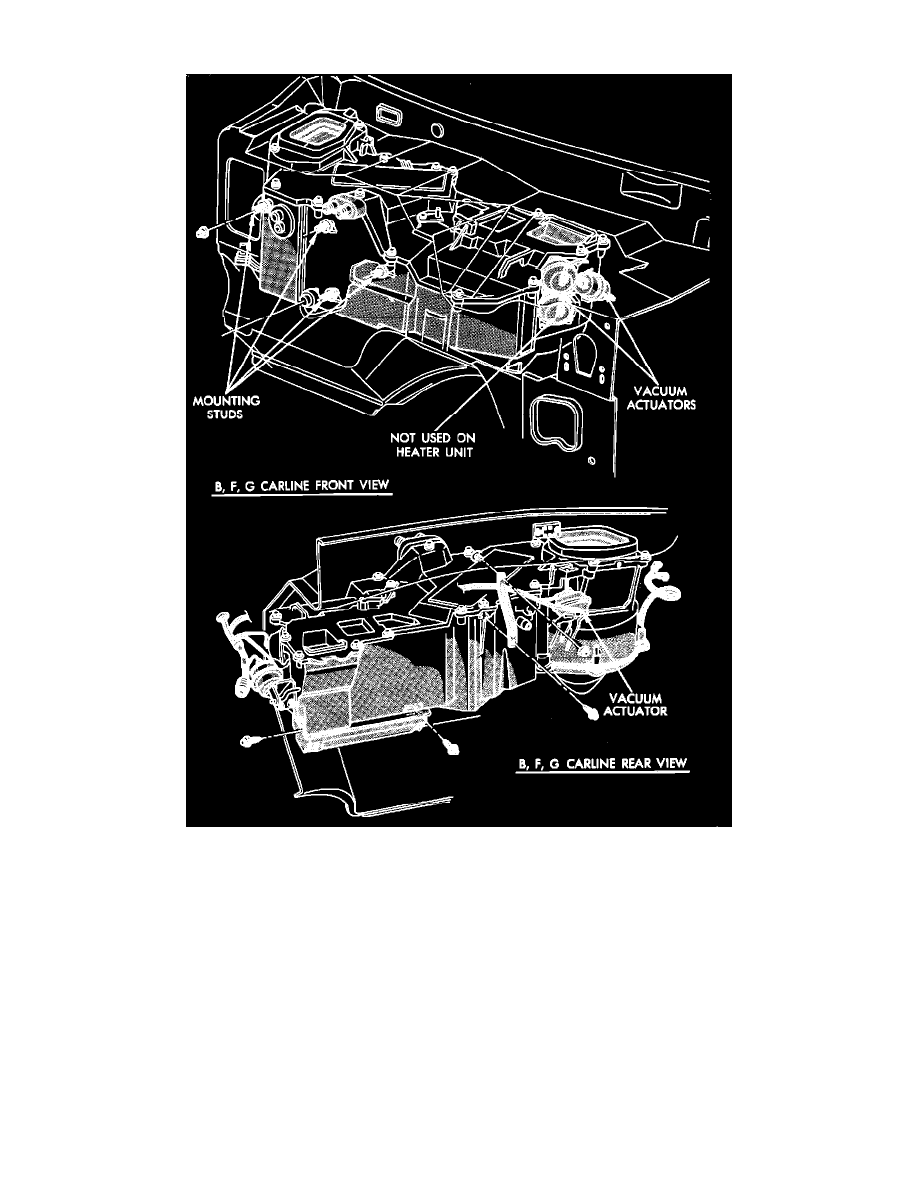
Fig. 20 Evaporator-heater assembly. Rear wheel drive models
1. Discharge refrigerant from system.
2. Disconnect battery ground cable, drain cooling system and remove air cleaner.
3. Disconnect heater hoses. Plug both heater core tubes to prevent spilling coolant when unit is removed.
4. Remove "H" valve.
5. Remove cluster bezel assembly, instrument panel upper cover, steering column cover, right intermediate side cowl trim, lower instrument panel
and instrument panel center to lower reinforcement.
6. Remove floor console, if equipped.
7. Remove right center air distribution duct, and disconnect locking tab on defroster duct.
8. Disconnect blower motor resistor block wiring and vacuum lines from water valve and vacuum source "Tree."
9. Remove wiring from evaporator housing and vacuum lines from inlet air housing, and disconnect vacuum harness coupling.
10. Remove rubber drain tube and housing mounting stud nuts from engine compartment side.
11. Remove hanger strap from evaporator plenum stud.
12. Roll evaporator so that tubing clears firewall, and remove unit from vehicle.
13. Remove servo motor from shaft, then remove screws around top of unit and remove top cover.
14. Remove evaporator core by lifting out.
15. Reverse procedure to install.