
Durango 2WD V8-5.2L VIN Y (1999)
Catalytic Converter: Service and Repair
WARNING: IF TORCHES ARE USED WHEN WORKING ON THE EXHAUST SYSTEM, WEAR PROTECTIVE EYE COVERING AND
DO NOT ALLOW THE FLAME NEAR THE FUEL LINES.
CAUTION: When servicing or replacing exhaust system components, be sure to disconnect all oxygen sensor connectors. Allowing the exhaust
system to hang by the harness will damage the wiring and/or sensor.
REMOVAL
1. Disconnect battery negative cable.
2. Remove passenger front seat track left rear mounting bolt (4X4 vehicles only).
3. Raise vehicle on hoist.
4. Remove tailpipe from rear hanger isolators.
5. Remove muffler to catalytic converter exhaust clamp.
6. Heat connection with an oxygen/acetylene torch and separate muffler from catalytic converter.
7. Disconnect catalytic converter rear hanger from isolators.
8. Disconnect downstream oxygen sensor.
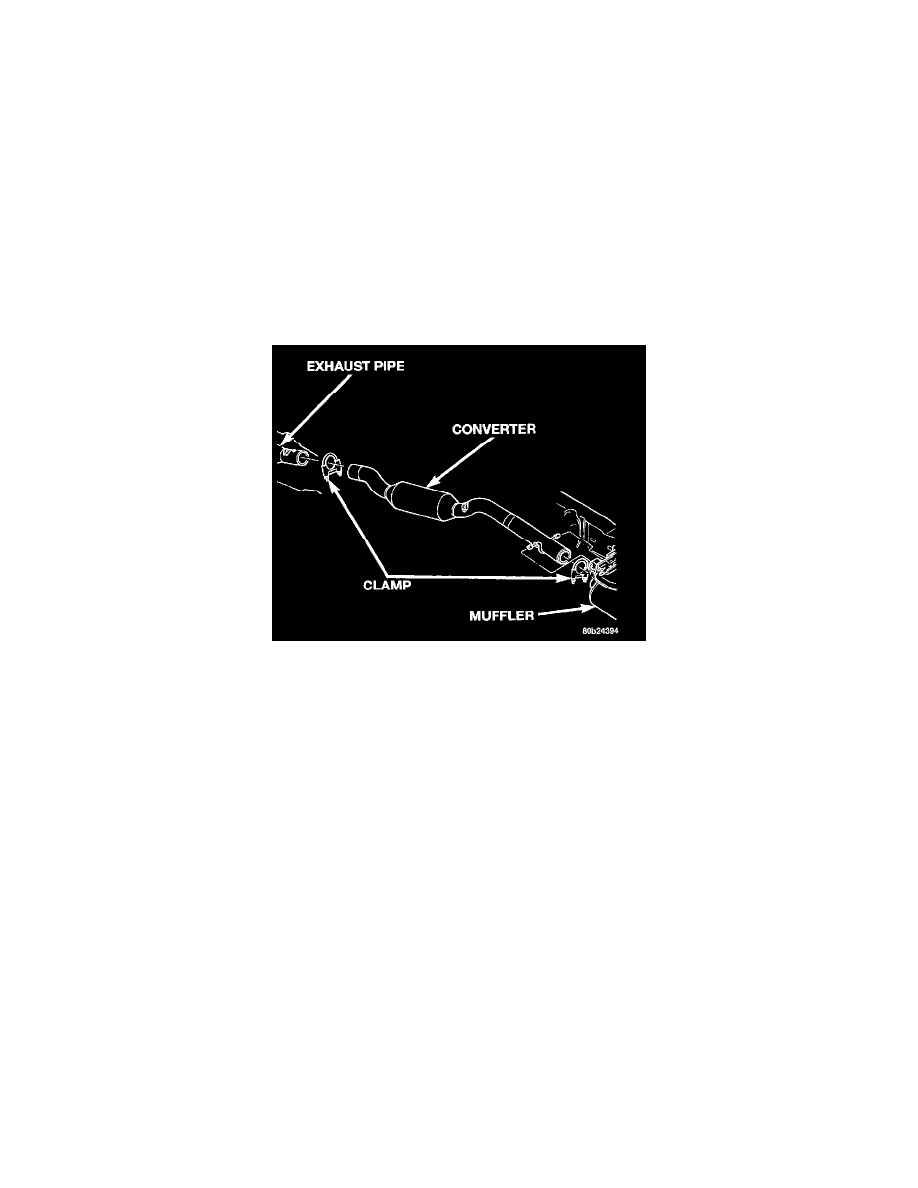
Catalytic Converter Removal/Installation
9. Remove catalytic converter to exhaust pipe clamp.
10. Heat connection with oxygen/acetylene and separate muffler from catalytic converter.
11. If equipped, remove front axle propeller shaft. Refer to Transmission and Drivetrain, Transfer Case for the correct procedure.
12. Disconnect upstream oxygen sensor.
13. Remove upper exhaust pipe to manifold bolts (one from each side) and allow exhaust pipe to hang.
14. Support transmission/transfer case with a stand and remove the transmission mount to crossmember nuts.
15. Remove transmission crossmember to frame bolts and move crossmember as far rearward (towards torsion bar crossmember) as possible.
16. Remove catalytic converter rear hanger.
17. Slide converter forward and out of vehicle.
INSTALLATION
1. If the converter is being replaced, transfer oxygen sensor from old converter and tighten to 30 Nm (22 inch lbs.).
2. Install catalytic converter into place.
3. Slide transmission crossmember into place and tighten crossmember mounting bolts to 47 Nm (35 ft. lbs.).
4. Lower transmission/transfer case into place and remove stand.
5. Install and tighten transmission mount nuts to 47 Nm (35 ft. lbs.).
6. Install the converter hanger bracket and tighten bolts to 23 Nm (200 inch lbs.).
7. Install the two exhaust pipe to manifold bolts and tighten by hand.
8. Install catalytic converter to exhaust pipe with a new exhaust clamp. Start nuts by hand.
9. Install catalytic converter into hanger isolators.
10. Install muffler onto catalytic converter with a new clamp. Tighten nuts by hand.
11. If equipped, install front axle propeller shaft
12. Install muffler into rear hanger isolators.
13. Install tailpipe hanger into isolator.
14. Inspect exhaust system for contact with body or drivetrain components. Align as necessary.
15. Tighten exhaust pipe to manifold bolts to 34 Nm (25 ft. lbs.).
16. Tighten converter to exhaust pipe clamp to 43 Nm (32 ft. lbs.).