
Durango 2WD V8-5.7L Hybrid (2009)
Parking Brake Tensioner: Adjustments
ADJUSTMENTS
NOTE: Tensioner adjustment is only necessary when the tensioner,or a cable has been replaced or disconnected for service. When adjustment
is necessary, perform adjustment only as described in the following procedure. This is necessary to avoid faulty park brake operation.
1. Raise the vehicle.
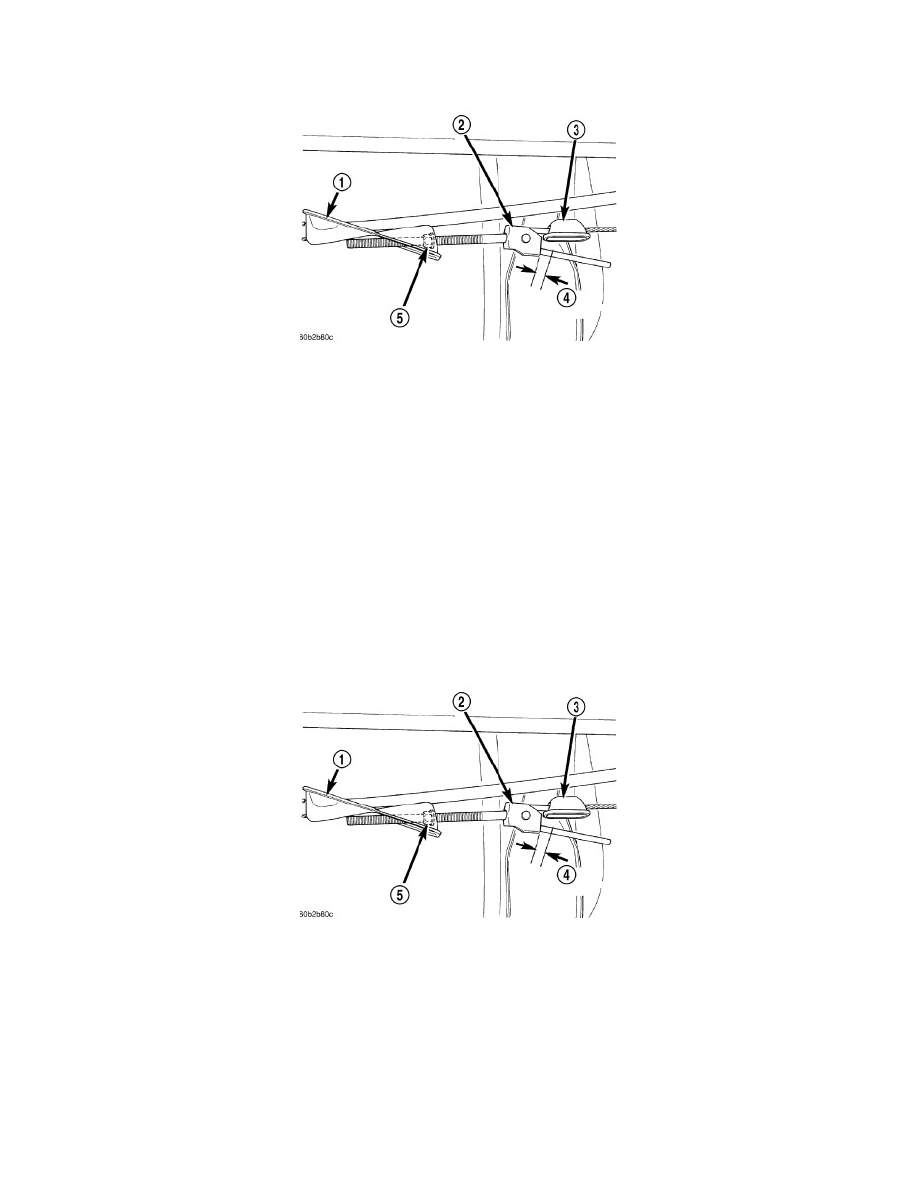
2. Back off the cable tensioner adjusting nut (5) to create slack in the cables.
3. Remove the rear wheel/tire assemblies. Then remove the brake rotorsSee: Disc Brake System/Brake Rotor/Disc/Service and Repair/Removal and
Replacement/Brake Rotor - Removal.
4. Verify the brakes are in good condition and operating properly.
5. Verify the park brake cables operate freely and are not binding, or seized.
6. Check the rear brake shoe adjustment with standard brake gauge See: Parking Brake Shoe/Adjustments.
7. Install the rotors See: Disc Brake System/Brake Rotor/Disc/Service and Repair/Removal and Replacement/Brake Rotor - Installation and verify
that the rotors rotate freely without drag.
8. Install the wheel/tire assemblies, See: Maintenance/Wheels and Tires/Service and Repair/Removal and Replacement.
NOTE: Leave park brakes applied until adjustment is complete.
9. Lower the vehicle enough for access to the park brake foot pedal. Then fully apply the park brakes.
10. Raise the vehicle again.
11. Mark the tensioner rod 6.35 mm (1/4 in.) from edge of the tensioner (2).
12. Tighten the adjusting nut (5) on the tensioner rod until the mark is no longer visible.
CAUTION: Do not loosen, or tighten the tensioner adjusting nut for any reason after completing adjustment.
13. Lower the vehicle until the rear wheels are 15-20 cm (6-8 in.) off the shop floor.
14. Release the park brake foot pedal and verify that rear wheels rotate freely without drag. Then lower the vehicle.