
Durango 2WD V8-5.7L VIN 2 (2007)
Differential Cover: Service and Repair
Rear Axle - 8 1/4
Removal
REMOVAL
1. Remove differential fill plug.
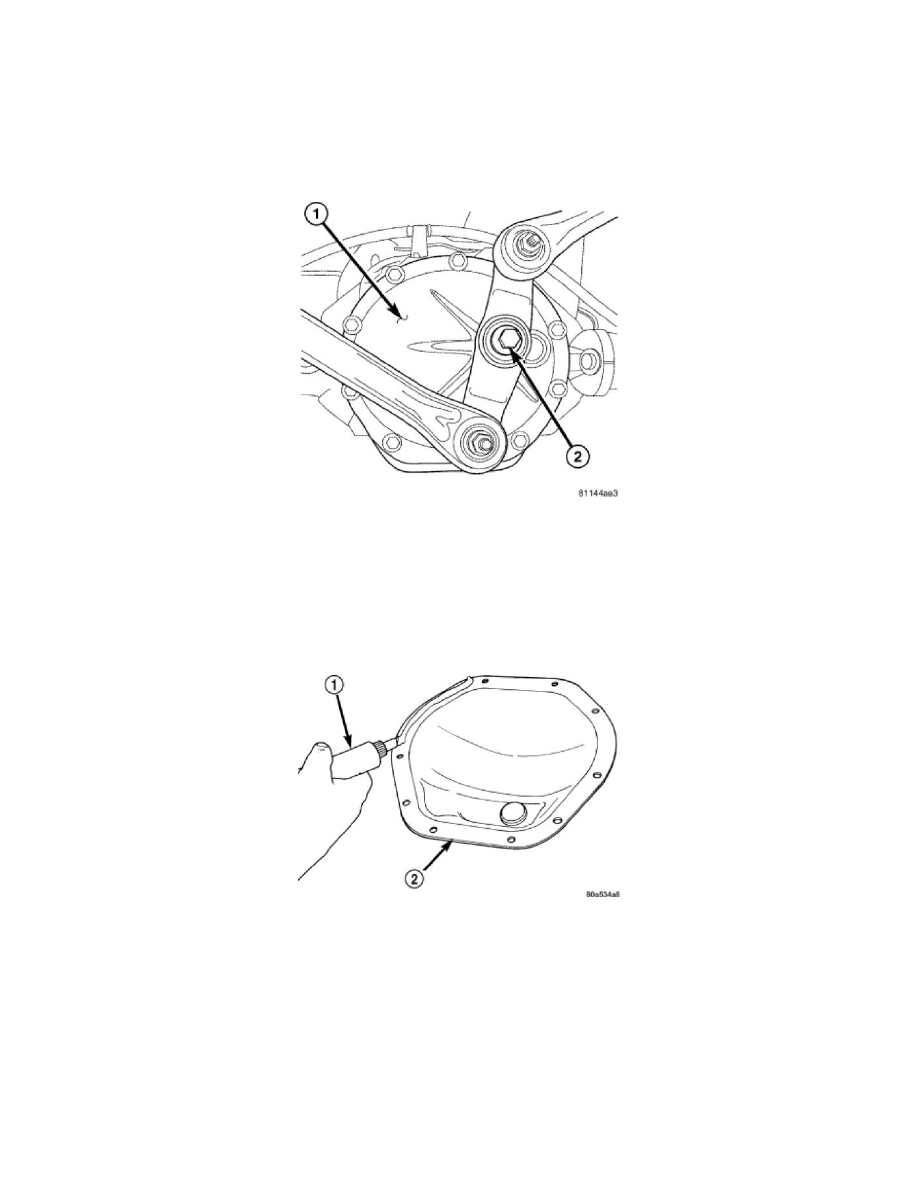
2. Remove watts link bell crank bolt (2) from differential cover (1).
3. Remove differential cover bolts.
4. Remove cover and drain fluid.
Installation
INSTALLATION
1. Clean differential cover.
2. Apply a bead of orange Mopar(TM) Axle RTV Sealant (1) or equivalent to the cover (2).
CAUTION: If cover is not installed within 3 to 5 minutes, the cover must be cleaned and new RTV applied. Failure to follow these
instructions will compromise adhesion quality.
3. Install cover and tighten bolts in a criss-cross pattern to 44 Nm (32 ft. lbs.).
4. Fill differential with 2.07 L (4.375 pts.) of gear lubricant.
CAUTION: Fill differential by volume only, not to the bottom of fill plug. Failure to follow these instructions will cause an over fill
condition.
5. Install fill hole plug.
6. Install watts link bell crank bolt and tighten to 217 Nm (160 ft. lbs.).