
Dynasty L4-153 2.5L SOHC (1988)
Trim Panel: Service and Repair
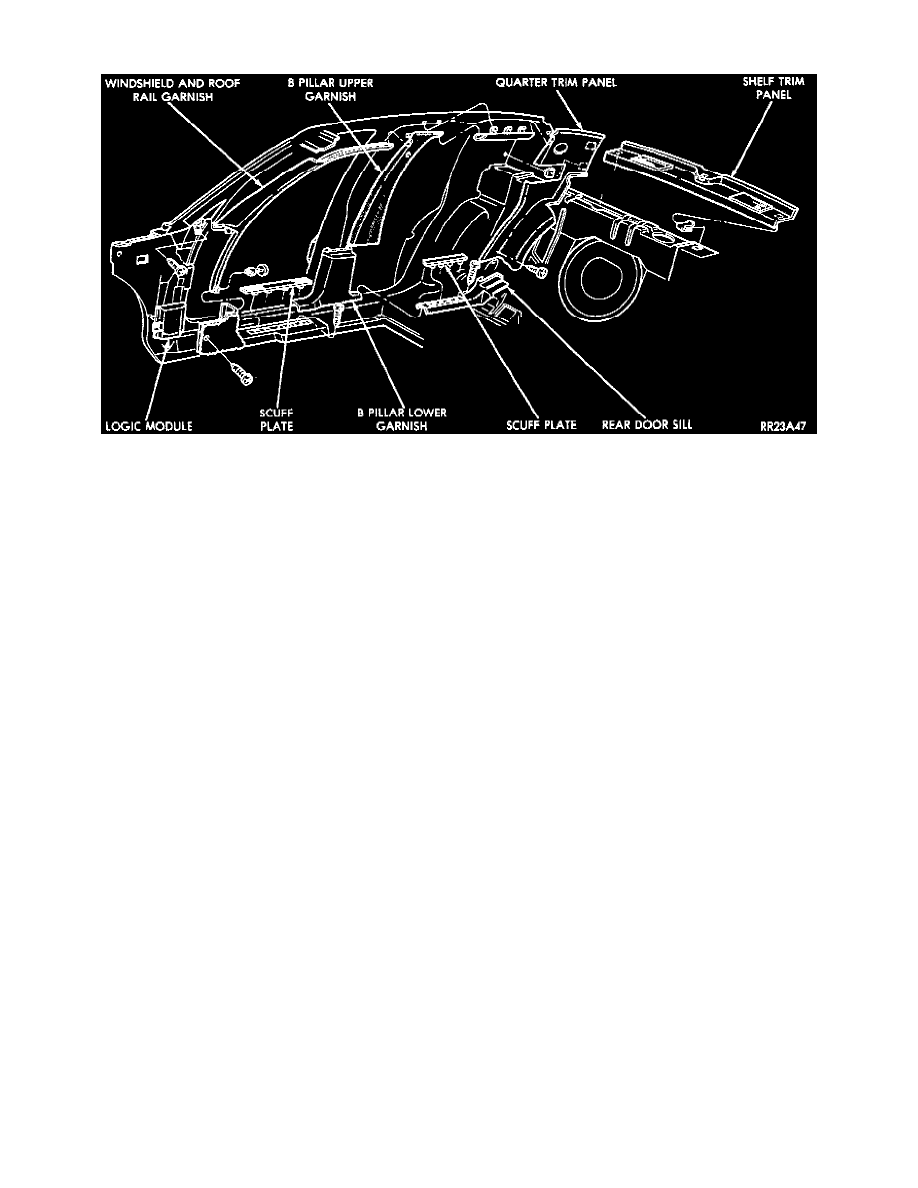
Interior Garnish Mouldings
GARNISH MOULDING
When removing a garnish moulding that is overlapped by an adjoining moulding, loosen the end attaching screw to prevent damage to both
mouldings.
Cowl Side Trim Panel
1. Install cowl side trim panel (4 screws).
2. Install fuel filler cable release handle (1 screw).
3. Install scuff plate trim insert panel to cover fasteners in sill.
4. For removal, reverse above procedure.
Front Door Scuff Plate
1. Install front scuff plate to sill (3 screws).
2. Install trim insert.
3. To remove, reverse above procedure.
Rear Door Scuff Plate
1. Install scuff plate to sill (2 screws).
2. Install trim insert to cover fasteners.
3. To remove, reverse above procedure.
Rear Quarter Trim Panel
1. Position quarter panel.
2. Secure with 2 screw and 2 clips.
3. To remove, reverse above procedure.
A-Pillar Moulding
1. Position moulding.
2. Secure with 3 clips along roof rail and 1 clip along windshield side frame.
3. Install push pin to cowl side trim.
4. To remove, reverse above procedure.
Rear Shelf Panel Speakers
1. Install speaker to panel with 4 screws.
2. To remove, reverse above procedure.
Center High Mounted Stop Lamp
1. Position lamp.
2. Secure with 2 screws.
3. To remove, reverse above procedure.