
Dynasty L4-153 2.5L SOHC (1988)
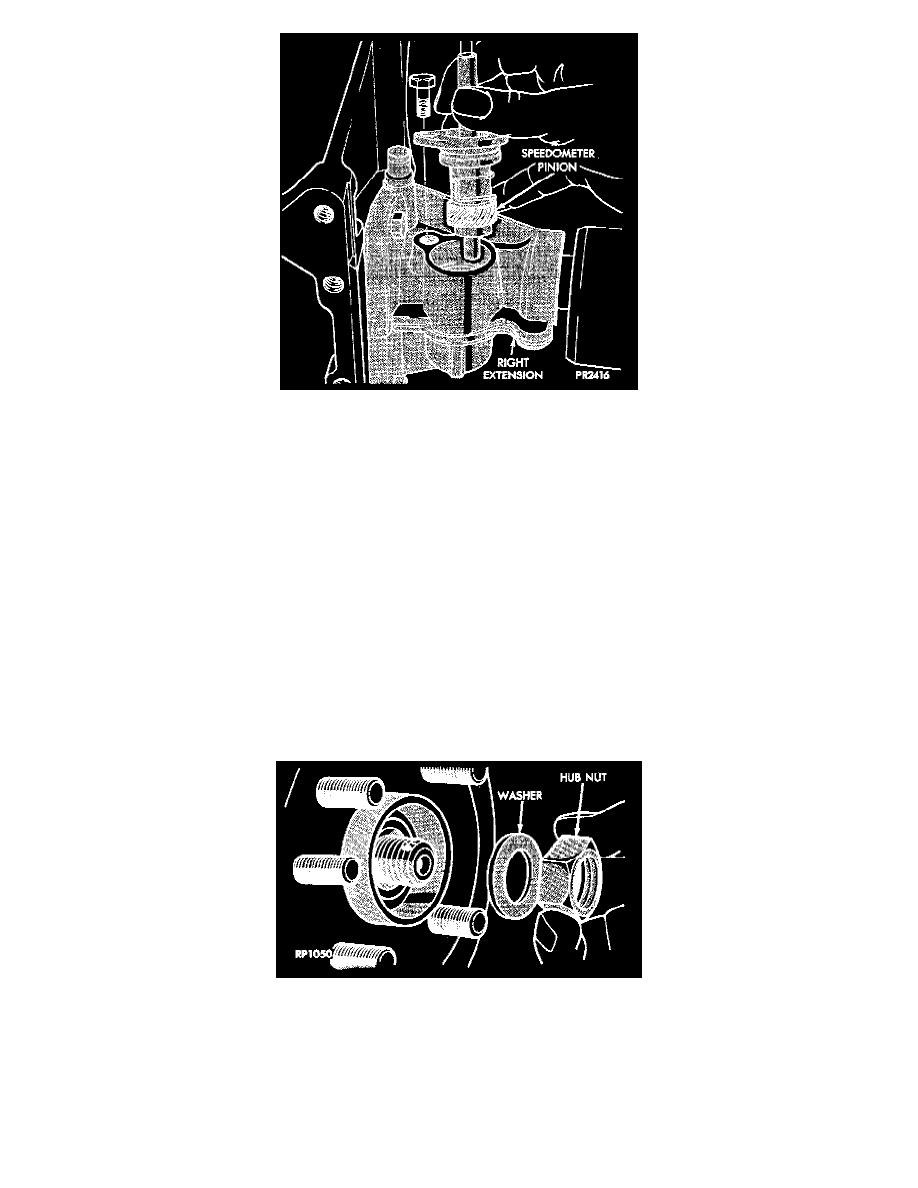
5. Install speedometer pinion as shown.
6. Fill differential with proper lubricant.
Standard GL-5
Sure-Grip 90 GL-5 *
above -10°F (-23°C), 90, 80W-90, 85W-90;
-30° to -10°F (-34 to -23°C), 80W, 80W-90, 85W-90;
below -30°F (-34°C), 75W
7. Install hub nut assembly.
8. If after installing the driveshaft assembly, the inboard boot appears collapsed or deformed, vent the inner boot by inserting, a round tipped small
diameter rod between the boot and shaft.
-
If necessary, massage the boot to remove all puckers being careful not to allow dirt to enter or grease to leave the boot cavity. If the boot is
clamped to the shaft with a rubber "garter" clamp, it need not be removed to perform this venting operation. If the boot is clamped to the shaft
using a metal clamp, the clamp must be removed and discarded before the rod can be inserted.
Note: After venting, install a new Service Clamp, Part Number 5212720, or equivalent using special Tool C4653.
Hub Nut Assemblies - Install
The front wheel hub nuts use a "lock" and "cotter pin" to maintain proper wheel bearing preload and prevent the nut from backing off.
1. Install washer and hub nut after cleaning foreign matter from threads.