
Dynasty V6-181 3.0L SOHC (1991)
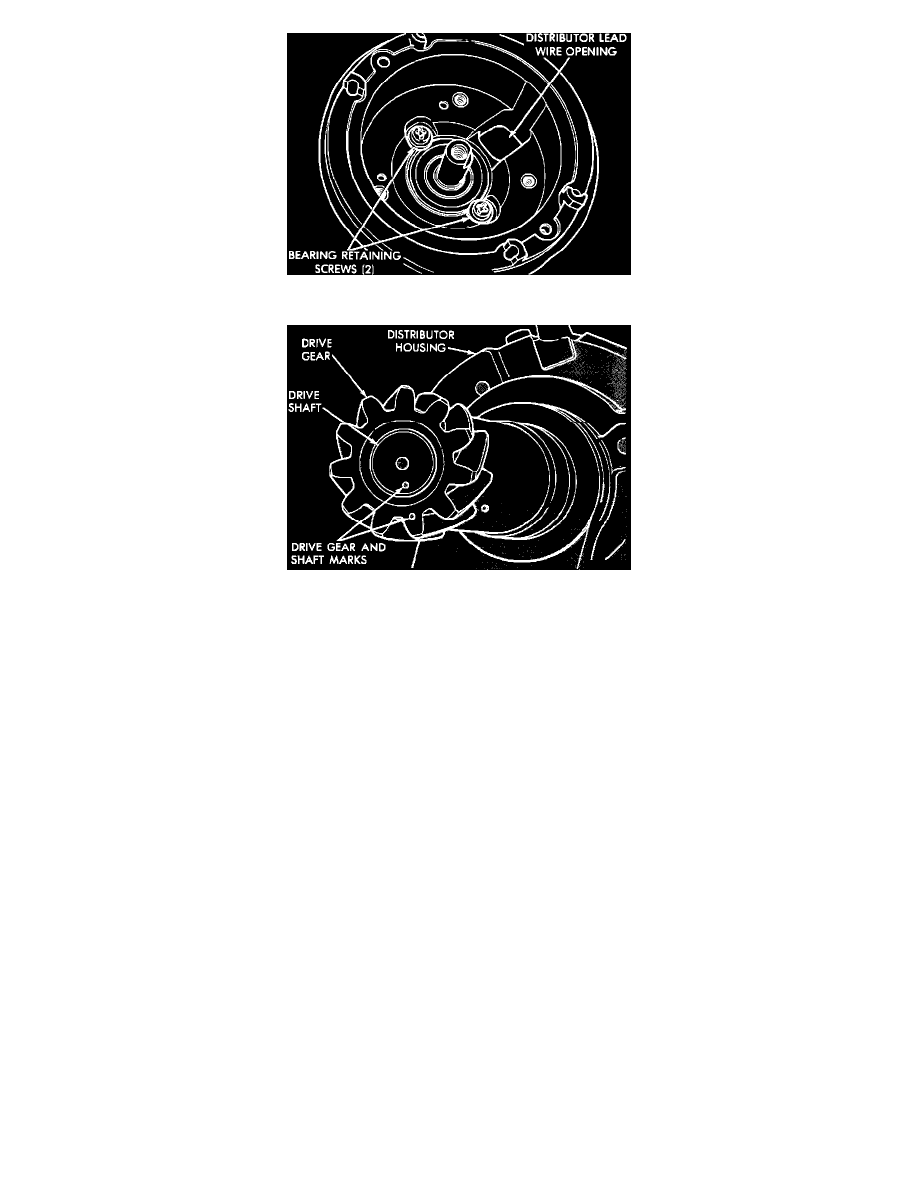
Bearing Retainer Screws
Marks On Drive Gear And Shaft
3.
Remove bushing and 3 photo optic sensing unit fasteners. Remove unit from distributor housing.
4.
Remove 2 bearing retainer screws.
5.
Make reassembly alignment marks on gear and shaft, then with a pin punch drive out the distributor drive gear roll pin.
6.
Remove distributor drive gear, remove distributor shaft and bearing assembly.
ASSEMBLY
1.
Install shaft and bearing assembly in distributor housing.
2.
Install distributor drive gear on shaft, taking care to ensure proper alignment with reference marks made during disassembly, and install roll pin.
3.
Install distributor shaft bearing retaining screws.
4.
Install the photo optic sensing unit and bushing and tighten with 3 screws.
5.
Install disk spacers and disk. Install disk assembly screw.
6.
Install lead wire, and lead wire clamp screw.
7.
Install protective cover on distributor housing.
INSTALLATION
1.
If engine has not been cranked with distributor removed proceed to step 2 for installation. If engine has been cranked with distributor removed
proceed to step 3 for installation.
2.
Position the distributor in the engine, making sure O-ring is properly seated on distributor, and is not cut or worn. Carefully engage the distributor
drive with the cam shaft drive, so that when the distributor is installed, the rotor will be in line with the previously scribed line on the air intake
plenum. Proceed to step 4.
3.
If the engine has been cranked with the distributor removed perform the following procedure:
a.
Rotate the crankshaft until the number one piston is at the top of its compression stroke.