
Dynasty V6-181 3.0L SOHC (1991)
1. INTERNAL CHECK - This is a test of the internal functions of the electronic instrument cluster. This test displays any fault codes that may
be present. None of the diagnostic test procedures require you to perform the internal check test. Fault codes are accessible through the ELECT
CLUST module menu and should be read from this menu. See "How to Read DRBII Fault Messages" found earlier in this Help 1.
2. ALL SEGMENTS ON - This test turns on all segments of the EIC display, then turns them off. If all segments do not come on then
extinguish, the test fails.
3. SEQ SEGMENTS TEST - This test lights up every vacuum fluorescent bar on all gauges in the EIC display, then turns them off. If any bar
fails to light up, the test fails.
4. SEQ LEGENDS TEST - This test lights up each legend in the EIC display one at a time, then turns it off. If any legend fails to light, or if two
light up together, the test fails.
5. SEQ LAMP CHECK - This test lights up each of the following lamps in the EIC display one at a time, and then turns it off: Washer Fluid,
Door/Deck, Check Engine, Seat Belt, Brake, and Check Gages. If any lamp does not light up and then extinguish, the test fails.
How to Use the DRBII Volt/Ohmmeter
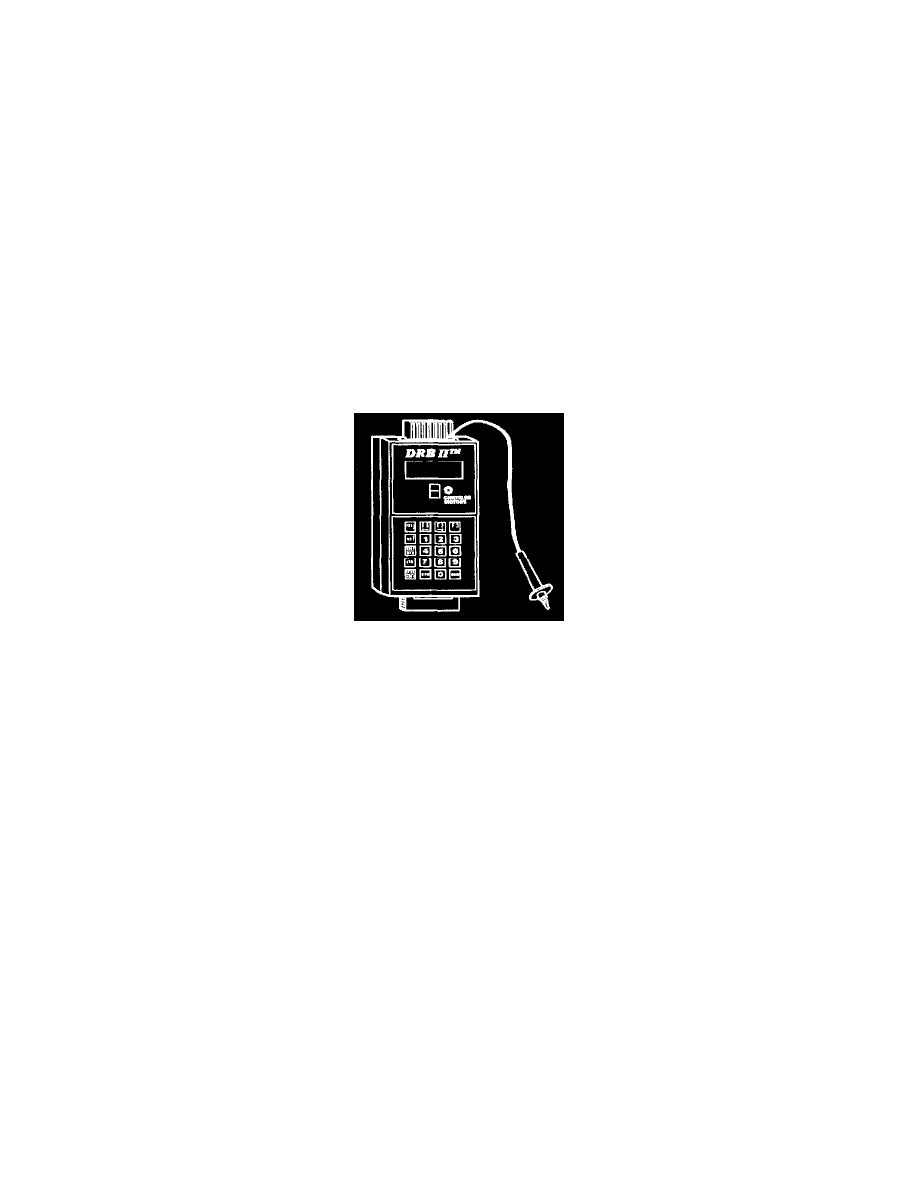
HOW TO USE THE DRBII VOLT/OHMMETER
To access the volt/ohmmeter function of the DRBII, proceed as follows.
A. Connect the red volt/ohmmeter test lead to the red port at the right top of the DRBII.
NOTE: There are two ports at the top of the DRBII. Be sure to connect the lead to the correct port.
Voltmeter Mode
A. Press VOLT/OHM once. The top line of the display will change to read as follows:
* - VOLTS+ .X - *
B. Touch the test probe to the connector or wire to be measured.
C. Read the voltage on the DRBII display.
D. When voltage testing is done, press VOLT/OHM three times to exit voltmeter mode.
Ohmmeter Mode
A. Press VOLT/OHM twice. The top line of the display will change to read as follows:
* - OHMS= XX - *
B. Touch the test probe to the connector or wire to be measured.
C. Read the resistance to ground on the DRBII display.
D. When resistance testing is done, press VOLT/OHM twice to exit ohmmeter mode.
NOTE: Some test steps require the use of an ohmmeter other than the DRBII ohmmeter. Before using an "external" ohmmeter, be sure it is
properly adjusted to take accurate readings of resistance. Refer to the manufacturer's operating instructions if necessary.
Continuity Meter Mode
A. Press VOLT/OHM three times. The top line of the display will change to read as follows: