
Grand Caravan L4-153 2.5L SOHC VIN K TBI (1988)
Measuring Bearing To Journal Clearance Using Plastigage
4. Lay crankshaft into block, cut Plastigage to same length as width of the bearing and place it in parallel with the journal axis.
5. Install the main bearing caps carefully and torque the main bearing bolts to specification.
NOTE. Do not rotate crankshaft or the Plastigage may smear.
6. Remove bearing caps and measure the width of the Plastigage at the widest part using the scale on the Plastigage package.
7. Oil the bearings and journals and install the crankshaft and main bearing caps. Install cap Number 1 on the timing belt end, and cap Number 5 on
the transmission end. Then main bearing caps Numbers 2,3, and 4 next.
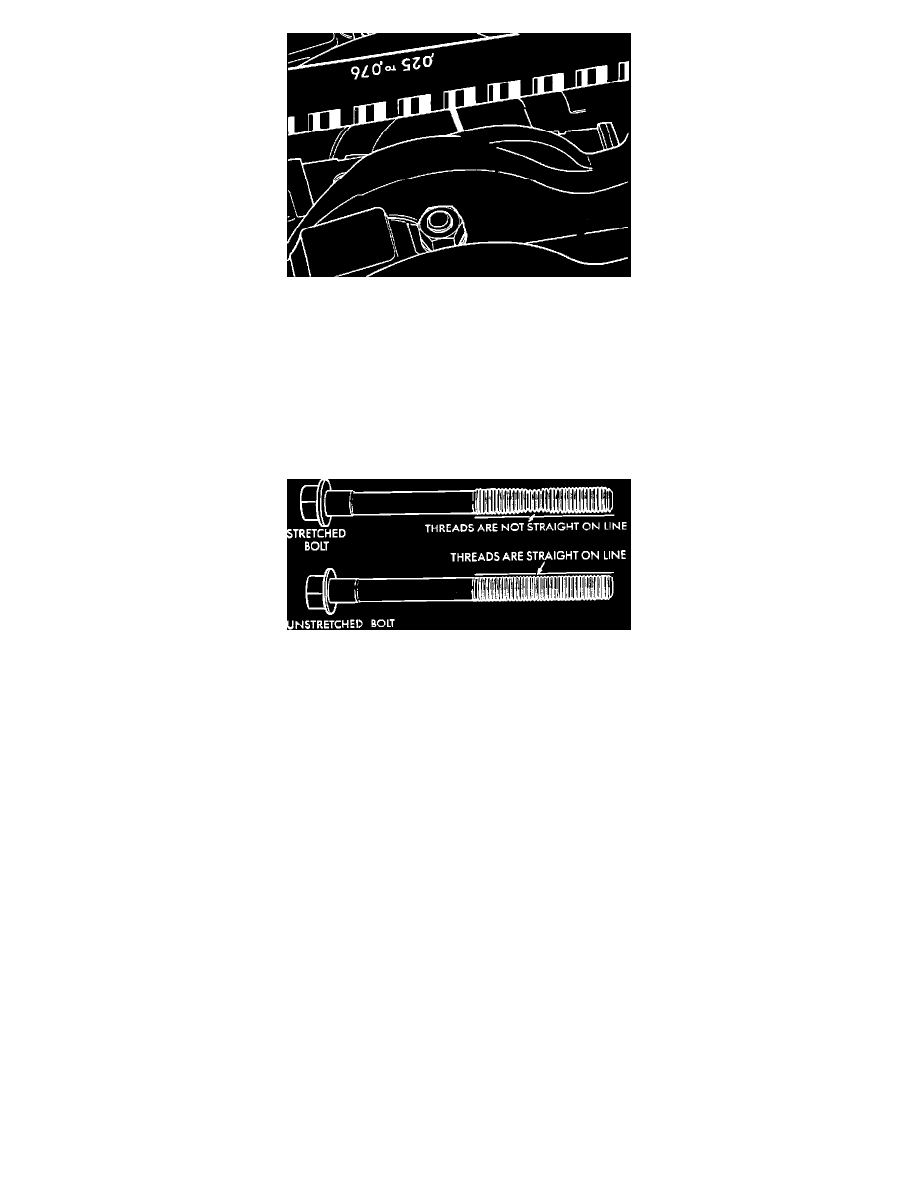
Checking Bolts For Stretching (Necked Down)
CAUTION:Since the main bearing bolts are torqued using a new procedure, they should be examined before reuse. If the threads are "necked
down", the bolts should be replaced. Stretching can be checked by holding a scale or straight edge against the threads or by running a
M11 X 1.50 nut the full length of the thread. If all the threads do not contact the scale of if the nut does not run down smoothly the
bolt should be replaced.
8. Before installing the bolts the threads should be oiled with engine oil.
9. Install both bolts in each cap finger tight, then alternately torque each bolt to assemble the cap properly.
10. Starting with main bearing cap Number 3 and working out to the end, tighten the bolts to 30 ft.lbs. plus 1/4 turn (41 Nm plus 1/4 turn).