
Grand Caravan L4-153 2.5L SOHC VIN K TBI (1988)
3.
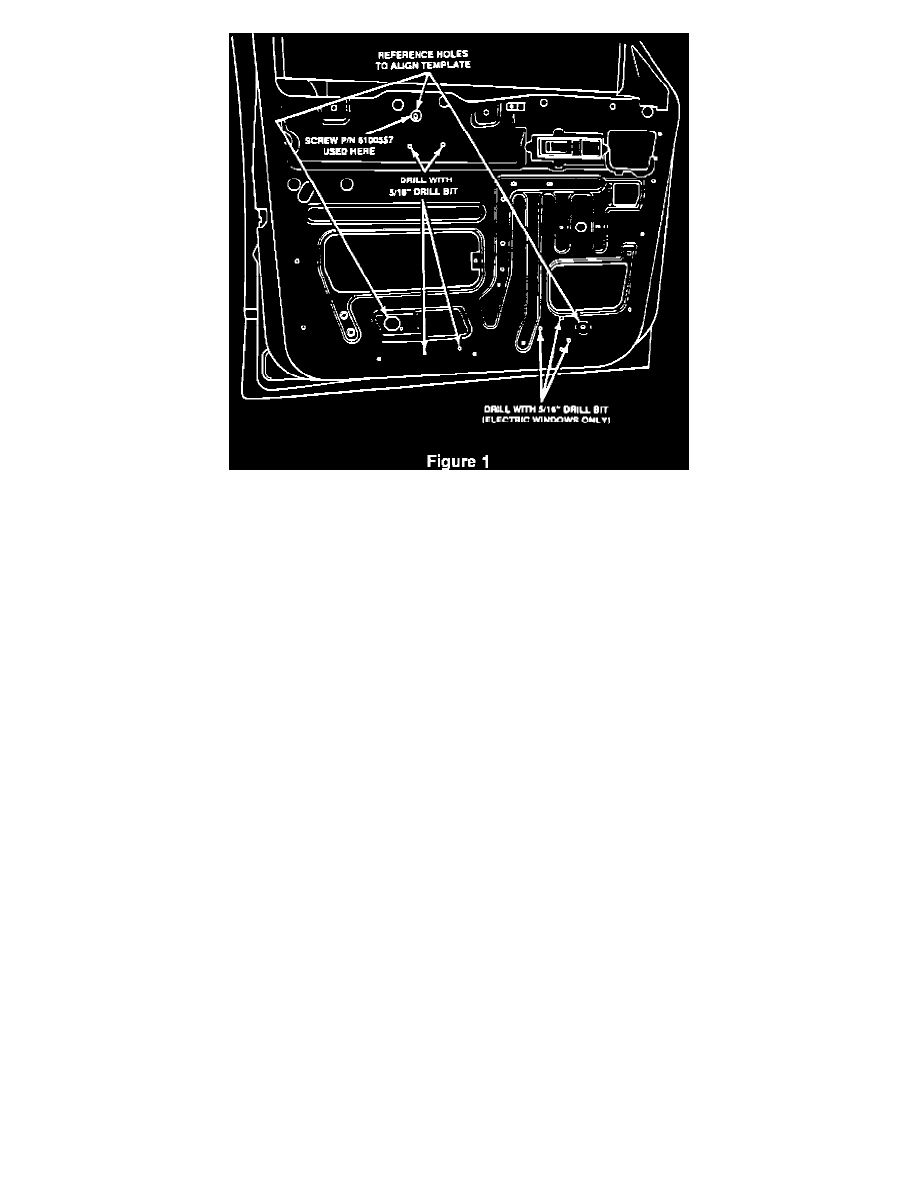
Use the reference holes of the template (P/N K4746908) to properly position the template on the front door(s) inner panel then tape the template in
place. Refer to Figure 1.
4.
Center punch and drill, 7.9 mm (5/16 in.) holes identified with an * (asterisk) on the template. Four are for the regulator cable guide bar and three
are for the motor attachment (if the vehicle is equipped with electric windows).
NOTE:
IN THE NEXT STEP, BE CAREFUL NOT TO TWIST THE CABLES OF THE WINDOW REGULATOR ASSEMBLY.
5.
Position the new drum and cable window regulator in the door and attach the cable guide bar with 5 screws (4 - P/N 6501682 and 1 - P/N
6100557) which is used at the up stop position. The top screw should be left loose for now and tightened when making the final adjustment to the
up-stop in step 10.
6.
A)
For electric regulator equipped vehicles, attach the motor to the inner door panel using 3 nut & washer assemblies (P/N 6100048).
B)
For manual regulator equipped vehicles, attach the manual drive assembly to the inner door panel with 2 screws (P/N 6501682).
7.
Using the original hardware, attach the glass to the regulator.