
Grand Caravan L4-2.4L DOHC (1996)
Ball Joint: Service and Repair
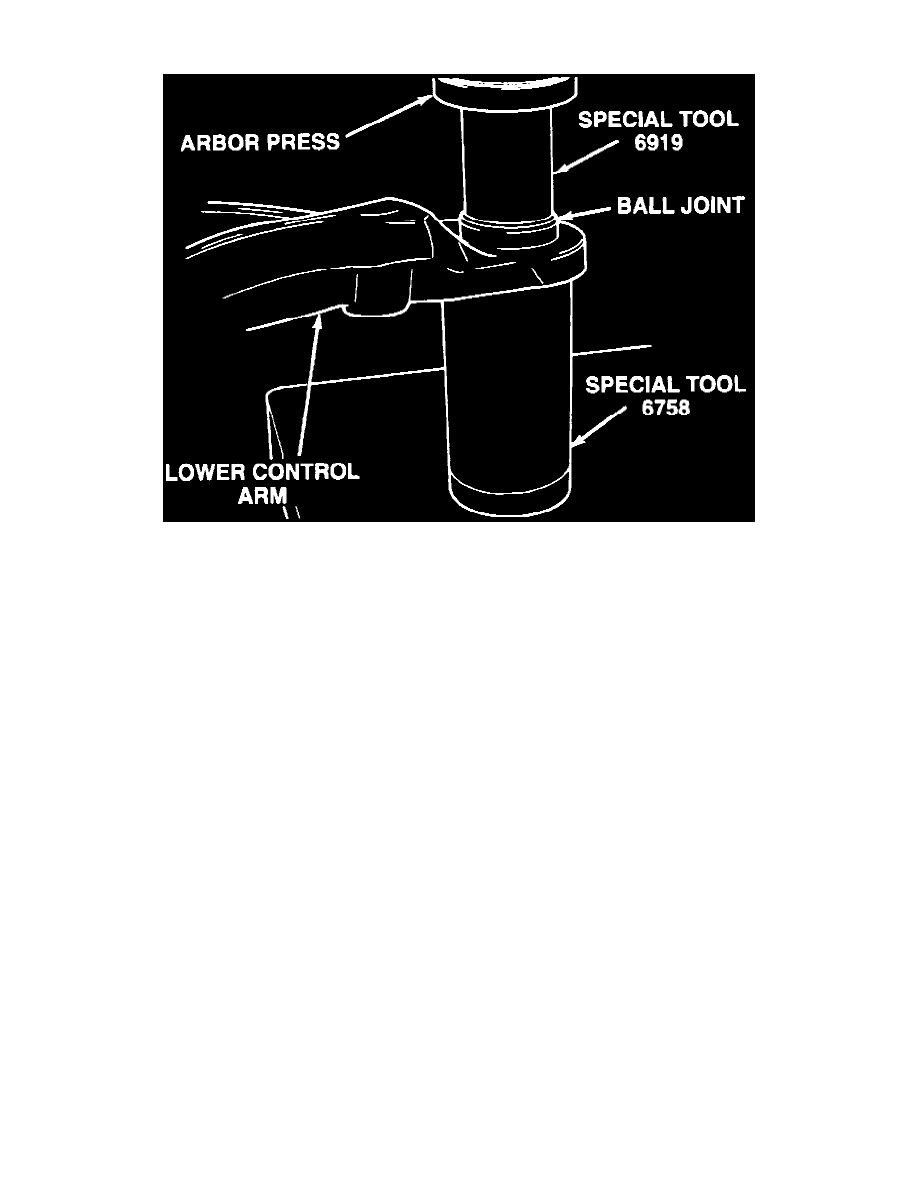
Fig. 10 Ball Joint Removal
1. Pry dust seal boot off ball joint assembly with a suitable screwdriver.
2. Position receiving cup tool No. 6758, or equivalent to support lower control arm assembly, then install removal tool No. 6919, or equivalent to top
of ball joint assembly.
3. Using a suitable arbor press, remove ball joint completely from lower control arm.
4. Position new ball joint into ball joint bore so notch is facing lower control arm.
5. Position control arm into arbor press with receiving cup tool No. 6758, or equivalent supporting lower control arm, then center installation tool
No. 6908-4, or equivalent on bottom of ball joint.
6. Align pieces, then press ball joint into lower control arm.
There should be no gap between ball joint and lower control arm. Do not apply excessive force against ball joint or lower control arm.
7. Install new dust seal boot.