
Grand Caravan V6-3.3L VIN E Flex Fuel (2007)
A-Pillar Trim Panel-Installation
INSTALLATION
1. Position foot on A-pillar trim panel into instrument panel top cover channel.
2. Position A-pillar trim in vehicle.
3. Align locator pins.
4. Engage hidden clips.
5. Install the assist handle, if equipped.
Removal
REMOVAL
NOTE: The driver's side a double ended stud is used. A nut has to be removed for the seat belt anchor removal and the stud for the retractor
removal.
NOTE: On the passenger side there is a belt tension sensor.
1. Slide lower seat belt cover rearward to expose anchor fastener.
2. Remove bolt/nut attaching lower seat belt anchor to floor.
3. Remove upper B-pillar trim cover.
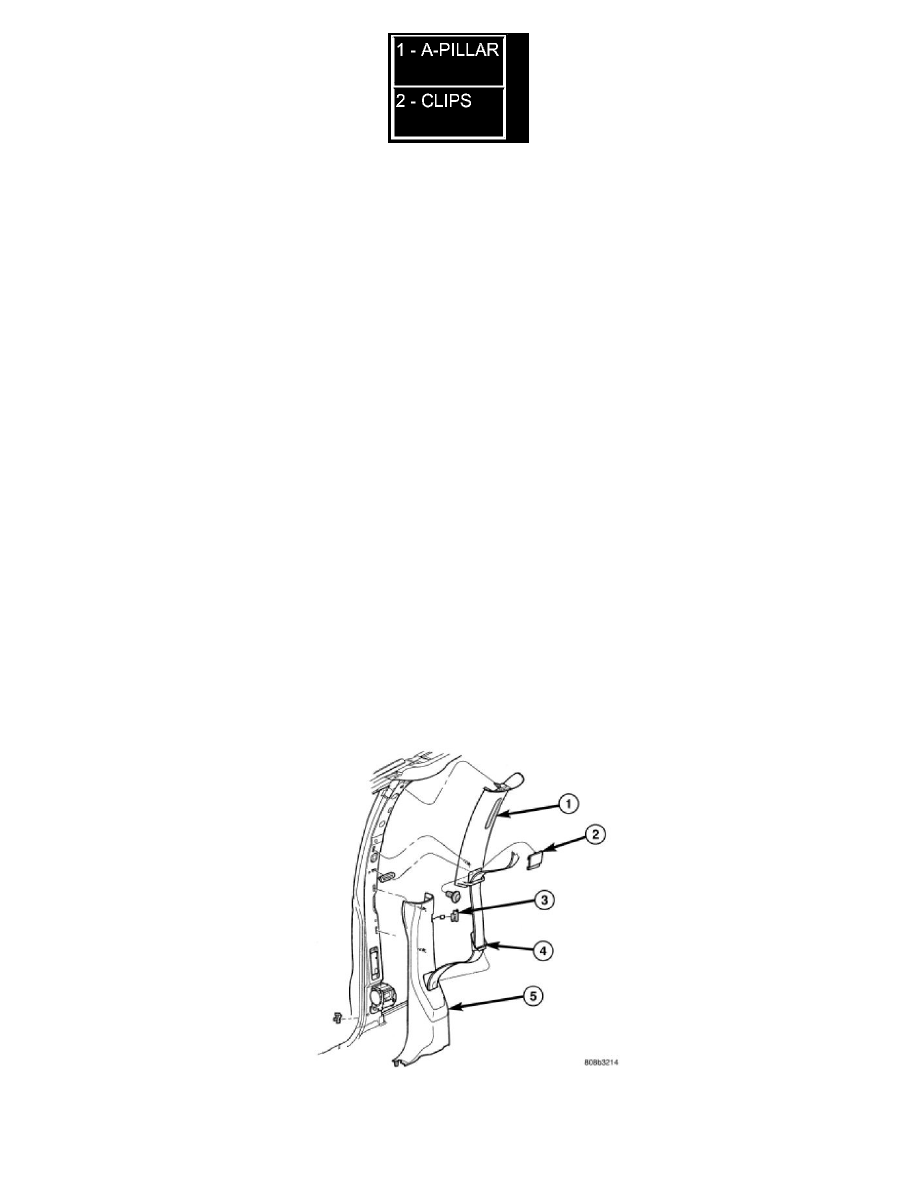
4. Remove access panel from B-pillar trim (Figure 1).
5. Disengage hidden clips attaching lower trim cover to B-pillar.
6. Remove lower B-pillar trim cover from vehicle.
Figure 1 LOWER B-PILLAR TRIM COVER