
Grand Caravan V6-3.3L VIN R (2005)
Front Door Panel: Removal and Replacement
Watershield
WATERSHIELD
REMOVAL
1. Remove door trim panel.
2. Remove the front door speaker.
3. Peel watershield away from adhesive around perimeter of inner door panel.
INSTALLATION
1. Insure that enough adhesive remains to securely retain the water dam. Replace as necessary.
2. Place the shield into position and press securely to adhesive making sure to properly route wiring and linkages.
3. Install the front door speaker.
4. Install door trim panel.
Trim Panel
TRIM PANEL
REMOVAL
1. Remove the plug and remove screw attaching door pull cup to inner door panel.
2. Remove switch bezel and disconnect power window/memory switch.
3. Remove screws attaching trim panel to door from below map pocket.
4. If equipped, remove window crank.
5. Remove screw holding door trim to door panel from behind inside latch release handle.
6. Disengage clips attaching door trim to door frame around perimeter of panel.
7. Lift trim panel upward to disengage flange from inner belt molding at top of door.
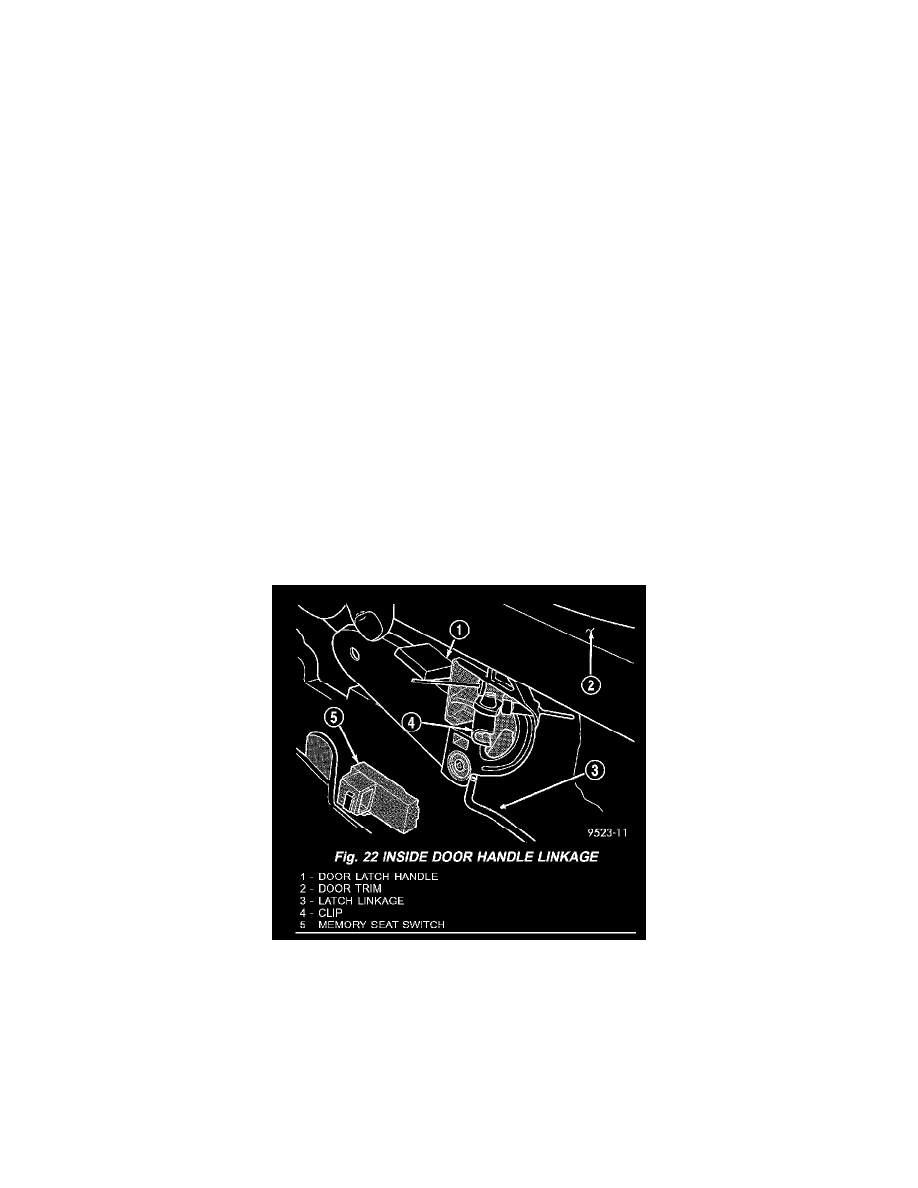
8. Tilt top of trim panel away from door to gain access to latch linkage.
Fig. 22
9. Disengage clip attaching linkage rod to inside latch release handle (Fig. 22).
10. Separate linkage rod from latch handle.
11. Disconnect the power door switch, courtesy lamp electrical connectors.
12. Remove front door trim panel from vehicle.
INSTALLATION
1. Hold top of trim panel away from door to gain access to latch linkage.
2. Place linkage rod in position on latch handle.