
Grand Caravan V6-3.3L VIN R (2005)
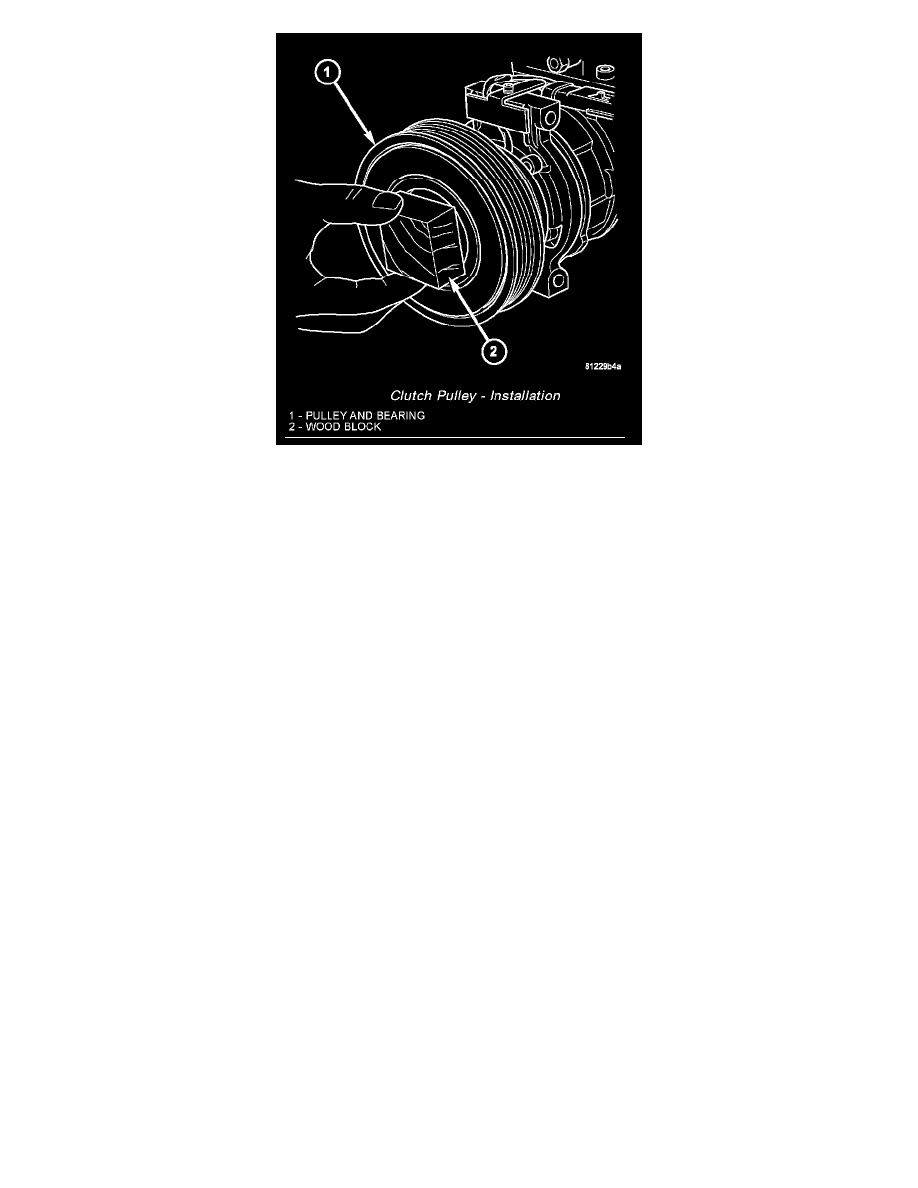
Clutch Pulley - Installation
4. Install the pulley onto the front cover of the A/C compressor. If necessary, tap the pulley gently with a block of wood placed on the pulley friction
surface.
CAUTION: Do not mar the friction surfaces of the pulley.
NOTE: A new snap ring must be used to secure the clutch pulley to the A/C compressor. The bevel side of the snap ring must face outward.
5. Using snap ring pliers (Special Tool C-4574 or equivalent), install the external snap ring (bevel side facing outward) that secures the clutch pulley
to the front cover of the A/C compressor. Be certain that the snap ring is fully and properly seated in the groove.
6. If the original clutch plate and clutch pulley are to be reused, reinstall the original shim(s) on the compressor shaft against the shoulder. If a new
clutch plate and/or clutch pulley are being used, install a trial stack of shims 2.54 mm (0.010 in.) thick on the compressor shaft against the
shoulder.
7. Install the clutch plate onto the compressor shaft.
NOTE: The shims may compress after tightening the shaft bolt. Check the air gap in four or more places to verify the air gap is still correct. Spin
the pulley before performing a final check of the air gap.
8. With the clutch plate assembly tight against the shim(s), measure the air gap between the clutch plate and the pulley face with feeler gauges. The
air gap should be between 0.35 - 0.60 mm (0.014 - 0.024 in.). If the proper air gap is not obtained, add or subtract shims as needed until the
desired air gap is obtained.
9. Install the compressor shaft bolt. Tighten the bolt to 17.5 N.m (155 in. lbs.).
10. On models with the 2.4L, 2.5L and 2.8L engines, loosely install the four bolts that secure the A/C compressor to the mounting bracket on the
engine (2.4L), or the cylinder block (2.5L/2.8L). Tighten the bolts to 28 N.m (21 ft. lbs.).
11. On models with the 3.3L and 3.8L engines, loosely install the two bolts and two nuts that secure the A/C compressor to the engine. Tighten each of
the fasteners to 54 N.m (40 ft. lbs.) using the following sequence:
-
The upper nut at the front of the compressor.
-
The lower nut at the front of the compressor.
-
The upper bolt at the rear of the compressor.
-
The lower bolt at the rear of the compressor.
12. On models with the 3.3L and 3.8L engines, engage the retainer on the engine wire harness compressor clutch coil take out with the bracket on the
top of the A/C compressor.
13. Connect the engine wire harness connector to the A/C compressor clutch coil.
14. Install the accessory drive belt.
15. Lower the vehicle.
16. Reconnect the negative battery cable.