Grand Caravan V6-3.3L VIN R (2005)

carefully pull downward on the heater tube fitting.
CAUTION:
Residual coolant will come out of the heater hoses when they are removed. Be prepared to catch the residual coolant in a suitable container.
12.
Lower the underbody heater tubes to drain any residual coolant from the tubes.
13.
Using spring tension clamp pliers (Blue Point(R) YA9562 or equivalent), compress and slide the clamps off the rubber hoses at the front of the
underbody coolant tubes.
14.
Disconnect the heater hoses by carefully twisting the hoses back and forth while gently pulling them away from the end of the coolant tubes.
15.
Remove and discard the underbody rear A/C and heater tubes.
16.
Using locking pliers, remove and discard the stud from the evaporator tapping plate.
CAUTION:
Failure to replace the stud will cause future A/C tube failure.
The new stud has an additional coating to prevent corrosion.
17.
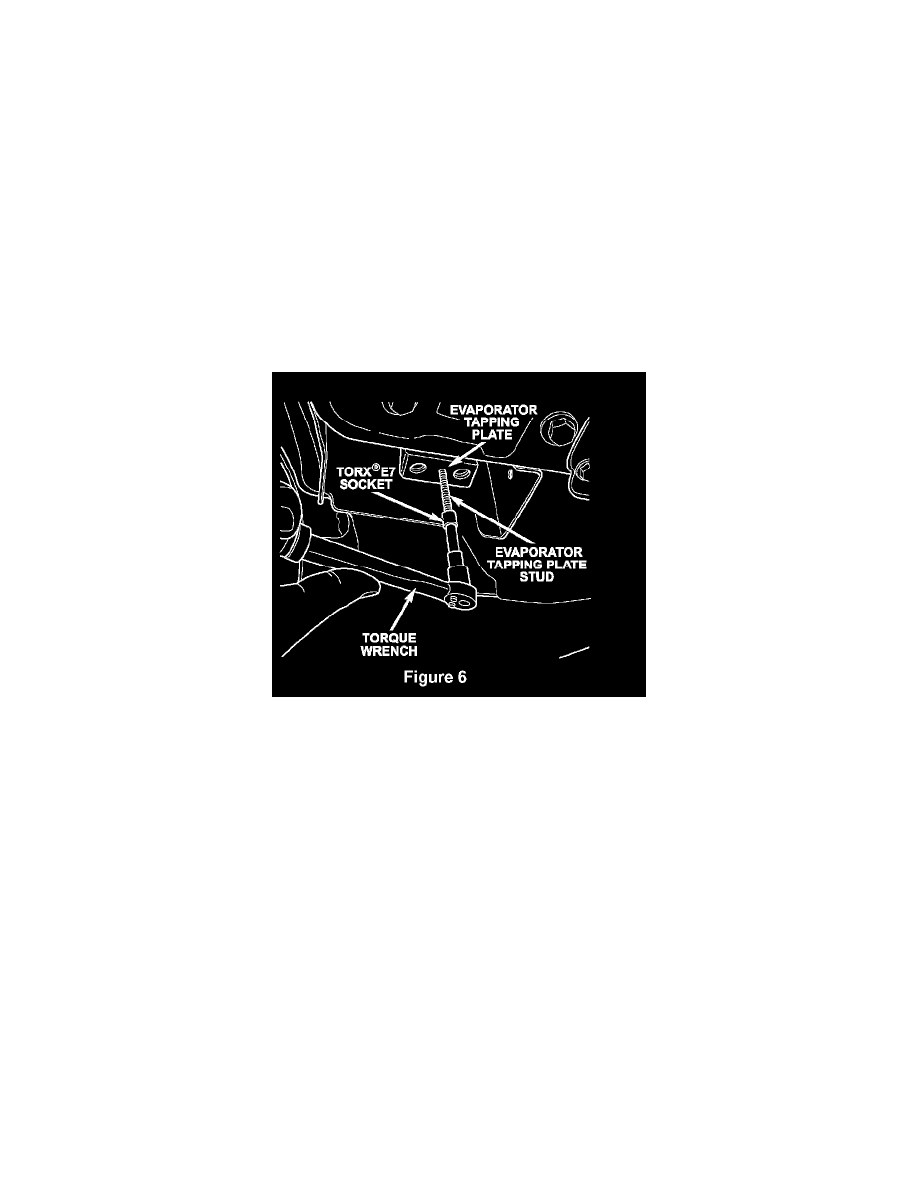
Using an E7 Torx(R) socket (Snap-on(R) TLE70A or equivalent), install the new stud provided in the kit into the evaporator tapping plate (Figure
6).
Tighten the stud to 80 in. lbs. (9 N.m).
18.
Remove the plastic shipping cap on the A/C mounting block and pour 1 oz. of PAG oil (P/N 82300102) into the A/C suction line. Then
temporarily reinstall the shipping cap.
19.
Position the new line kit under the vehicle and install the fasteners that secure the four retaining straps to the vehicle. Tighten the fasteners to 65 in.
lbs. (7 N.m).
20.
Position the rear brake line bracket and install the fastener. Tighten the fastener to 250 in. lbs. (28 N.m).
21.
Remove and discard the plastic shipping cap from the A/C mounting block and lubricate the new o-ring seals with clean refrigerant oil.
