
Grand Caravan V6-3.3L VIN R (2005)
22
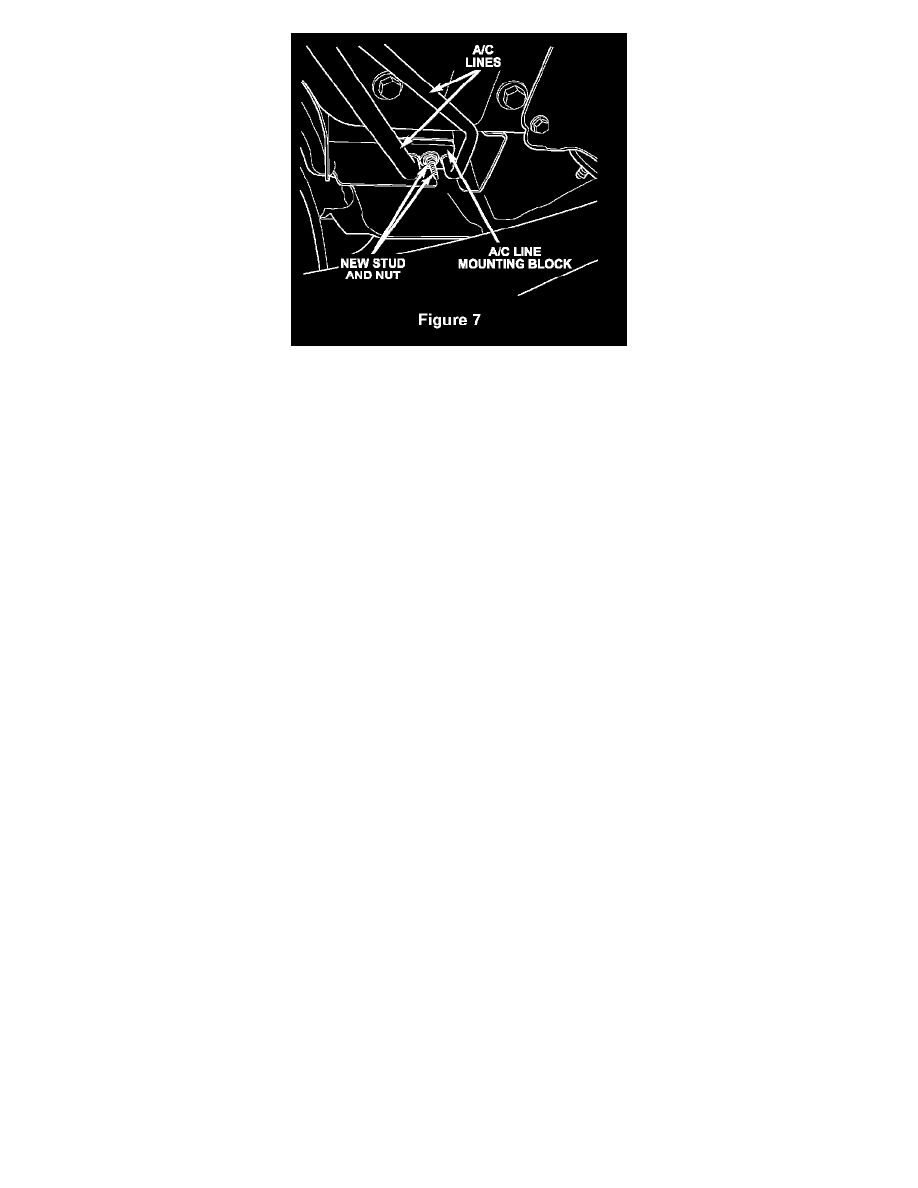
Connect the underbody A/C lines to the rear evaporator tapping plate (Figure 7).
23.
Install the new nut/washer, provided in the kit, to secure the underbody A/C line mounting block to the rear evaporator tapping plate (Figure 7).
Tighten the nut to 17 ft. lbs. (23 N.m).
24.
Remove the plastic shipping caps and lubricate the new o-ring seals for front extension tubes with clean refrigerant oil.
25.
Connect the underbody A/C line fittings to the front liquid and suction line extension tubes. Tighten the A/C line brass nuts to 17 ft. lbs. (23 N.m).
26.
Connect the rubber hoses at the front of the underbody heater tube hoses to the rear heater extension tubes.
27.
Using spring tension clamp pliers (Blue Point® YA9562 or equivalent), compress and slide the clamps that secure the heater hoses over the
extension tubes. Release the clamp when it is correctly positioned over the tube.
28.
Connect the rear underbody heater quick connect fittings to the rear heater core extension tubes.
29.
Place the exhaust system into position and attach the exhaust hanger rubber isolators.
30.
Lower the vehicle from the hoist.
31.
Using an approved refrigerant evacuation machine, evacuate the A/C system.
Follow the manufacturers instructions provided with the machine being used.
32.
Refill the engine cooling system using the original coolant removed from the vehicle.
33.
Using an approved refrigerant charging machine, charge the A/C system.
Follow the manufacturers instructions provided with the machine being used.