
Grand Caravan V6-3.8L VIN L (2007)
Installation
INSTALLATION
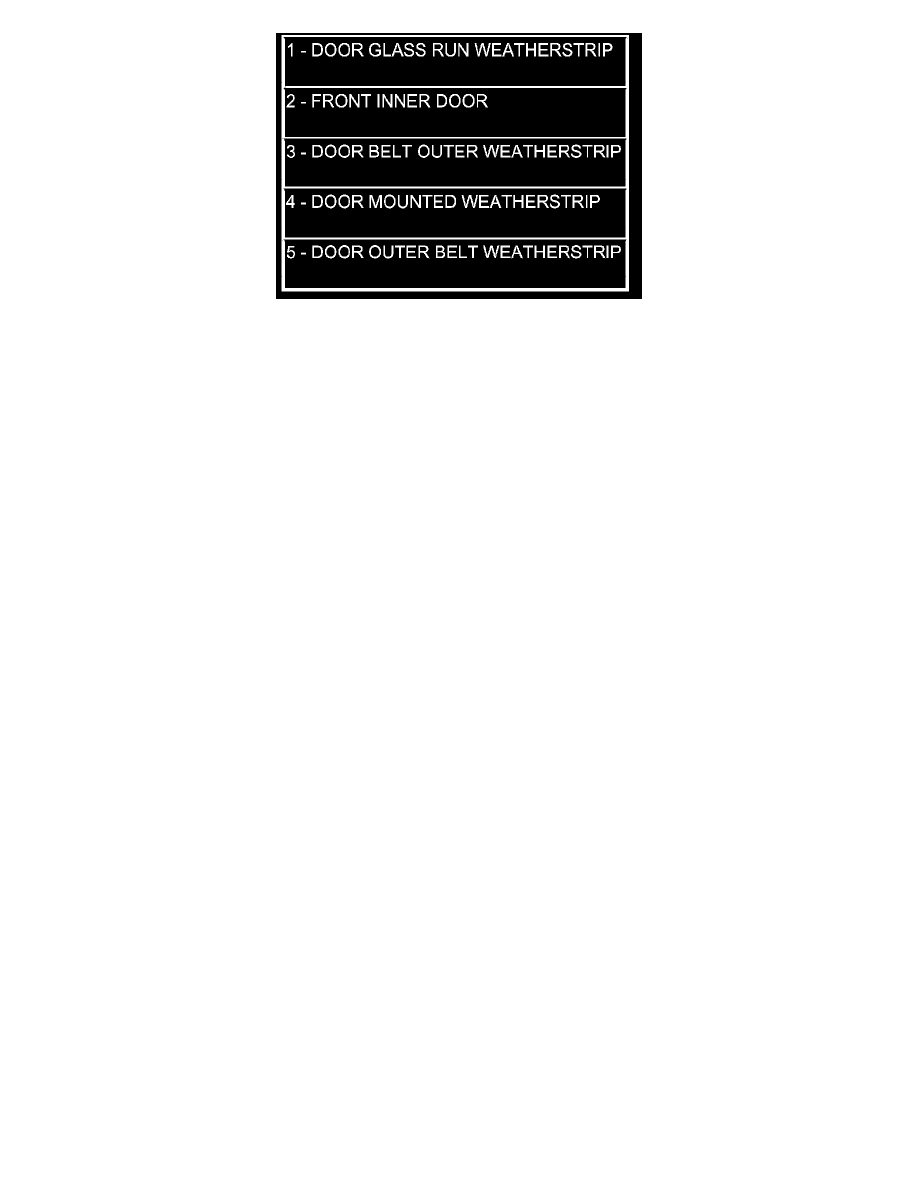
1. Position glass run weatherstrip on vehicle (Figure 1).
2. Insert A-pillar section of the glass run into door through belt line and lower to bottom of door using molded corners as a guide.
NOTE: Care must be taken not to damage the medal bracket when installing through the belt opening.
3. Locate the top corner portion of the B-pillar glass run section onto the roll frame and slide it up until the part bottoms out on the header portion of
the roll frame.
NOTE: Do not JAM the corner into place.
4. Install the entire B-pillar glass run onto roll frame.
5. Working from the B-pillar forward install the first eight to twelve inches of the header glass run onto the roll frame.
NOTE: Use care not to push or pull the header section and the molded corner out of location.
6. Install fully the entire A-pillar glass run section by indexing the molded corner detail into the roll frame. Slide the glass run up the A-pillar until
the rubber molded joint just touches the roll frame.
7. Verify that the tertiary seal is on the correct side of the roll frame prior to seating the glass run fully onto the frame. Verify the glass runs is fully
seated for the header, and A-pillar and B-pillar
8. Install screw attaching glass run weatherstrip to inner door panel.
9. Install inner belt weatherstrip.
10. Install watershed.
11. Push weatherstrip groove onto lip along top of door frame.
12. Engage clip into slot in door frame.
13. Push weatherstrip into channel at rear of door frame, working from the top to bottom.
14. Install door frame closeout moldings.
15. Install door speaker, if equipped.
16. Install door trim panel.