
Grand Caravan V6-3.8L VIN L (2007)
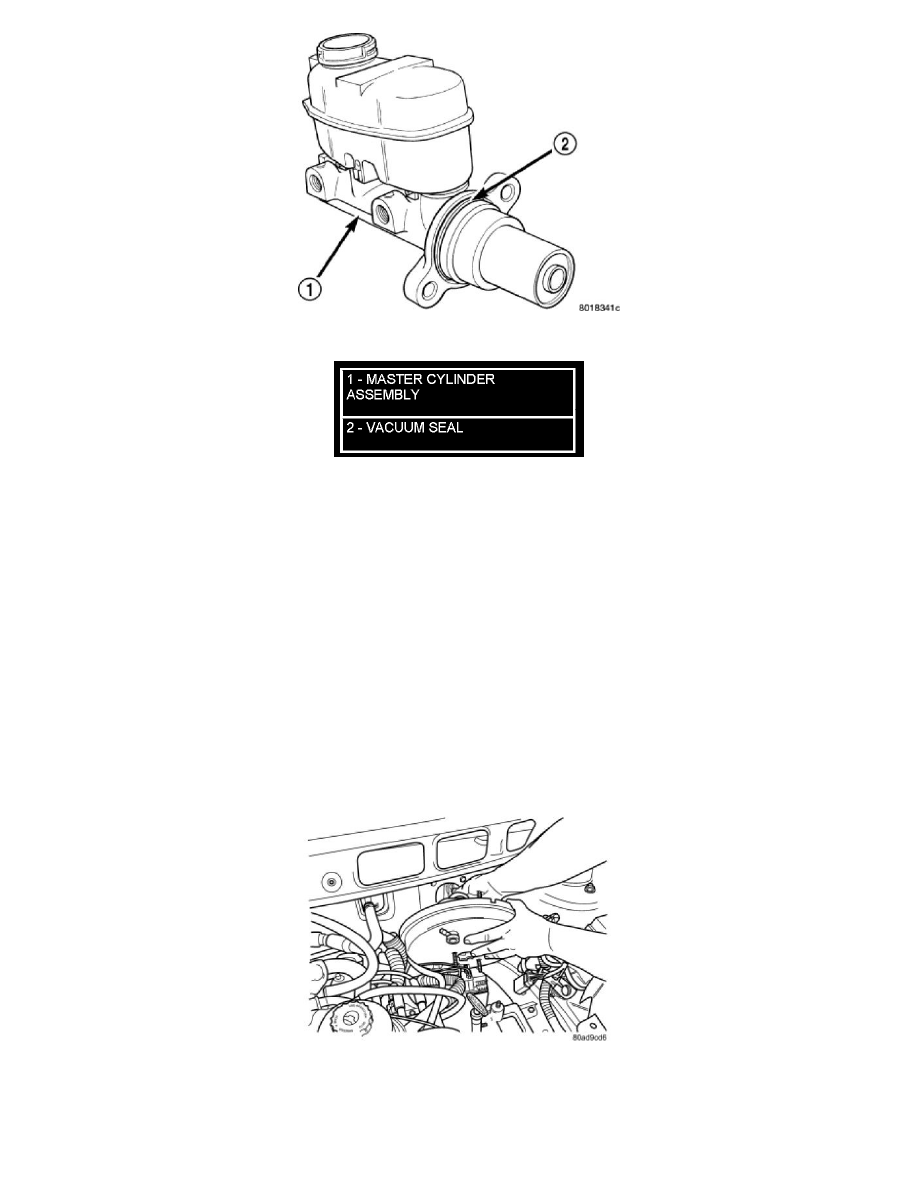
Figure 2 Vacuum Seal (Typical)
10. Position master cylinder on studs of booster, aligning push rod on booster with master cylinder piston.
11. Install the two nuts mounting the master cylinder to the booster (Figure 4). Tighten both mounting nuts to a torque of 25 Nm (225 in. lbs.).
12. Connect wiring harness connector to brake fluid level switch in the master cylinder fluid reservoir (Figure 6).
13. Connect primary and secondary brake tubes to ABS ICU or non-ABS junction block (Figure 4). Tighten the tube nuts to 17 Nm (145 in lbs.).
14. Install wiper module (unit).
15. If equipped with speed control, install speed control servo and connect wiring connector. Tighten the mounting nuts to a torque of 14 Nm (124 in.
lbs.).
16. Install the battery tray. Install the two nuts and one bolt attaching the battery tray to the vehicle. Tighten the bolt and nuts to a torque of 14 Nm
(124 in. lbs.).
17. If vehicle is equipped with speed control, connect the servo vacuum hose to the vacuum tank on the battery tray.
18. Install the air inlet resonator and hoses as an assembly on the throttle body and air cleaner housing. Securely tighten hose clamp at air cleaner
housing and throttle body.
19. Secure the engine coolant filler neck to the battery tray with its mounting screw.
20. Install the battery, clamp and mounting nut.
21. Install the positive battery cable on the battery.
22. Install the negative battery cable on the battery.
23. Install the battery thermal guard shield.
24. Bleed the base brakes as necessary.
25. Road test vehicle to ensure operation of the brakes.
Figure 3 BOOSTER REMOVAL/INSTALLATION