Grand Caravan V6-3.8L VIN L (2007)

Front Cross-Member: Service and Repair
Removal
REMOVAL
The front cradle crossmember must be installed in the design location to achieve proper front end suspension alignment. If the cradle crossmember is
removed without applying reference marks on the frame rails, align the cradle crossmember according to the dimensions provided.
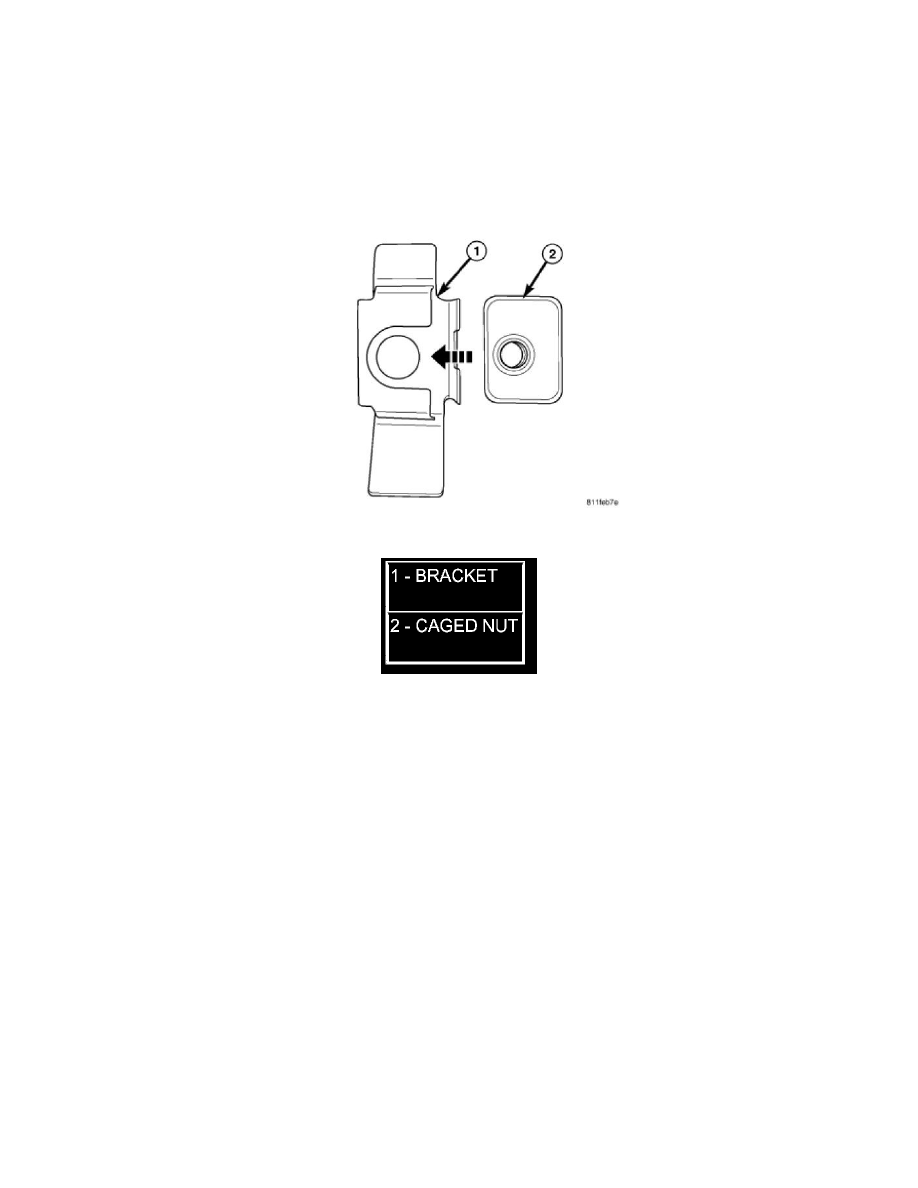
NOTE: If the caged nuts in the frame rails become damaged and cannot be reused, a replacement nut can be obtained through Mopar(R)
(Figure 1).
Figure 1 FRONT CRADLE CROSSMEMBER CAGED NUT
REMOVAL
1. Disconnect battery negative cable.
2. Remove steering column lower cover from instrument panel.
3. Remove steering column cover backing plate. Refer to Knee Diverter.
4. Position steering so front wheels are straight ahead.
CAUTION: Do not rotate steering wheel after disengaging lower coupling from steering gear, damage to air bag clock spring can result.
5. Remove clinch bolt attaching steering column coupling to steering gear shaft (Figure 2).
6. Remove steering column coupling from telescoping steering gear shaft.
7. Hoist vehicle and support on safety stands.
8. Position a drain pan under power steering pump and oil return hose coupling.
9. Using a hose pinch-off pliers (C-4390), pinch power steering oil return hose off between the crossmember coupling and the pump.
10. Loosen hose clamp at the cradle crossmember coupling.
11. Disconnect return hose from metal tube.
12. While holding pressure relief valve nut on back of power steering pump, Remove flare nut attaching high pressure hose to back of pump.
