
Grand Caravan V6-3.8L VIN L (2007)
Windshield: Service and Repair
Removal
REMOVAL
WINDSHIELD REMOVAL - EXTERIOR METHOD
The urethane adhesive holding the windshield to the opening pinch weld (fence) can be cut using a sharp cold knife from the exterior of the vehicle.
Using the cold knife method is effective if the windshield is already broken. If the glass must be salvaged, cutting the urethane adhesive from the interior
of the vehicle using a reciprocating or oscillating power knife is recommended.
1. Remove inside rear view mirror.
2. Remove windshield wiper arms.
3. Remove cowl cover.
4. Remove A-pillar trim panels.
5. Place protective covers over instrument panel and hood.
6. Remove windshield molding. Using pliers, pull outward on molding at the bottom of A-pillars.
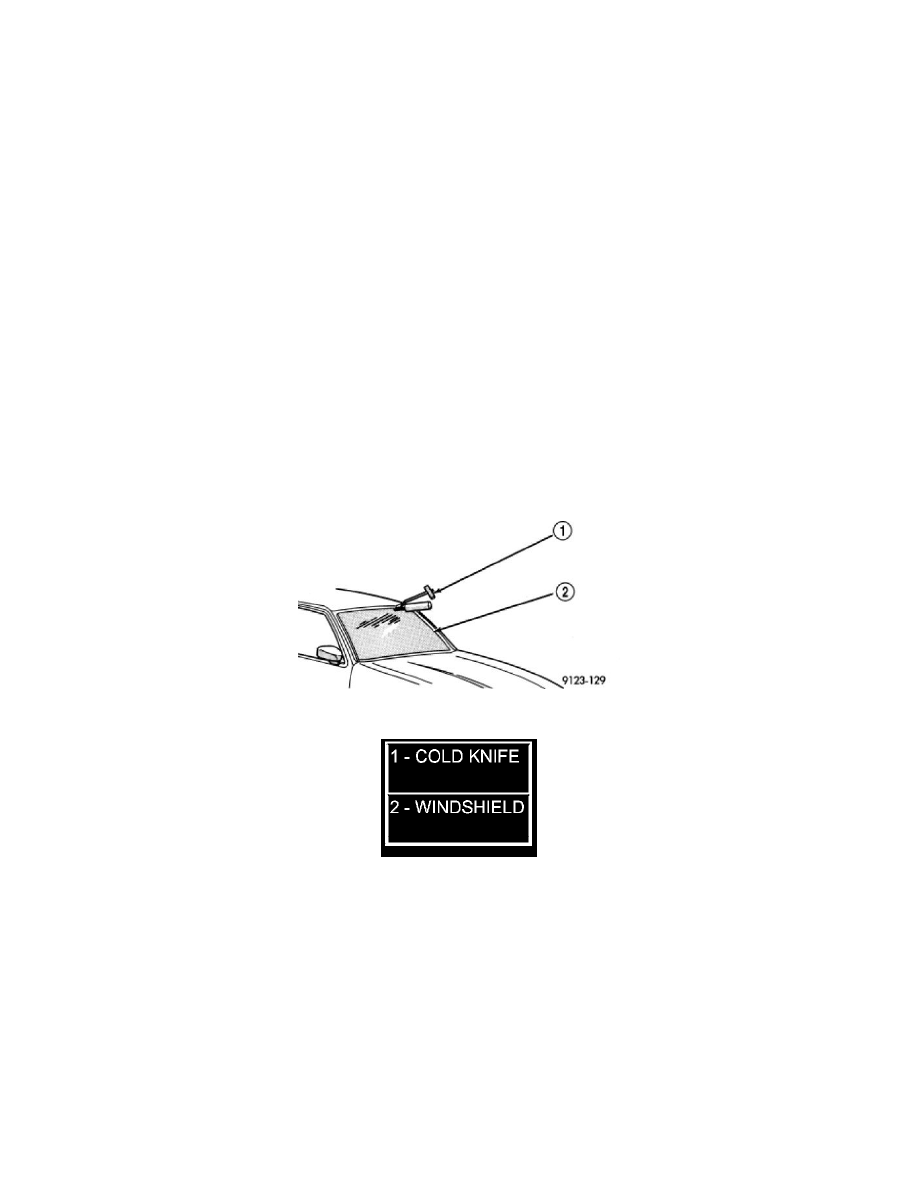
7. Using a sharp cold knife, cut urethane adhesive holding the windshield to the A-pillars, roof header and cowl pinch weld fences (Figure 1). A
power cutting device can be used if available.
8. Remove windshield from vehicle.
Figure 1 CUT URETHANE AROUND WINDSHIELD
WINDSHIELD REMOVAL - INTERIOR METHOD
1. Remove inside rear view mirror.
2. Remove instrument panel top cover.
3. Remove A-pillar trim covers.
4. Place protective covers over instrument panel and hood.
5. Using a reciprocating or oscillating power knife, cut urethane adhesive holding the windshield to the A-pillars, roof header and cowl pinch weld
fences. Refer to instructions provided with the equipment being used.
6. Remove windshield from vehicle.