
Grand Caravan AWD V6-3.8L VIN L (2001)
Radiator Support: Service and Repair
UPPER RADIATOR CROSSMEMBER
REMOVAL
1. Release hood latch and open hood.
2. Remove radiator sight shield.
3. Remove engine air inlet resonator.
4. Unclip hood cable from upper radiator crossmember.
5. Remove bolts attaching hood latch to crossmember and position latch out of the way.
6. Remove hood prop rod.
7. Remove screw attaching coolant recovery bottle to crossmember.
8. Remove bolts attaching radiator isolators to crossmember.
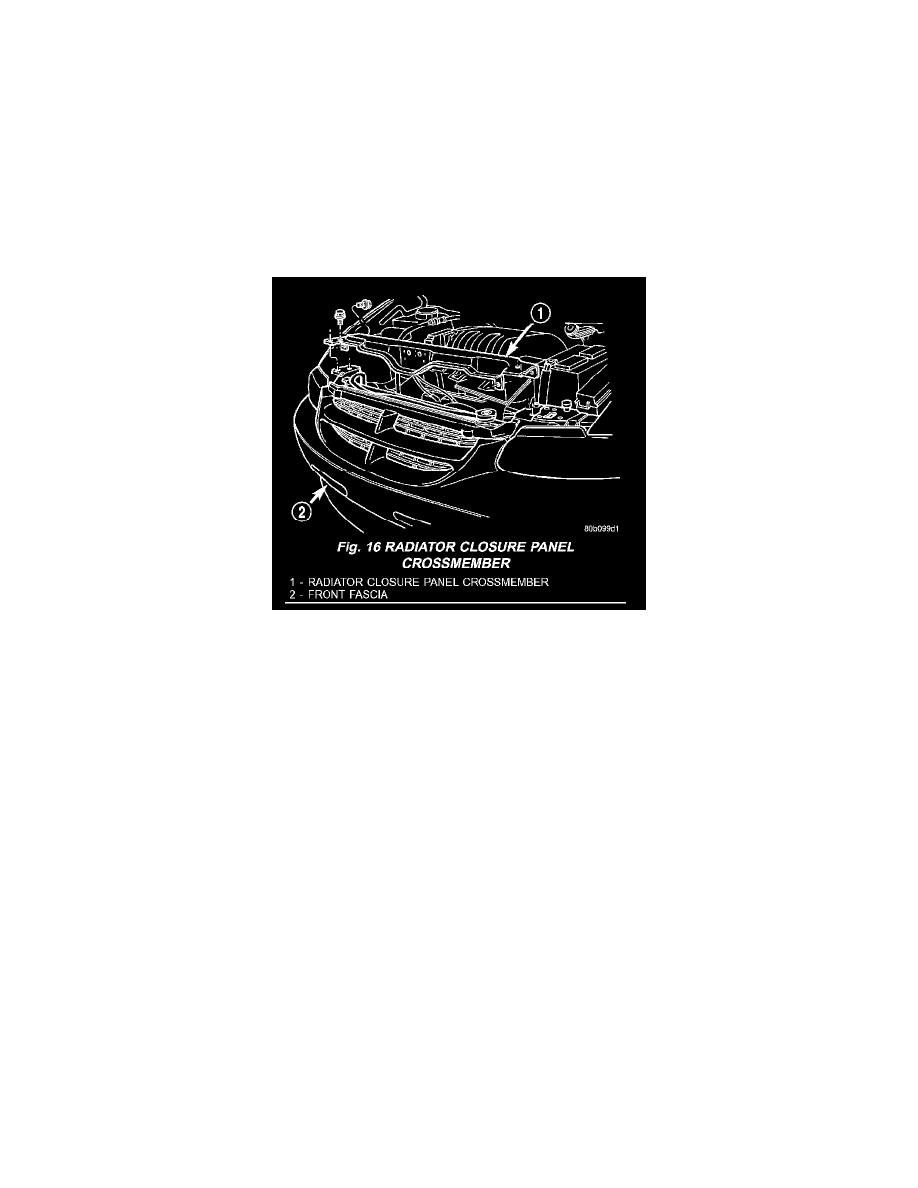
Fig. 16
9. Remove bolts attaching ends of crossmember to radiator closure panel (Fig. 16).
10. Lift crossmember upward and away from radiator closure panel.
11. Remove crossmember from vehicle.
INSTALLATION
1. Place radiator closure panel crossmember in position on vehicle.
2. Insert ends of crossmember between layered metal sections of radiator closure panel at each side of radiator.
3. Align with paint breaks around bolt heads.
4. Install bolts attaching ends of crossmember to radiator closure panel (Fig. 16). Tighten bolts to 19 N.m (14 ft.lbs.) torque.
5. Install bolts attaching radiator isolators to crossmember.
6. Install screw attaching coolant recovery bottle to crossmember.
7. Install bolt attaching air cleaner housing to crossmember.
8. Install engine air inlet resonator.
9. Install hood prop rod.
10. Align hood latch by placing latch over net pierce tabs. If alignment is required, flatten tabs.
11. Install bolts attaching hood latch to crossmember and clip cable. Tighten bolts to 13.5 N.m (10 ft.lbs.) torque.
12. Install radiator sight shield.
13. Verify hood latch operation and hood alignment.