
Grand Caravan AWD V6-3.8L VIN L (2001)
12.
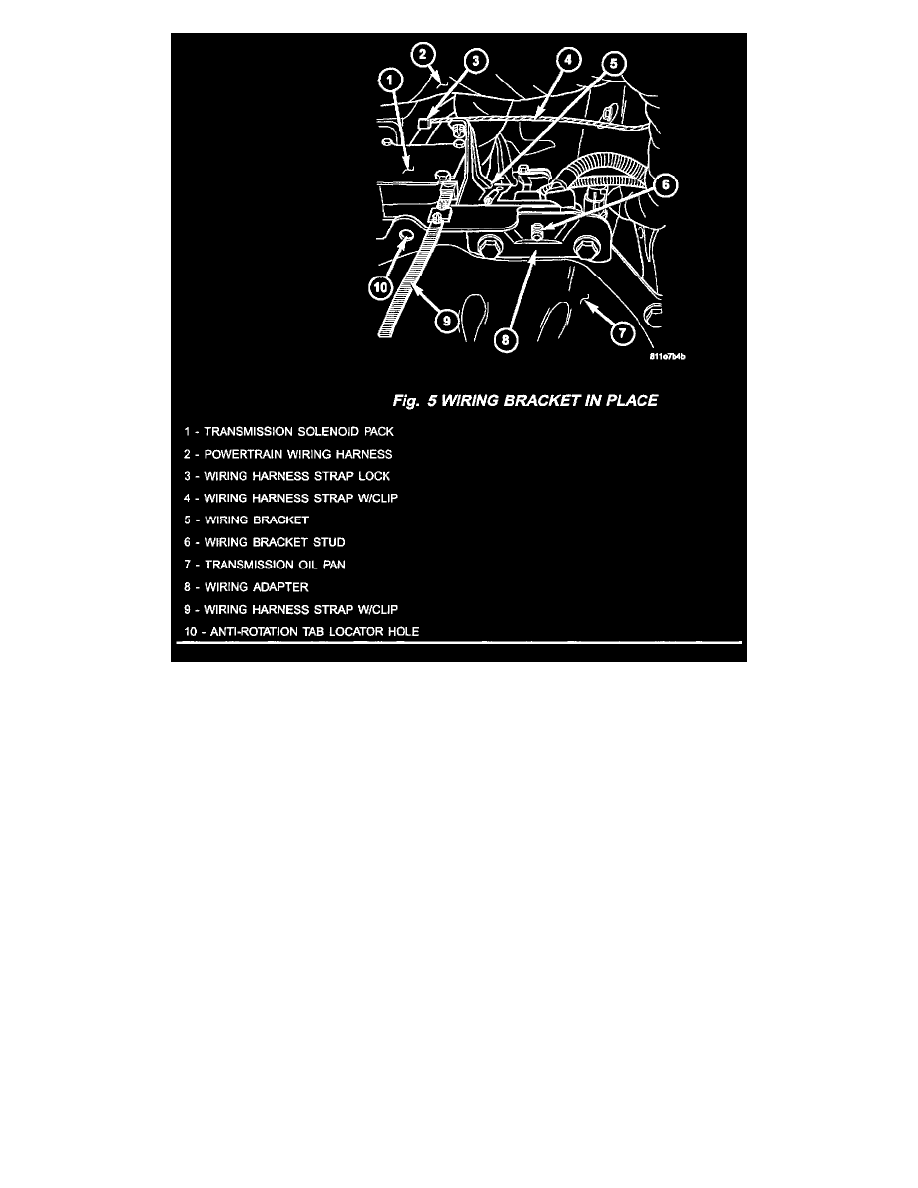
Mount the wiring bracket (p/n 04868498AB) to the wiring adapter. The stud in the wiring bracket will go into the hole in the wiring adapter. The
anti-rotation tab on the wiring bracket will go into the empty hole on the transmission oil pan where the clip was removed from. Fasten the bracket
using the nut (p/n 06101968) provided in the kit. Torque the nut to 8.5 Nm (75 in. lbs.) (Fig. 5).
13.
Anchor the wiring harness to the new bracket using the two clips attached to the wiring bracket in step 11. Cut off the excess strap material flush to
the lock.
14.
Lower the vehicle.
15.
Fasten one wiring harness clip w/strap (p/n 04793468) into the transmission dipstick bracket. Anchor the wiring harness to the new clip. Cut off
the excess strap material flush to the lock.
16.
Install the coolant recovery bottle.
17.
Install the body ground nut under the battery tray.
18.
Install the PCM connectors.
19.
Install the battery tray. Connect the vacuum hose at the rear of the battery tray (Fig. 1).
20.
Install the battery.
21.
Connect the positive battery cable, then the negative battery cable.
NOTE:
In the interest of customer satisfaction, reset the clock to the correct time when the procedure is complete.