
Grand Caravan FWD L4-2.4L VIN B (1997)
Repair Procedure
This bulletin involves selectively erasing and reprogramming the Powertrain Control Module (PCM) with new software (calibration changes) and
replacing the motor mounts with revised parts for this condition only.
1.
Connect the MDS (Mopar Diagnostic System) and DRBIII(R) (Scan Tool) to the vehicle and power them up.
2.
Use the arrow keys and select # 2 MDS DIAGNOSTICS on the DRB III(R) MAIN MENU Screen.
3.
Use the arrow keys and select DIAGNOSTIC MENU on the MDS, then press NEXT MENU.
4.
Use the arrow keys and select VEHICLE CONTROLLER PROGRAMMING on the MDS, then press NEXT MENU.
5.
Use the arrow keys and select PROGRAMMING OF ALL OTHER CONTROLLERS USING MDS & DRBIII(R) on the MDS, then press NEXT
MENU.
6.
Follow the steps presented on the MDS and DRBIII(R) which will allow the DRBIII(R) to obtain the current part number of the PCM.
7.
The MDS will display the part number of the PCM on the vehicle and the appropriate replacement part number, then press NEXT MENU to begin
programming.
If the PCM on the vehicle has already been updated or programmed, a NO UPDATES AVAILABLE message will be displayed. Check the part
number of the PCM on the vehicle and compare it to the part number displayed. If the PCM has already been updated, then another condition
exists that will require further diagnosis and repair.
8.
The MDS and DRBIII(R) will prompt for any operator action needed during the remainder of the programming process.
NOTE:
THE FOLLOWING STEPS ARE REQUIRED BY LAW.
9.
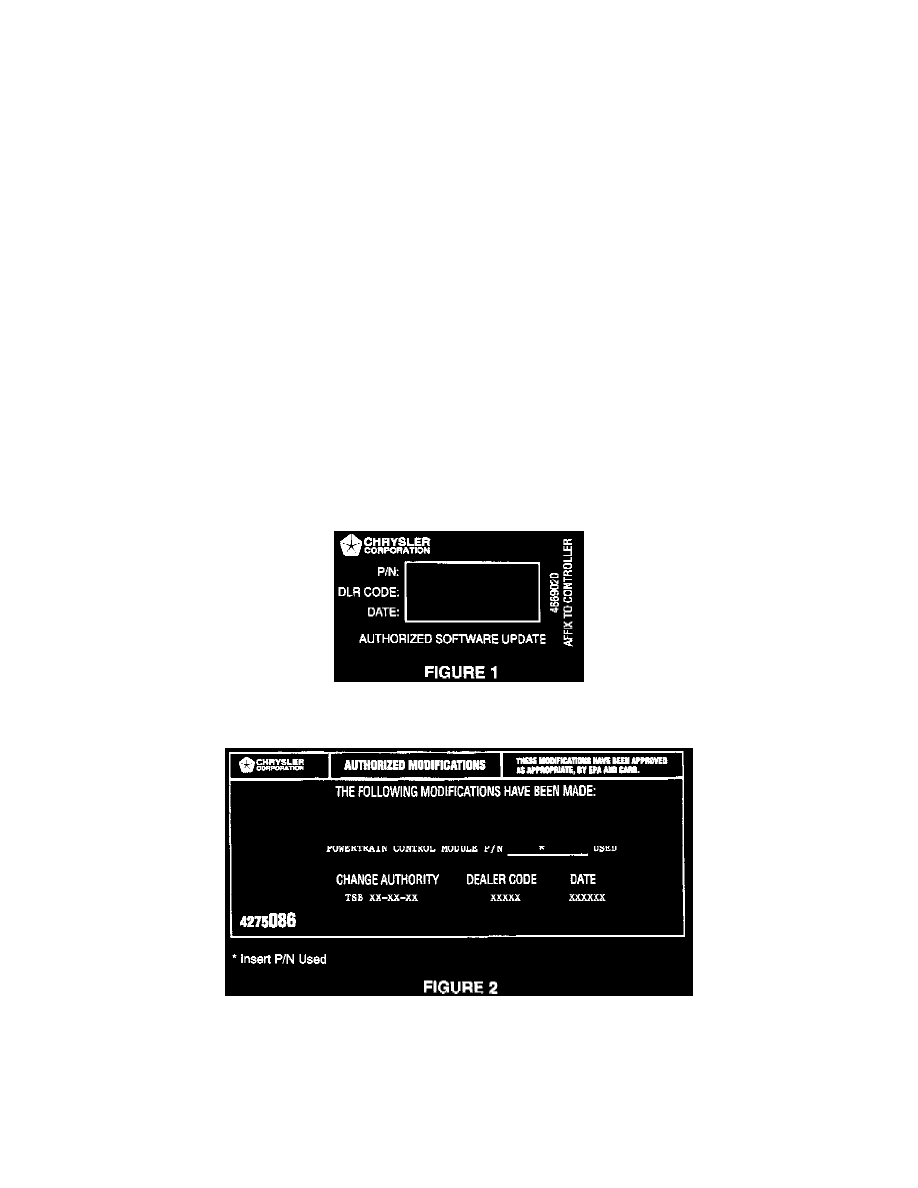
Type the necessary information on the "Authorized Software Update Label" p/n 04669020 (Figure 1). Attach the label to the PCM and cover the
label with the clear plastic overlay.
10.
Type the necessary information on the "Authorized Modification Label" p/n 04275086 and attach the label near the VECI Label (Figure 2).
11.
Following the appropriate service manual procedures, replace the front engine mount with p/n 05012004AA and the rear engine mount with p/n
04861351AA.
12.
Test drive the vehicle to verify that the bump condition is eliminated or reduced.