
Grand Caravan FWD L4-2.4L VIN B (1997)
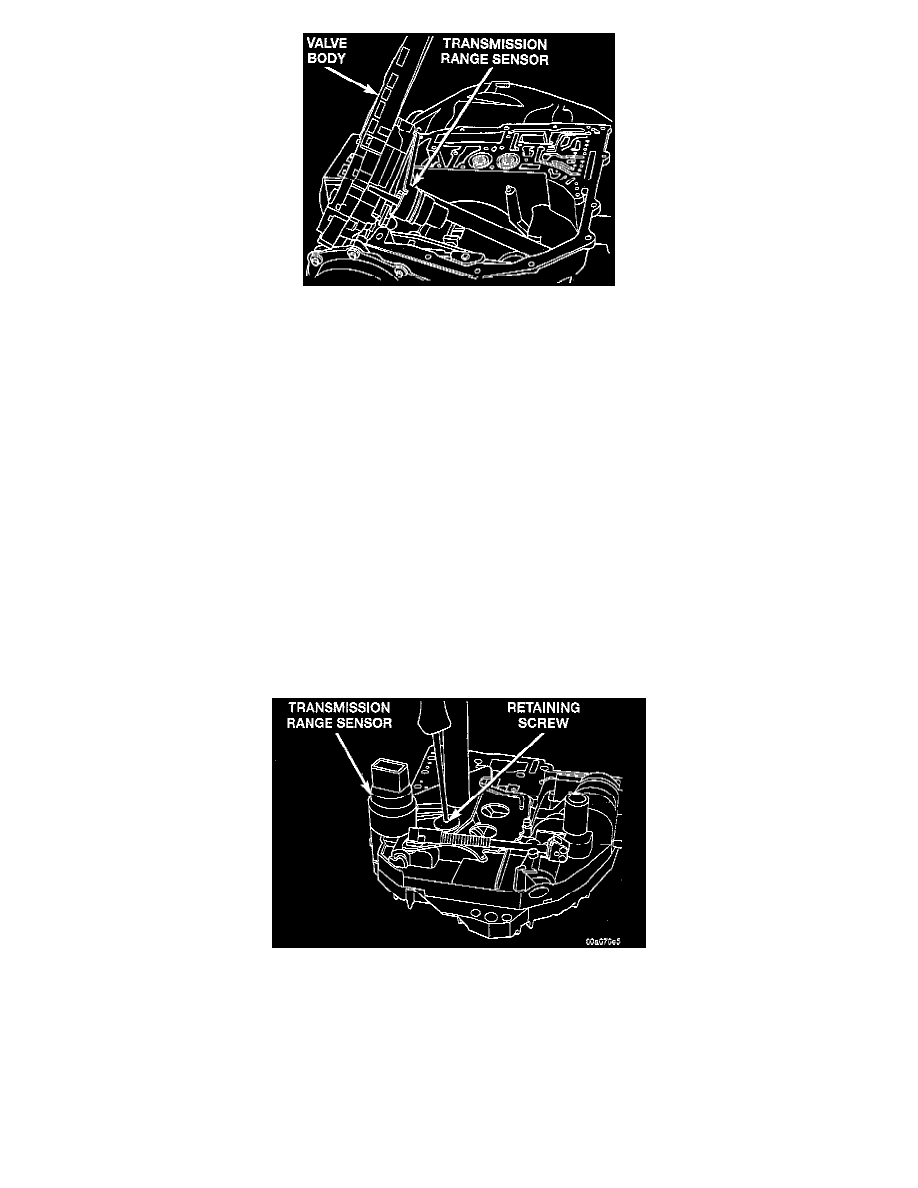
Valve Body Removed
5. Push park rod rollers from guide bracket, then remove valve body.
INSTALLATION
1. To install valve body, reverse removal procedure.
CAUTION: The valve body manual shaft pilot may distort and bind the manual valve if the valve body is mishandled or dropped.
NOTE: To ease installation of the valve body, turn the manual valve lever fully clockwise.
NOTE: Guide park rod rollers into guide bracket, while shifting manual lever assembly out of the installation position.
2. Tighten valve body attaching bolts to specification.
3. Tighten oil pan attaching bolts to specification.
Cleaning and Inspection
Prior to removing any transaxle parts, plug all openings and clean unit, preferably by steam. Cleanliness through entire disassembly and assembly cannot
be overemphasized. When disassembling, each part should be washed in a suitable solvent, then dried by compressed air. Do not wipe parts with shop
towels. All mating surfaces in the transaxles are accurately machined; therefore, careful handling of all parts must be exercised to avoid nicks or burrs.
NOTE: Tag all springs, as they are removed, for reassembly identification.
Transmission Range Sensor Screw