
Grand Caravan FWD V6-3.0L VIN 3 (1999)
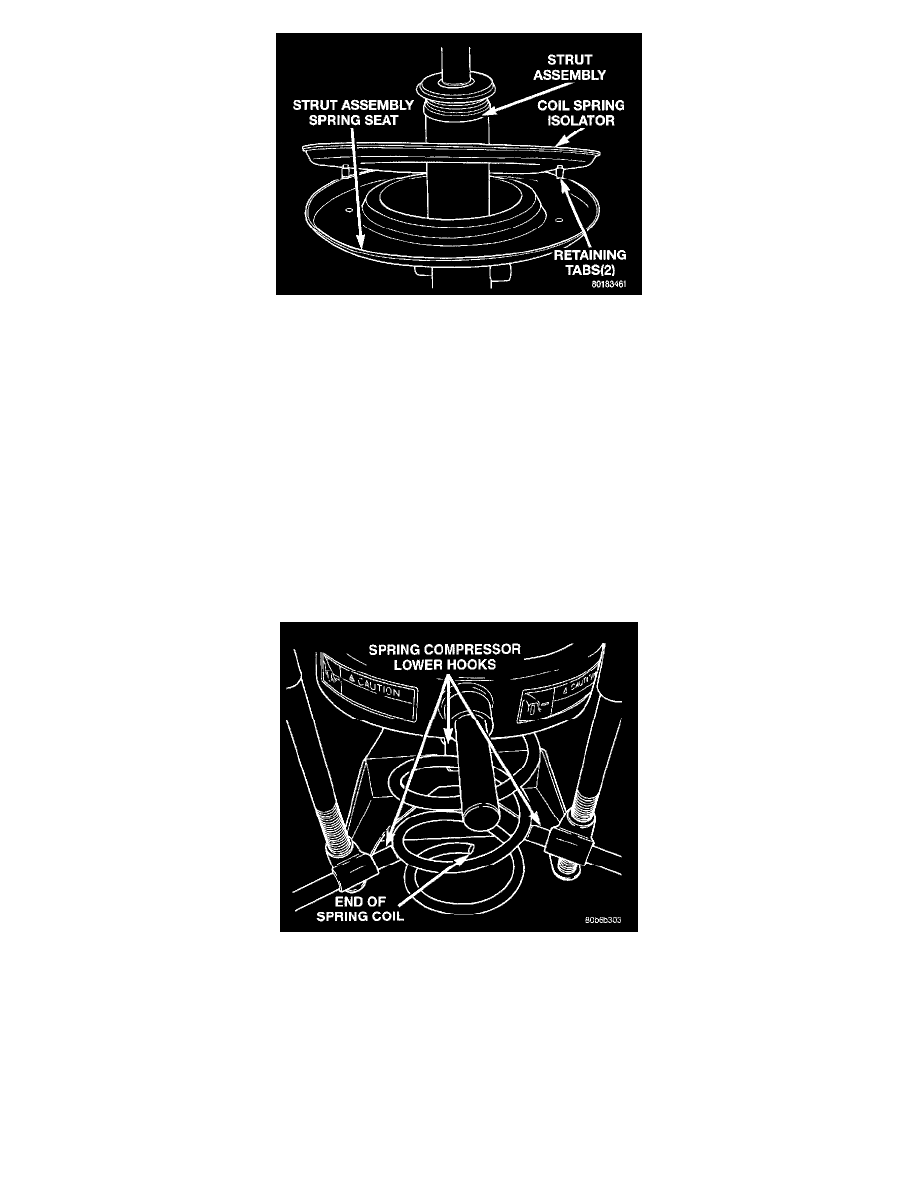
Strut Lower Spring Seat Isolator
12. Remove the spring isolator from the lower spring seat on the strut.
13. Inspect the strut assembly components for the following and replace as necessary:
-
Inspect the strut for any condition of shaft binding over the full stroke of the shaft.
-
Check the upper mount for cracks and distortion and its retaining studs for any sign of damage.
-
Check the upper seat for severe deterioration of the rubber isolator.
-
Check for binding of the strut assembly pivot bearing.
-
Inspect the dust shield for rips and deterioration.
-
Inspect the jounce bumper for cracks and signs of deterioration.
Assembly
The content of this article reflects the changes called out by TSBs 26-03-99 and 26-03-00.
ASSEMBLY
NOTE: If the coil spring has been removed from the spring compressor, proceed with the next step, otherwise, proceed with step 5.
Coil Spring Positioned (Right Spring Shown)
1. Place the coil spring in the compressor following the manufacturers instructions. Proper orientation of the spring to the strut (once installed) is
necessary. Consider the following when placing the coil spring in the compressor: From above, the compressor back is at the 12 o'clock position
and you, standing in the front of the machine, are at the 6 o'clock position. For left side springs, place the lower coil spring end at the 7 o'clock
position. For right side springs, place the lower coil spring end at the 5 o'clock position.