
Grand Caravan FWD V6-3.3L VIN 3 Flex Fuel (2002)
3.
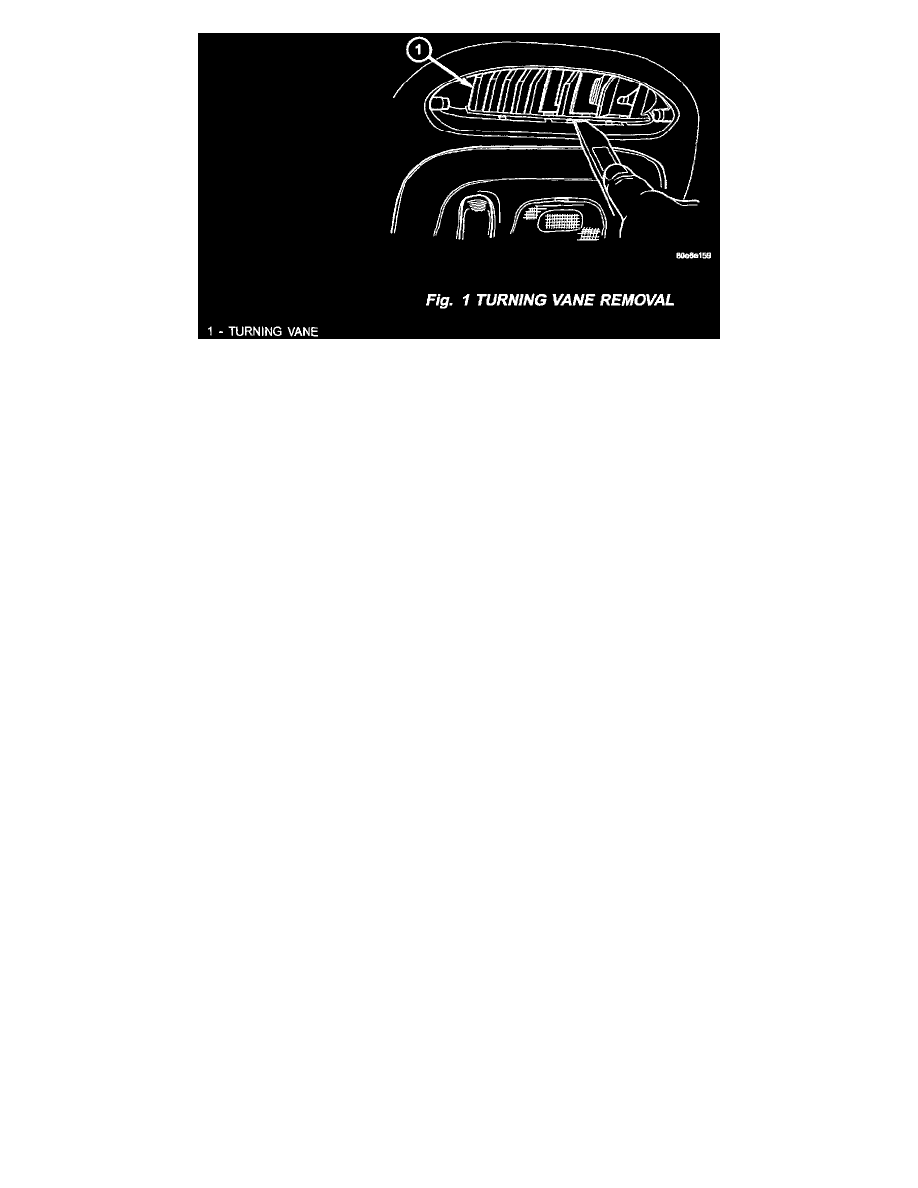
Using a trim stick, remove the turning vanes from the headliner duct openings as shown in (Fig. 1). Discard the headliner outlet turning vanes.
4.
Install the vent outlets to the headliner.
5.
Remove the 2nd and 3rd row seat belt anchor bolts (4) from the C and D pillars.
6.
Remove both 2nd seat grab handles from the headliner, if equipped.
7.
Remove all coat hooks from the headliner.
8.
Remove the liftgate sill plate.
9.
Remove the rear headliner trim cover.
10.
Remove the linkage from the power liftgate motor to the liftgate, if equipped.
11.
Remove both D-pillar trim panels.
12.
Remove A/C duct from right D-pillar.
13.
Remove the three black push pins from the rear of the headliner.
14.
Starting a the rear center of the headliner, remove the three rear beige pushpins from the headliner.
15.
Loosen top of both C-pillar trim panels away from headliner. Do not remove C-pillar trim panels.
16.
Put rear seat back in upright position.
17.
Lower rear of headliner to rest on rear seat head rests.
NOTE:
IF REAR SEAT IS REMOVED FROM VEHICLE, HAVE AN ASSISTANT HOLD THE HEADLINER STATIONARY WHILE PERFORMING
STEP 18 AND 19.