Grand Caravan FWD V6-3.3L VIN 3 Flex Fuel (2002)

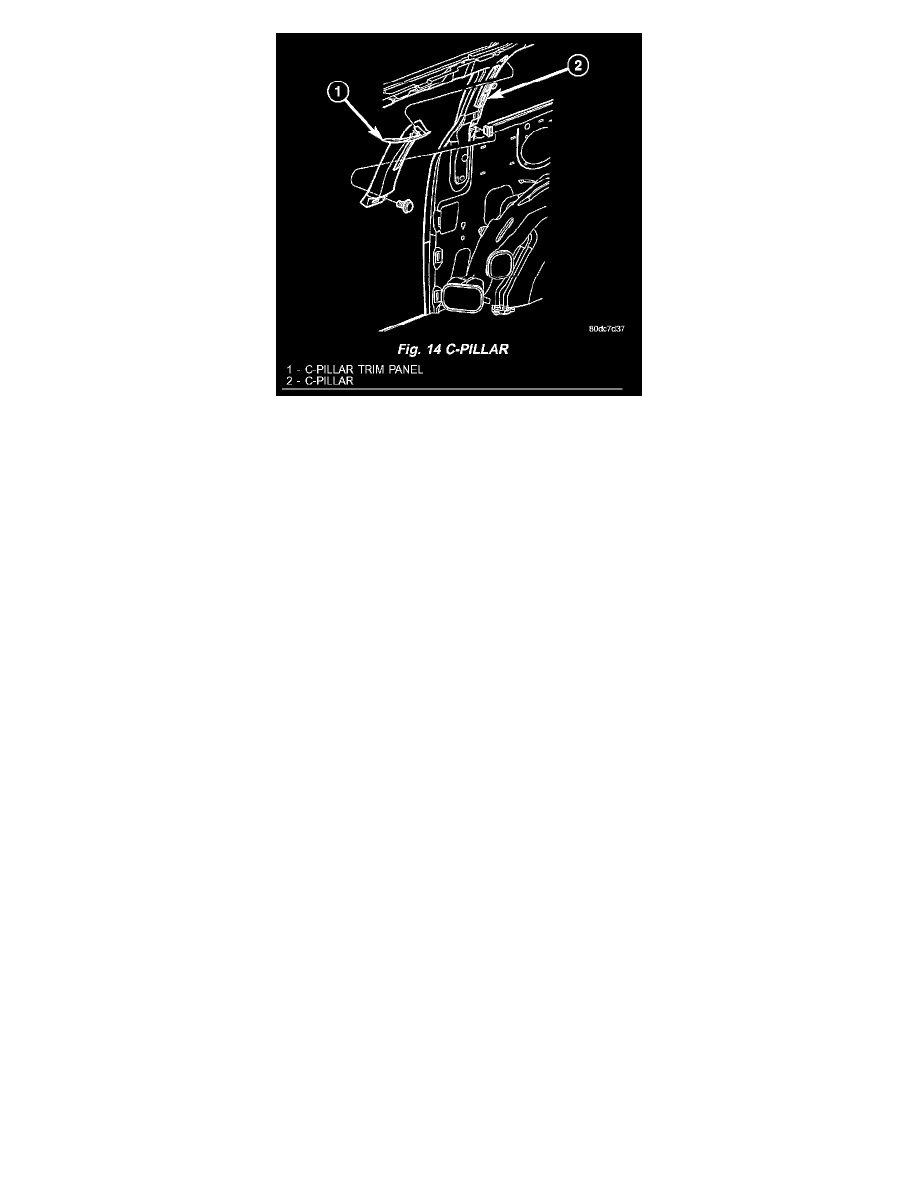
Fig. 14
3. Remove screw attaching C-pillar trim panel to C-pillar (Fig. 14).
4. Disengage hidden clips attaching trim to upper C-pillar.
5. Remove upper C-pillar trim from vehicle.
INSTALLATION
1. Place upper C-pillar trim in position on vehicle (Fig. 14).
2. Engage hidden clips attaching trim to upper C-pillar.
3. Install screw attaching C-pillar trim panel to C-pillar.
4. Install seat belt turning loop onto height adjuster. Tighten all seat belt bolts to 39 N.m (29 ft.lbs.) torque.
5. Install quarter trim panel.
Left D-Pillar Trim Panel
LEFT D - PILLAR TRIM PANEL
REMOVAL
1. Remove rear header trim cover.
2. Remove liftgate sill plate.
3. Remove second row seat belt turning loop on long wheel base vehicle.
4. Remove bolt attaching second row seat belt lower anchor to quarter on short wheel base vehicle.
5. Disengage hidden clips attaching trim to D-pillar.
6. Disconnect speaker wire connector, if equipped.
7. Pass seat belt through slot in D-pillar trim panel on short wheel base vehicle.
8. Remove D-pillar trim from vehicle.
INSTALLATION
1. Pass seat belt through slot in D-pillar trim panel on short wheel base vehicle.
2. Position D-pillar trim panel on vehicle.
3. Connect speaker wire connector to speaker, if equipped.
4. Align locating pins on backside of trim panel to mating holes in inner quarter panel.
5. Engage hidden clips attaching trim to D-pillar.
6. Install bolt attaching second row seat belt lower anchor to quarter on short wheel base vehicle. Tighten all seat belt bolts to 39 N.m (29 ft.lbs.).
7. Install second row seat belt turning loop on long wheel base vehicle.
8. Install liftgate sill plate.
9. Install rear header trim cover.
Right D-Pillar Trim Panel
RIGHT D PILLAR TRIM PANEL
REMOVAL
