
Grand Caravan FWD V6-3.3L VIN 3 Flex Fuel (2002)
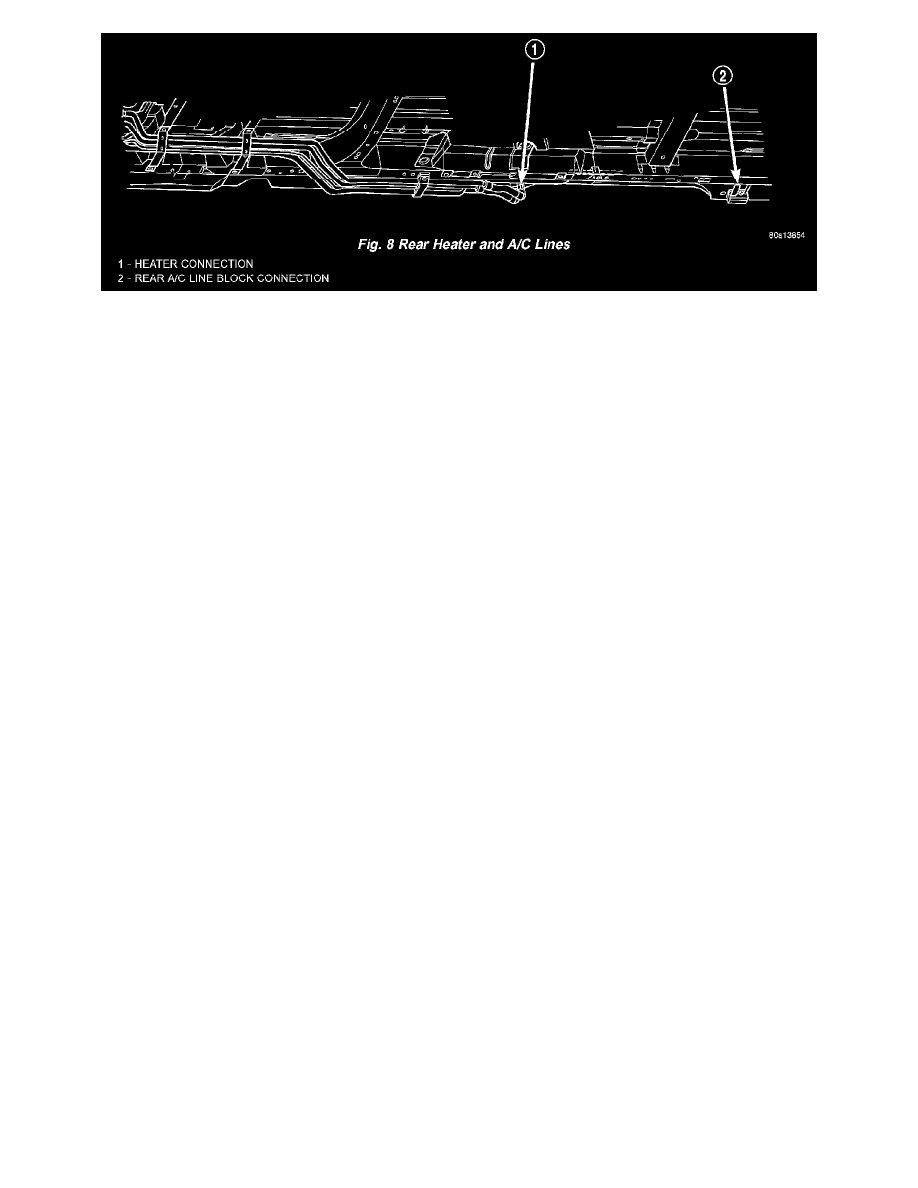
Fig.8 Rear Heater And A/C Lines
5. Remove (3) straps securing underbody lines.
6. Separate and remove rear heater lines from vehicle.
INSTALLATION
There are several heater core plumbing configurations used on this model, depending upon the engine size and other optional equipment. One
plumbing configuration is used for all 2.4L engines, while the 3.3L and 3.8L engines have unique heater return plumbing on the engine for models
with or without an optional engine oil cooler. There are also unique plumbing configurations at the heater core for models with or without the optional
rear heater and air conditioner. All models use a combination of formed steel tubing and rubber hoses. In most cases, the rubber hose is secured to the
steel tubing with a spring tension clamp.
WARNING: REFER TO THE APPLICABLE WARNINGS AND CAUTIONS FOR THIS SYSTEM BEFORE PERFORMING THE
FOLLOWING OPERATION.
1. Using spring tension clamp pliers, compress and slide the clamps that secure each end of the heater hose toward the center of the hose being
installed. Release the clamp when it is near the center of the hose.
2. Grasp one end of the heater hose being installed firmly and carefully twist the hose back and forth while pushing it over from the barbed end of the
nipple. Repeat this procedure at the opposite end of the hose being installed.
3. Using spring tension clamp pliers, compress and slide the clamps that secure each end of the heater hose over the tube or nipple. Release the clamp
when it is over the tube or nipple.
4. Refill the engine cooling system.