
Grand Caravan FWD V6-3.3L VIN 3 Flex Fuel (2002)
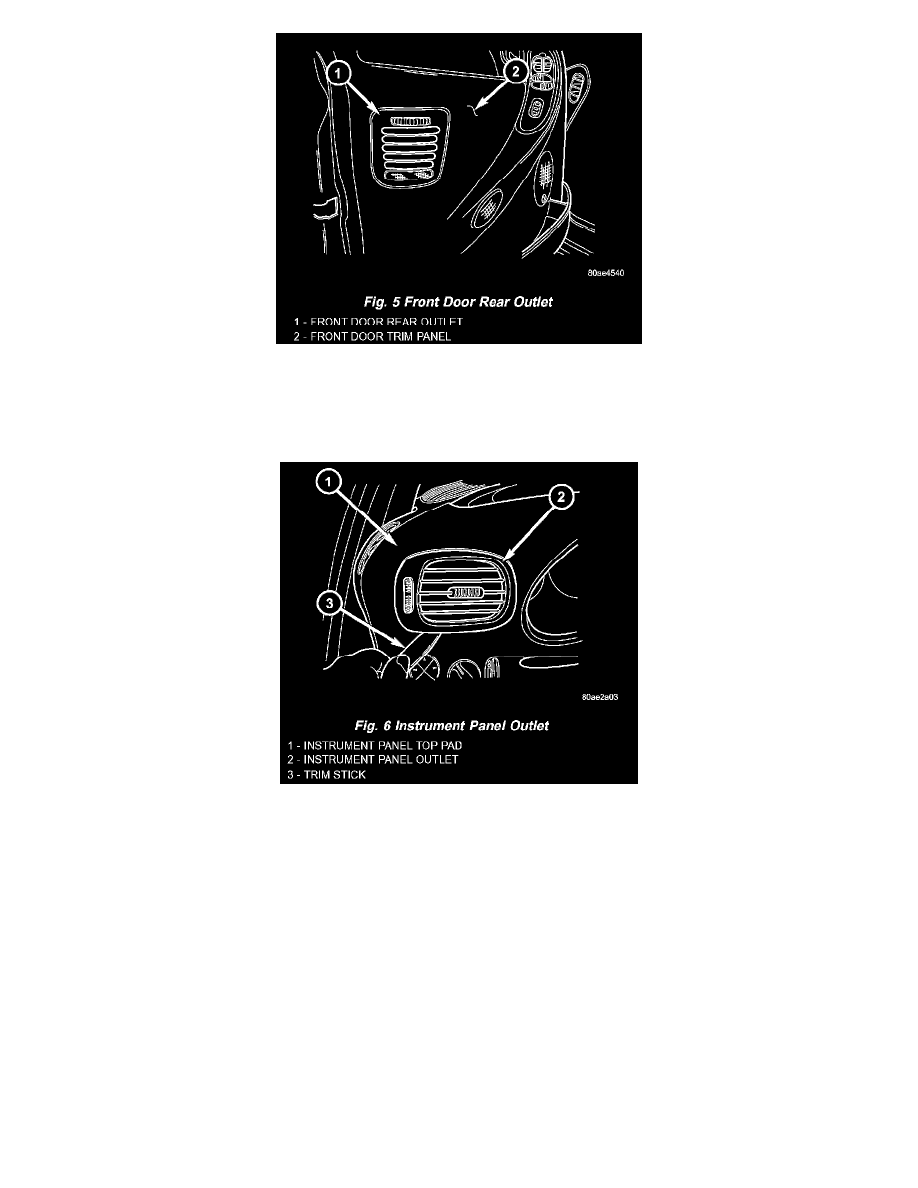
Fig.5 Front Door Rear Outlet
3. Using a trim stick or another suitable wide flat-bladed tool, depress the four latch features (two top and two bottom) that secure the outlet to the
inside of the trim panel rear outlet opening and push the outlet unit out through the opening.
4. Remove the front door rear outlet through the outside of the front door trim panel outlet opening.
Fig.6 Instrument Panel Outlet
Instrument Panel Outlet
1. Using a trim stick or another suitable wide flat-bladed tool, gently pry the outer perimeter of the instrument panel outlet away from the instrument
panel top pad until the snap features on the outlet are released.
2. Remove the instrument panel outlet from the panel duct opening in the instrument panel top pad.
INSTALLATION
Center Bezel Outlets
1. Position the center bezel outlets and housing onto the center bezel as a unit.
2. Engage the retainer features on the top of the outlet housing with their receptacles at the top of the center bezel, then roll the bottom of the outlet
housing downwards towards the center bezel.
3. Install and tighten the three screws that secure the bottom of the outlet housing to the center bezel. Tighten the screws to 2 Nm (17 in. lbs.).
4. If the vehicle is equipped with the optional ATC system, reconnect the ATC remote infrared temperature sensor jumper harness to the sensor
connector receptacle located on the bottom of the center outlet housing.
5. Reinstall the center bezel onto the instrument panel.
6. Reconnect the battery negative cable.
Demister Outlet
1. Position the demister outlet over the demister duct opening in the instrument panel top pad.