
Grand Caravan FWD V6-3.3L VIN 3 Flex Fuel (2002)
add/recharge as necessary to attain the proper charge level.
2.
Perform the Diagnosis procedure. If the "hiss" sound is no longer present, no further action is necessary. Return the vehicle to the customer. In
many cases low refrigerant is the cause of this sound. If the "hiss" sound is still present, proceed to the next step.
NOTE:
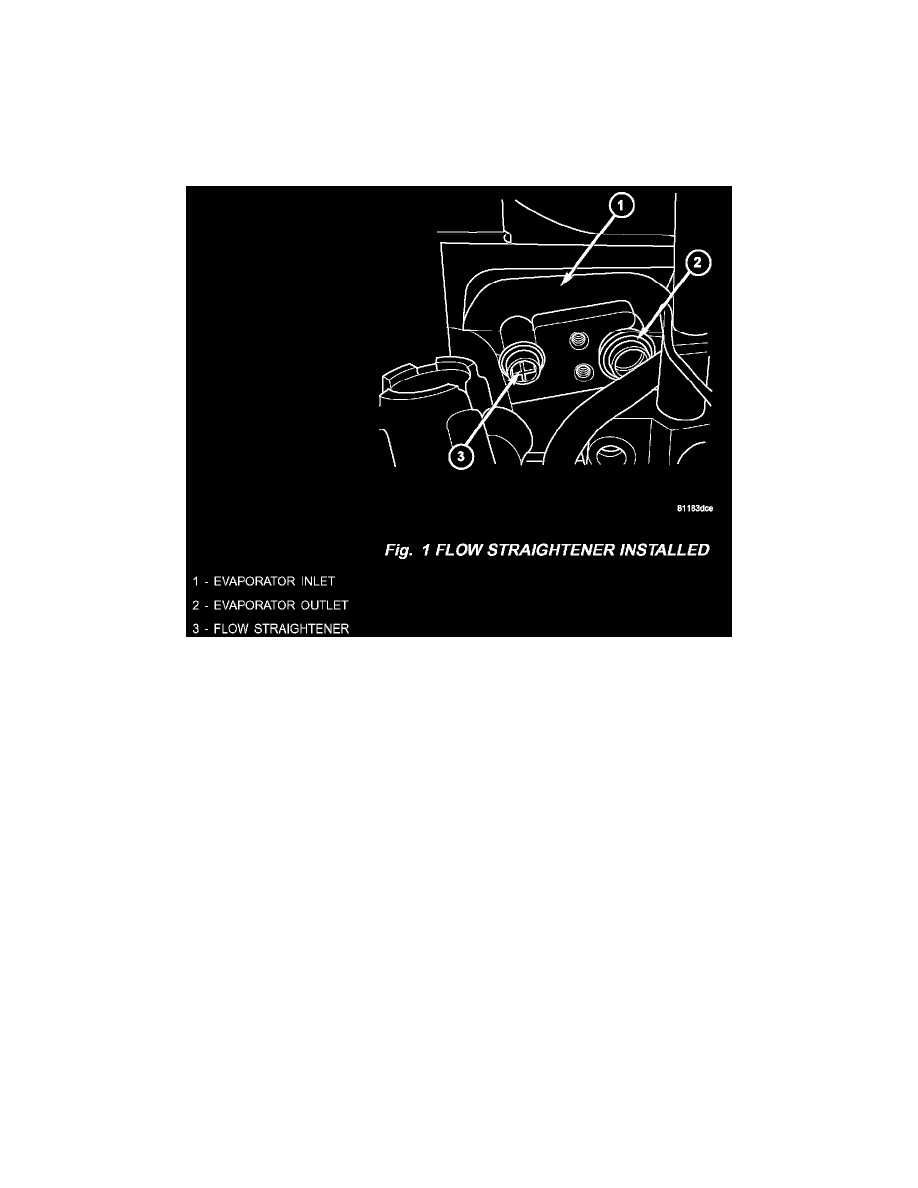
VEHICLES BUILT ON OR BEFORE MARCH 24, 2002 (MDH 0324XX) OR, ON OR AFTER JULY 22, 2002 (MDH 0722XX) ALREADY
HAVE EVAPORATOR INLET FLOW STRAIGHTENERS. FOR THESE VEHICLES PROCEED TO STEP 5.
3.
If the vehicle has a manual single zone HVAC unit built on March 25, 2002 (MDH 0325XX) through and including July 22, 2002 (MDH
0722XX), an evaporator inlet flow straightener will need to be installed in the evaporator inlet. Remove the expansion valve. Refer to the service
information available in the TechCONNECT/MDS2 or the appropriate service manual, Section 24, Heating & Air Conditioning/Plumbing Front,
Expansion Valve, Removal, to gain access to the evaporator inlet. Install the evaporator inlet flow straightener (P/N 04885713AA) (Fig. 1). Install
the expansion valve.
4.
Perform the Diagnosis procedure. If the "hiss" sound is no longer present, no further action is necessary Return the vehicle to the customer. If the
"hiss" sound is still present, proceed to the next step.
5.
If the vehicle has a manual single zone HVAC unit built March 25, 2002 (MDH 0325XX) through and including February 26, 2003 (MDH
0226XX) or a manual dual zone HVAC unit built on or after July 22, 2002 (MDH 0722XX) through and including February 26, 2003 (MDH
0226XX) , a rubber insert that fits between the evaporator tubes needs to be installed. Remove the HVAC unit housing. Refer to the service
information available in the TechCONNECT/MDS2 or the appropriate service manual, Section 24, Heating & Air Conditioning/Distribution -
Front, HVAC Housing, Removal.
Gain access to the evaporator inlet tubes within the HVAC housing as follows:
6.
Remove the heater core tubes from the heater core. Refer to the service information available in the TechCONNECT/MDS2 or the appropriate
service manual, Section 24, Heating & Air Conditioning/Plumbing - Front/Heater Core - Removal - Heater Core Tubes.
7.
Remove and discard the foam seal from the HVAC housing seal flange around the fresh air inlet opening and the expansion valve/evaporator tube
opening on the dash panel side of the unit.
8.
Remove the expansion valve from the evaporator inlet and outlet tube fittings. Refer to the service information available in the
TechCONNECT/MDS2 or the appropriate service manual, Section 24, Heating & Air Conditioning/Plumbing - Front/Expansion Valve - Removal.
9.
Disconnect the HVAC wire harness connector for the blower motor from the motor connector receptacle on the bottom of the outboard end of the
evaporator housing.