Grand Caravan FWD V6-3.3L VIN 3 Flex Fuel (2002)

Multiple Junction Connector: Technical Service Bulletins
Removable Floor Console - Electrical Connector
NUMBER: 08-002-02
GROUP: Electrical
DATE: Feb. 11, 2001
SUBJECT:
Removable Floor Console Electrical Connector
OVERVIEW:
This bulletin involves replacing the removable floor console electrical connector.
MODELS:
2001 - 2002
(RS)
Town & Country/Caravan/Voyager
2001 - 2002
(RG)
Chrysler Voyager (International Markets)
DISCUSSION:
It is no longer necessary to replace the removable floor console assembly if it is found that the console's electrical connector is bent or damaged. The
electrical connector is now serviced separately. The connector supplies power to the console's power outlet and light. If the connector is bent or
damaged, perform the Repair Procedure.
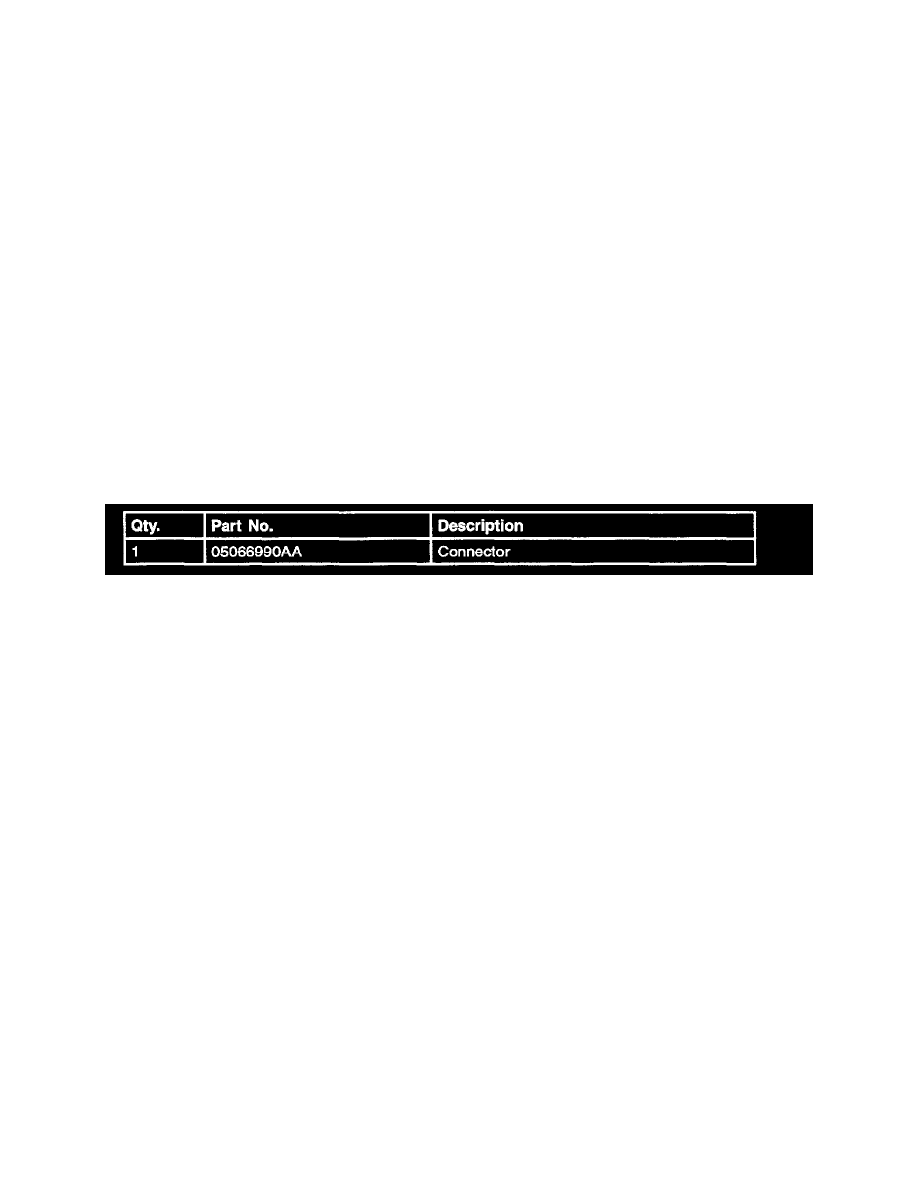
PARTS REQUIRED:
REPAIR PROCEDURE:
1.
Remove the floor console from the vehicle by releasing the latch inside the rear compartment of the console and place it on a padded work surface
to prevent scratching/damaging the console.
2.
Remove the three screws attaching the electrical connector to the rear of the console floor.
3.
With both lids of the console closed, place the console upside down on the padded work surface and disconnect the three wires to the connector
and discard the connector.
4.
Attach the wires to the new electrical connector, p/n 05066990AA. Make sure the wires are attached to the correct terminals of the connector. The
wire color is molded into the connector body inline with each terminal.
5.
Carefully turn the connector over and insure the wires do not pull off of the connector and position the connector to its installed position.
6.
Hold the connector in position and turn the console right side up and open the rear lid.
7.
Align the connector so its three mounting holes align with the three holes inside the square formed by the attaching holes for the connector that
was removed. Attach the electrical connector to the bottom of the console using three of the screws removed in step 2.
NOTE:
ENSURE THE FLOOR CONSOLE MOUNTING AREA IS CLEAR OF ALL OBSTRUCTIONS.
8.
Install and latch the console to the floor.
9.
Verify the operation of the console lamp and power outlet. When installed in the front position, the console lamp and power outlet are powered
directly from the battery. When installed in the rear position, the ignition switch must be in the run or accessory position for the console lamp and
power outlet to function.
10.
Ensure the vehicle operator understands the proper latching and unlatching procedures of the removable floor console. This information can be
found in the Understanding The Features Of Your Vehicle section of the Owner's Manual.
