
Grand Caravan FWD V6-3.3L VIN 3 Flex Fuel (2002)
Auxiliary Power Outlet: Service and Repair
POWER OUTLET
REMOVAL
1. Disconnect and isolate the battery negative cable.
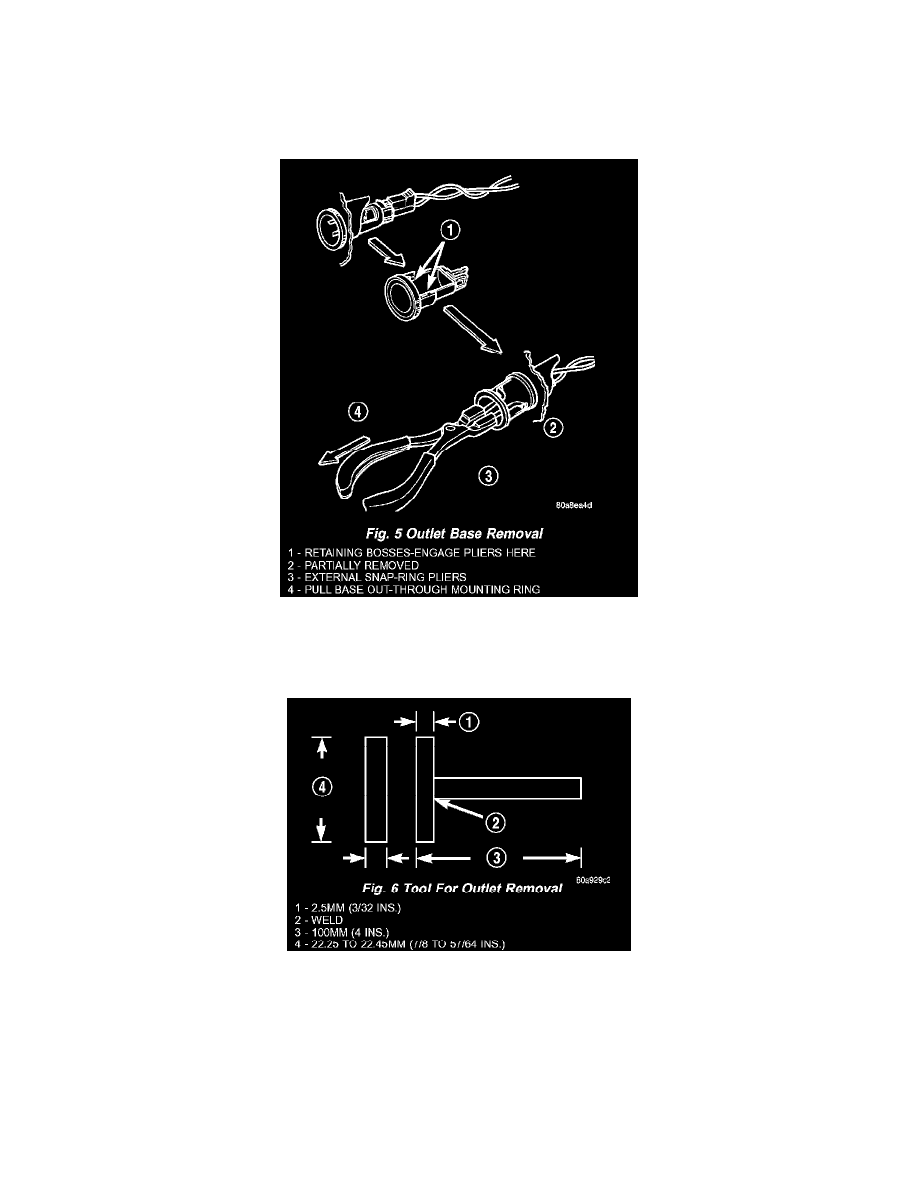
Fig.5 Outlet Base Removal
2. Look inside and note position of the retaining bosses (Fig. 5).
3. Using external snap ring pliers with 90 degree tips. Insert pliers with tips against bosses and squeeze forcing bosses out of base.
Fig.6 Tool For Outlet Removal
4. Pull out the base through mounting ring by gently rocking pliers. A tool can be made to do the same. Refer to (Fig. 6).
5. Disconnect the base wires.
6. Set base aside. Remove light ring and disconnect wire.
INSTALLATION
1. Position the mounting ring on the instrument panel and feed the wires through the ring. Index the cap and the mounting ring with the index tab at
the 9 o'clock position to the key in the instrument panel. Install the ring.
2. Connect the wires to the base. Orientate the base alignment rib at the 11 o'clock position to mate the groove in the mounting ring to the base.