
Intrepid V6-2.7L VIN R (2003)
Hood Hinge: Service and Repair
HINGE
REMOVAL
1. Support hood on the side that requires hinge replacement.
2. Mark all bolt and hinge attachment locations with a grease pencil or other suitable device to provide reference marks for installation.
3. Remove the gas prop lock caps on the hinge side.
4. Remove the gas prop from the hinge.
5. Remove bolts attaching hood to hinge.
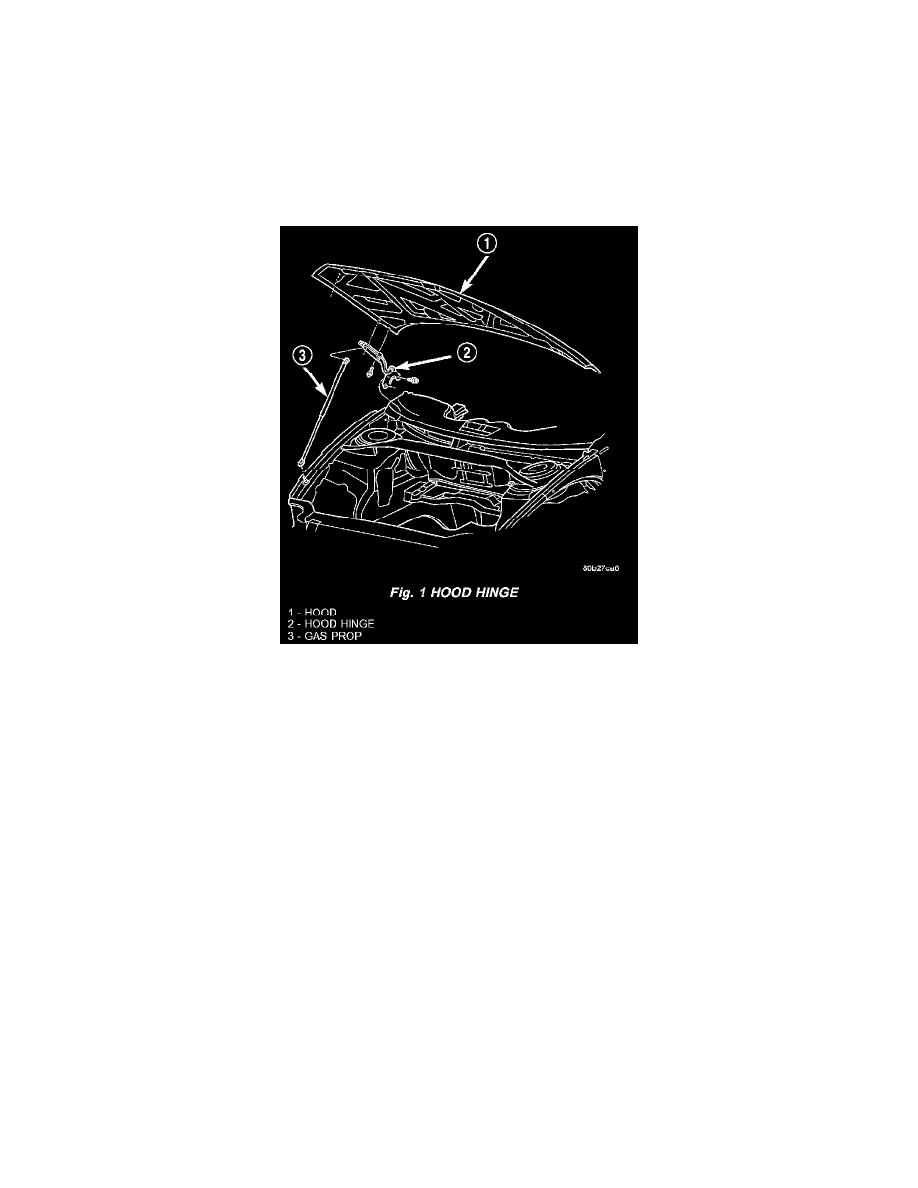
Fig. 1
6. Remove bolts attaching hood hinge to vertical wall of load beam and remove hinge from vehicle (Fig. 1). To gain access to the lower left hood
hinge the wiper motor assembly will have to be removed.
INSTALLATION
1. If necessary, paint new hinge before installation.
2. Place hinge in position on vehicle.
3. Install bolts attaching hood hinge to vertical wall of load beam.
4. Install bolts attaching hood to hinge. When installing hood hinge, align all marks and secure bolts. The hood should be aligned to 4 mm (0.160 in.)
gap to the front fenders and flush across the top surfaces along fenders. Hinge can be adjusted up or down by hinge to body attaching bolts to
achieve proper hood height.
5. Align all marks and tighten bolts to 22.6 to 33.9 N.m (200 to 300 in.lbs.) torque. The hood should be aligned to 4 mm (0.160 in.) gap to the front
fenders and flush across the top surfaces along fenders.
6. Place gas prop in position on vehicle.
7. Install the lock cap on the gas prop.
8. Install wiper motor assembly.
9. Remove support from under hood and verify hood operation.