
Intrepid V6-2.7L VIN R (2003)
10. If replacing module, transfer wiper module grommets to new module assembly.
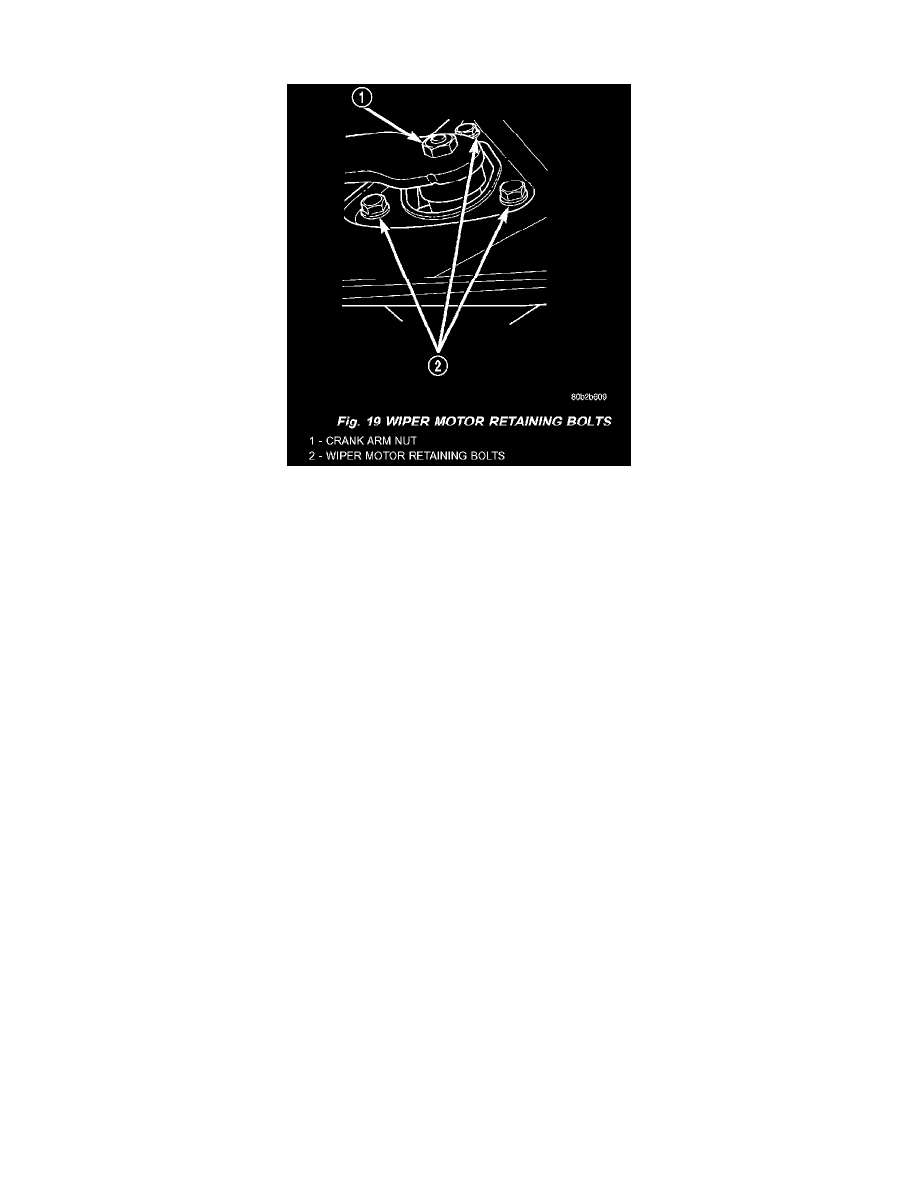
Fig. 19 Wiper Motor Retaining Bolts
11. Remove one nut to crank arm and remove from motor.
12. Remove three retaining bolts from wiper motor.
13. Remove wiper motor from wiper module assembly Install onto new wiper module assembly Refer to Electrical, Wipers and Washers, Wiper
Motor, REMOVAL.
INSTALLATION
1. Install the wiper motor onto the wiper module assembly Refer to Electrical, Wipers and Washers, Wiper Motor, REMOVAL.
2. Install the three retaining bolts to the wiper motor.
3. Install the crank arm and install the one nut to crank arm.
NOTE: If replacing module, transfer wiper module grommets to new module assembly.
4. Install the windshield wiper module into vehicle.
5. Start rear outboard screw first, rear inboard screw second, and forward outboard screw last.
6. Start all module mounting screws and bolt by hand before torquing to specifications.
7. Connect one wire connector.
8. Install the three retaining bolts to windshield wiper module.
9. Install the eight bolts to Tower to Tower (cross-car) support. Refer to Body for REMOVAL.
10. Install the wiper module mounting bolt located on top of the tower to tower beam.
11. Install the nine screws to cowl screen panel. Refer to Body for REMOVAL.
12. Assure wiper module pivots are in "PARK" position cycling the switch "ON" and "OFF" with engine off prior to installing arms and blades.
CAUTION: Keep hands clear when cycling the wiper motor within the wiper module.
13. Install the driver and passenger side wiper arms Refer to Electrical Wipers and Washers, Wiper Arm REMOVAL.
14. Connect the negative battery cable remote terminal to the remote battery post.