
Intrepid V6-3.2L VIN J (1998)
Trailing Arm: Service and Repair
REMOVE
1. Raise vehicle on jackstands or centered on a frame contact type hoist.
2. Remove the rear wheel and tire assembly from the vehicle.
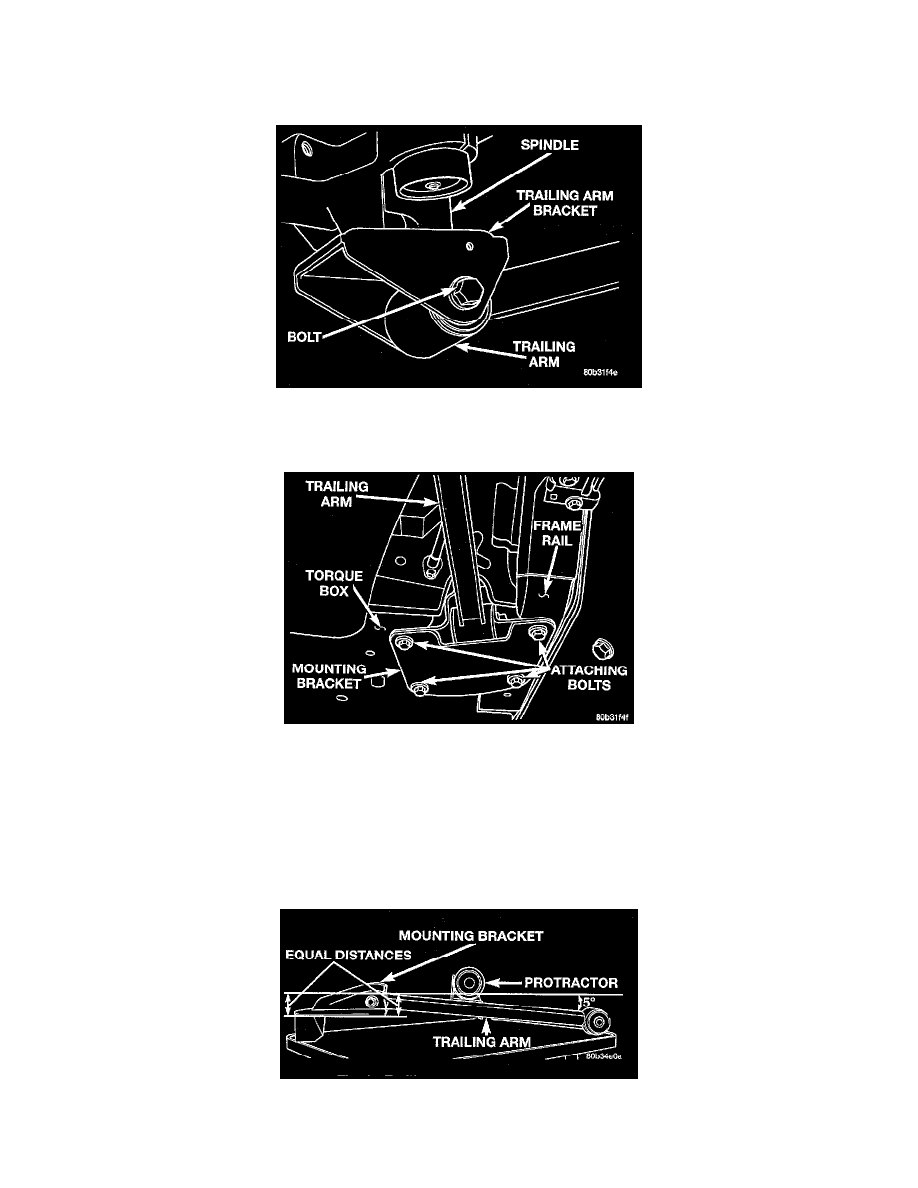
Trailing Arm To Bracket Bolt
3. Remove the bolt attaching the trailing arm to the bracket on the bottom of the spindle.
Mounting Bracket Attachment
4. Remove the 4 bolts attaching the arm forward mounting bracket to the frame rail and rear torque box.
5. Remove the trailing arm and forward mounting bracket from vehicle.
6. Remove the bolt attaching the trailing arm to the mounting bracket.
CAUTION: When the trailing arm is installed to its mounting bracket, it is important to set an offset angle of 5 degrees before tightening the attaching
bolt. Otherwise, the bushing will be contorted when the vehicle is at normal riding height. This angle cannot be set once the trailing arm and bracket are
installed on the vehicle.
Trailing Arm Mounting Angle
INSTALL