
Intrepid V6-3.5L VIN K (2003)
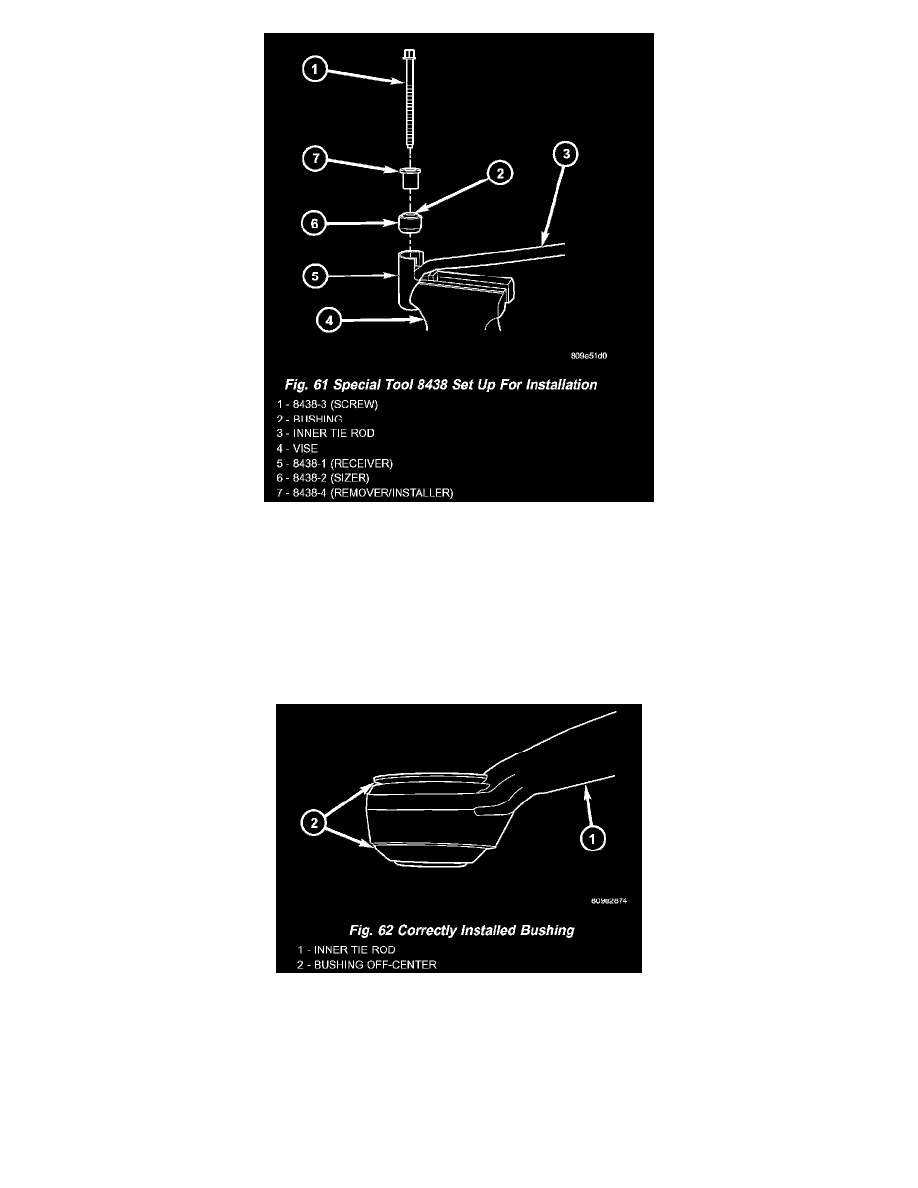
3. With the Receiver, Special Tool 8438-1, mounted in the vise as shown, assemble the Special Tool 8438 in the following manner to install the new
bushing.
a. Place the inner tie rod end in Receiver as shown.
b. Place the Sizer (with bushing) on top of the tie rod bushing bore with the tapered end facing downward.
c. Place Remover/Installer, Special Tool 8438-4, with the small end down on top of the bushing.
d. Insert Screw, Special Tool 8438-3, through the Remover/Installer, bushing (in Sizer) and tie rod, until it threads into the bottom of the
Receiver.
e. Using hand tools, tighten the Screw, pushing the bushing out of Sizer, into the inner tie rod end. Tighten the Screw until it bottoms in the tool.
Do not over tighten.
4. Remove the Screw, Remover/Installer and Sizer, then remove the tie rod from the Receiver.
5. Inspect the bushing. It will appear slightly off center in the tie rod. This is a normal condition.
NOTE: Before installing the tie rod assembly back in the vehicle, loosen the tie rod adjustment pinch bolt and verify the adjustment sleeve is
freed-up. This will ease toe adjustment which must be set at the end of this procedure.
6. Install the tie rod assembly through the tie rod hole in the wheel opening inner fender.